09 Oct, 2019
Use Microsoft Flow to move Notes attachments from Dynamics 365 to SharePoint
Posted on 09 Oct, 2019 by Admin, Posted in
Dynamics 365
Power Automate
 Blogs
Blogs
Introduction
In this blog I have explained how Microsoft Flow helps in moving attachments from Notes to SharePoint without any coding. I have explained the steps with the help of use case scenario. This topic is divided into series of 2 blogs:
- First part explains how we can skip OOB SharePoint integration and create our own folder structure to move the attachments to SharePoint. Explained in this blog.
- Second part explains how we can use SharePoint integration to create folder structure and move the attachments to SharePoint. Will be published soon.
Note:
- You can sign up for D365 Customer Engagement trial to try out the steps mentioned in this blog.
- I have explained the customizations from Microsoft Flow only. Customizations in D365 are not part of this blog.
Problem Statement
Let’s assume we have below requirements to be achieved using Microsoft Flow.
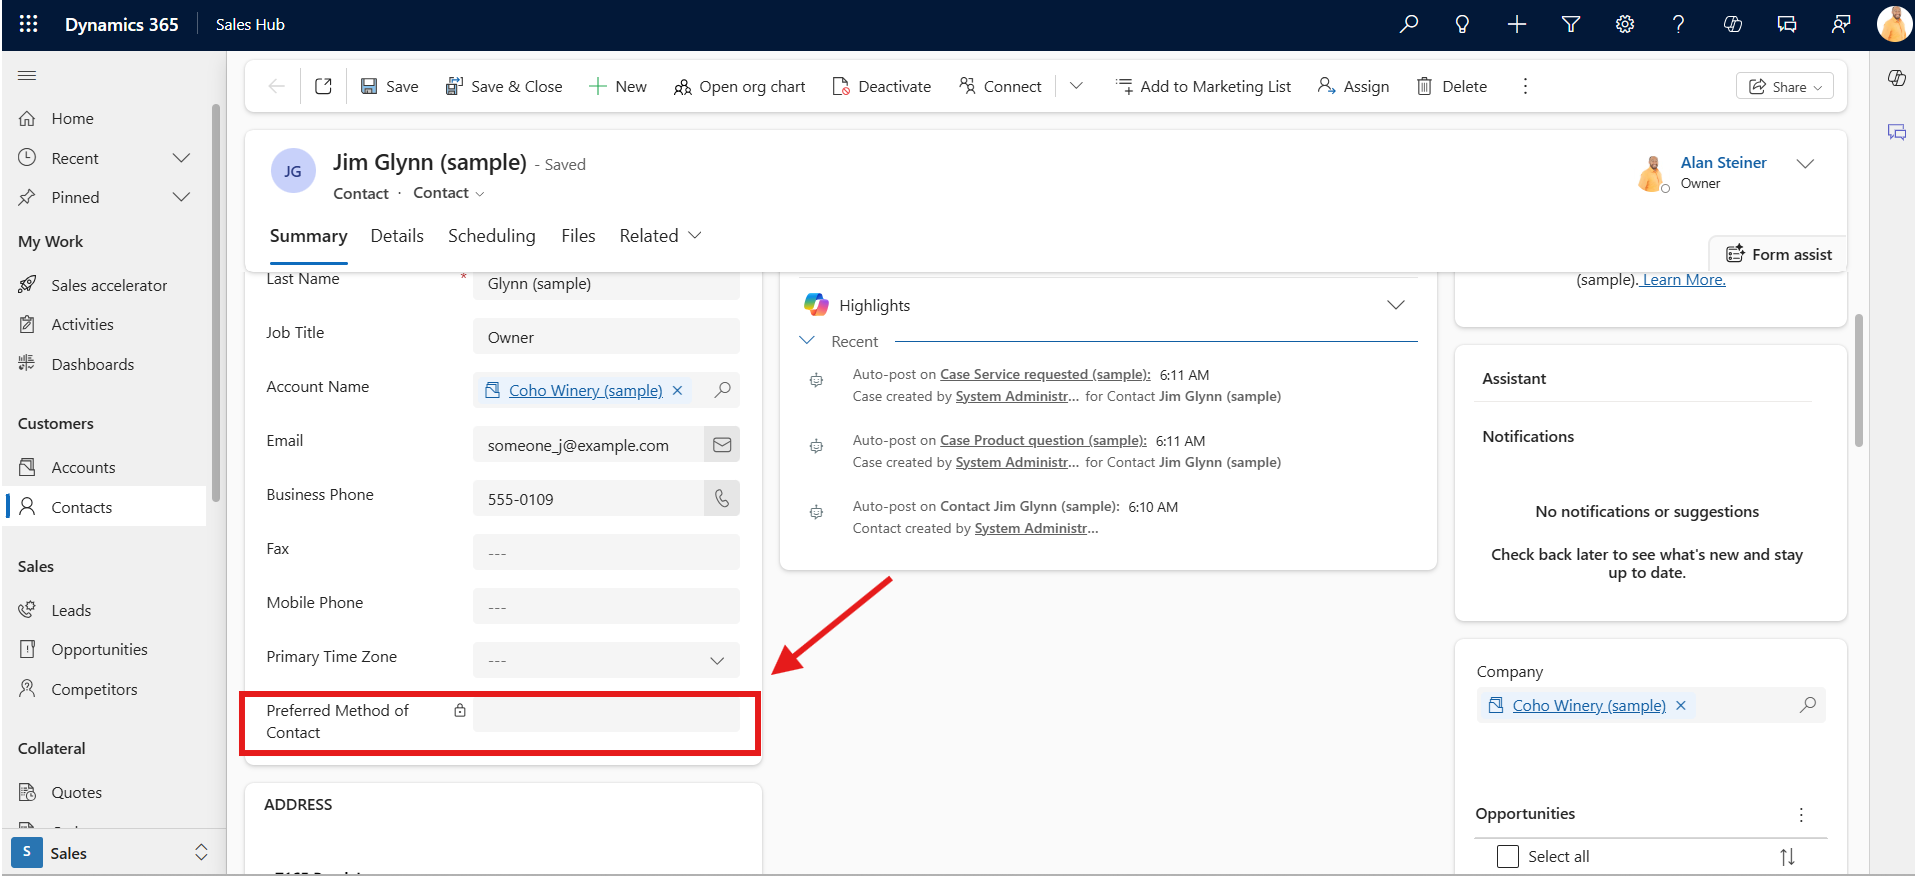
- We have Boolean field on Account entity as Move Attachments.
- On account we have multiple contacts, on each contact we have multiple attachments in Notes.
- When user will set the Move Attachments field to YES, all the attachments of associated contacts should be moved to SharePoint in the folder with Account’s GUID as folder name.
- After successful operation, attachments should be deleted from CRM.
- After completion of all operation, Move Attachments field should be set to NO.
Solution – Without SharePoint Integration
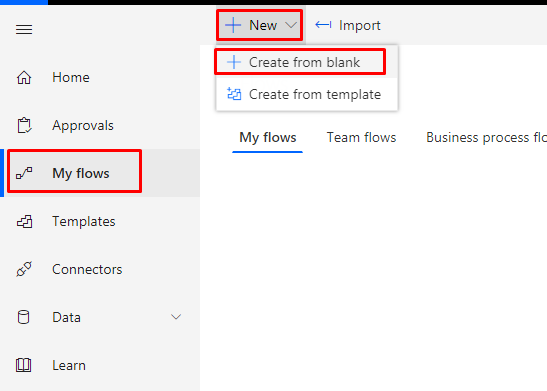
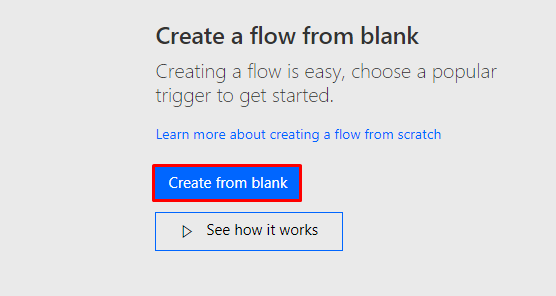
- If you are shown list of triggers, click on Create from Blank.
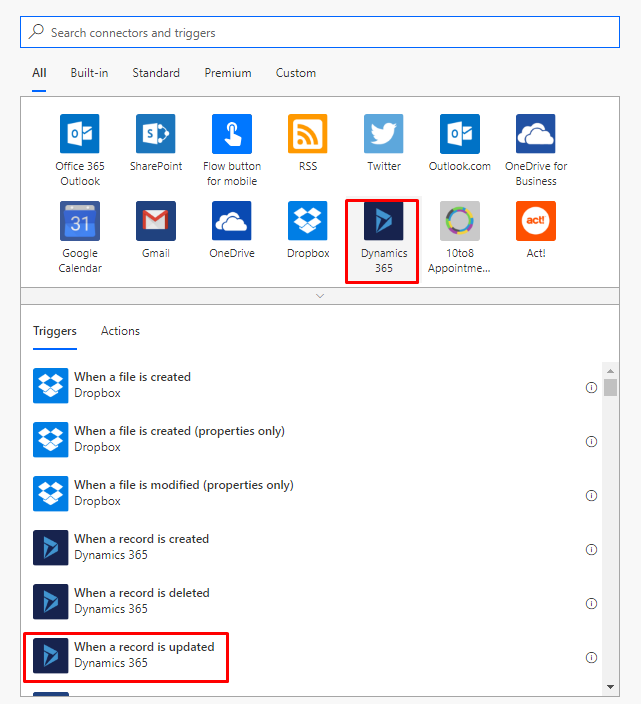
- Select Dynamics 365 à When Record is Updated as trigger point.
- Select D365 instance & Account entity.
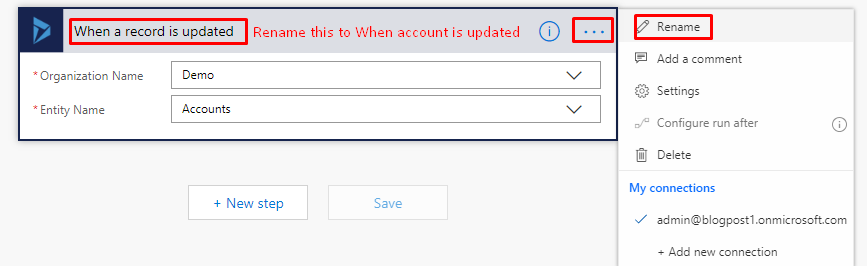
- Rename the component to When account is updated
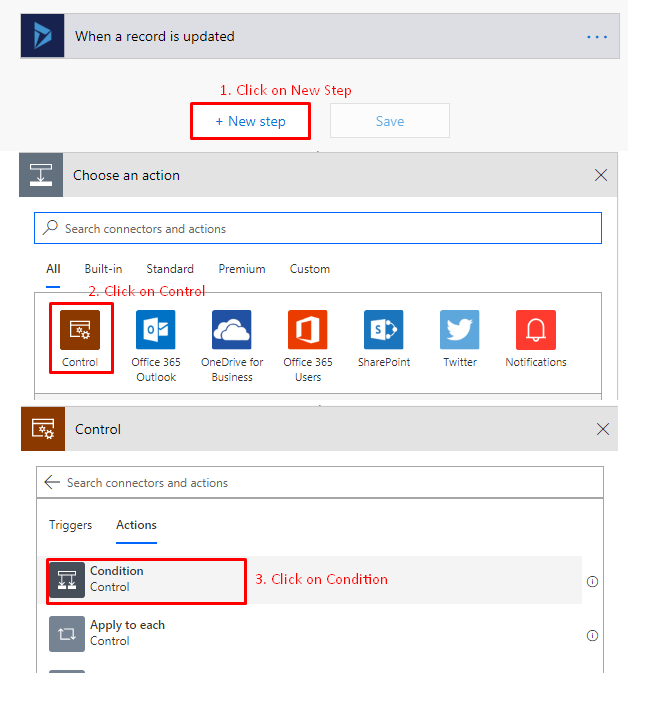
- Add Next step as Condition
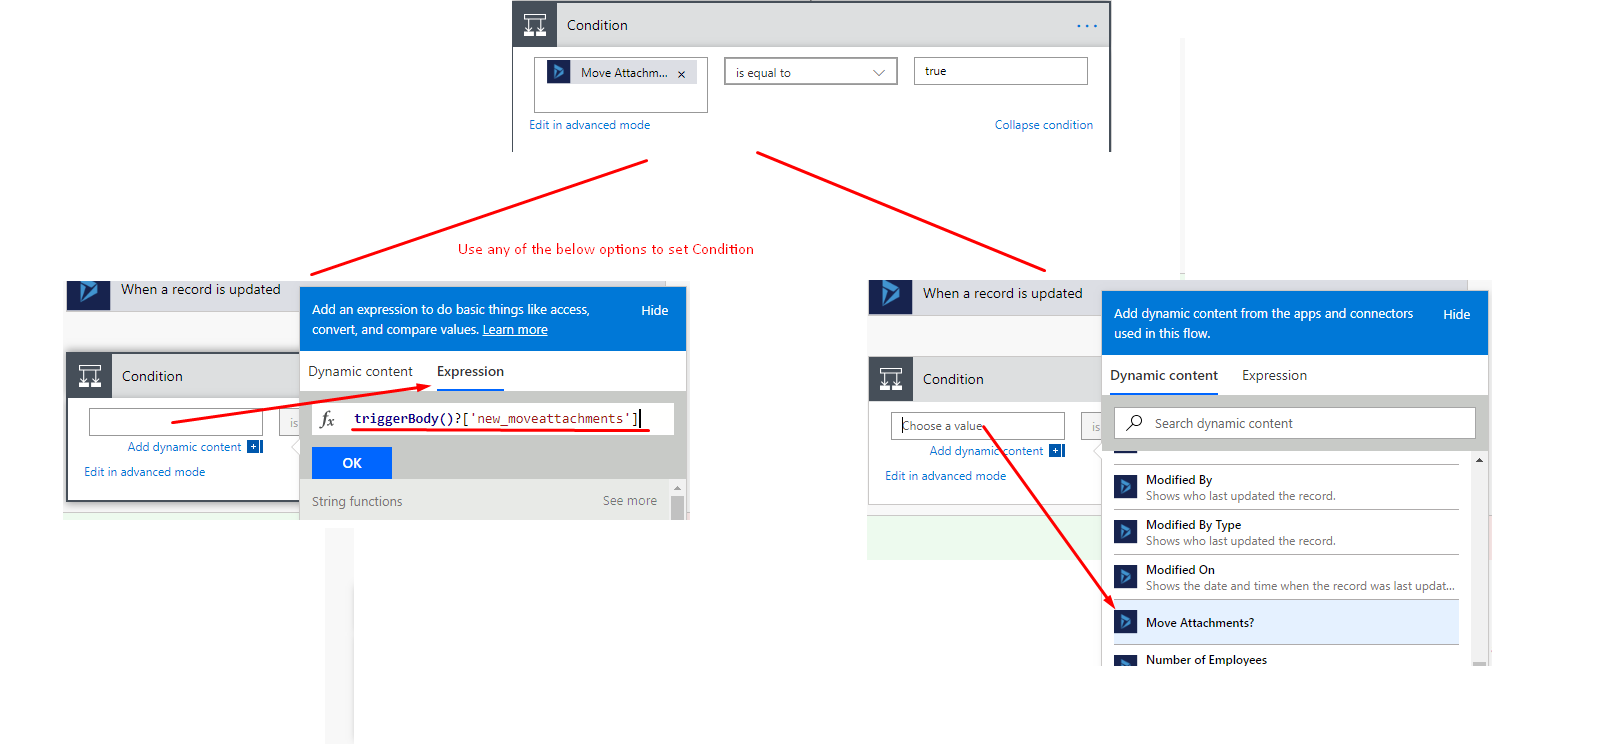
- Set condition as shown below
- In True branch of condition, click on Add an Action.
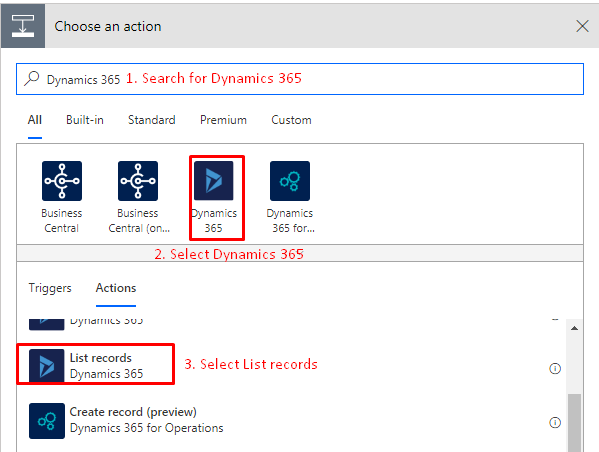
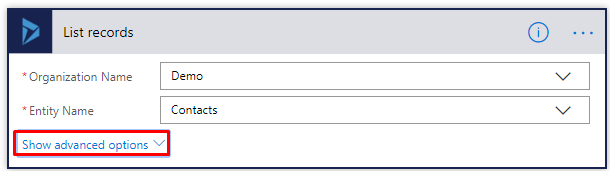
- Add Dynamics 365 – List Records action.
- Select instance and entity as Contacts.
- Click on Show Advance Options
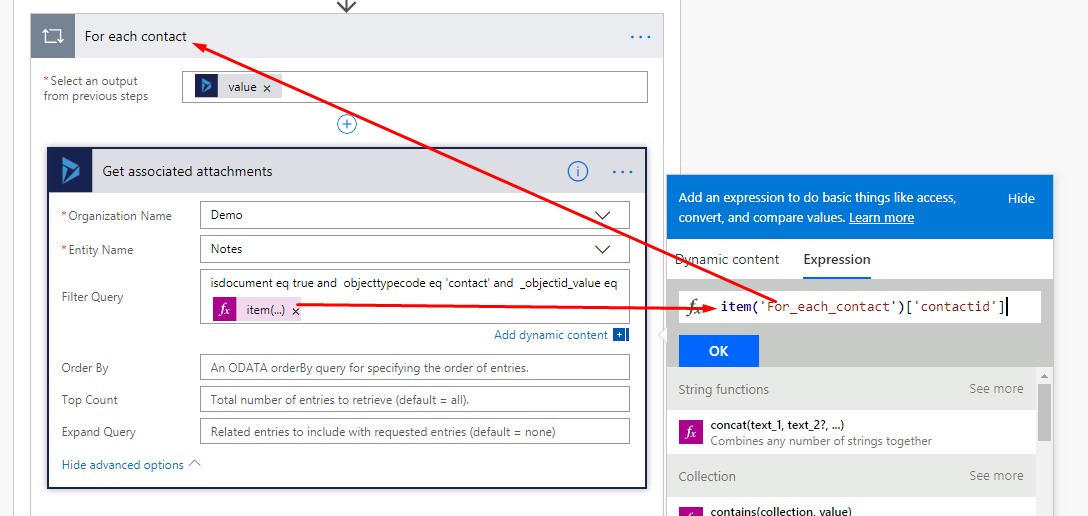
- Mention the Filter Query as per below screenshot. Use Expression from the screenshot below.
- Rename the action to Get all associated contacts.
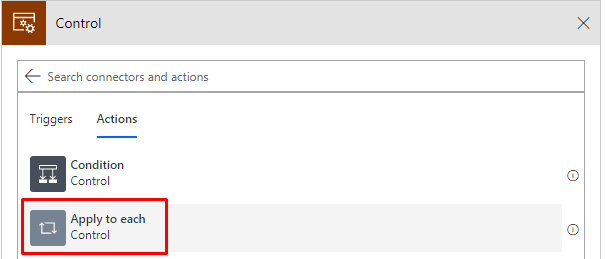
- Click on add an action and add Apply to Each Control.
- Select output of previous step as per below screenshot.
- Add an action as Dynamics 365 – List Records. Refer below screenshot.
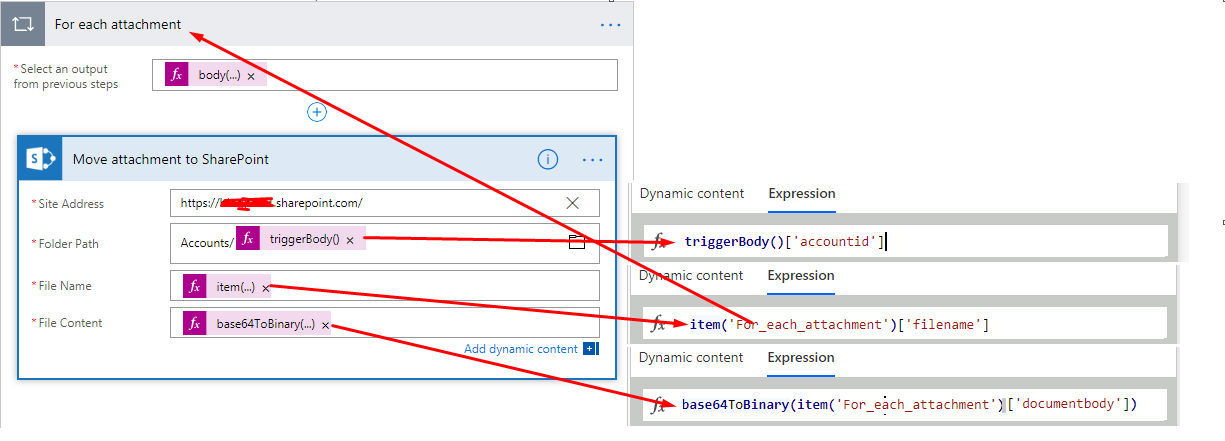
- Add Apply for each control and rename it to ‘For each attachment’. Refer below screenshot.
- Add an action as SharePoint – Create file.
- Enter SharePoint URL. Refer below screenshot.
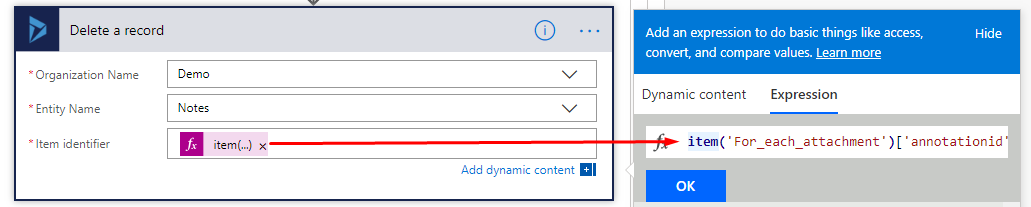
- Add an action as Dynamics 365 – Delete a record.
- Collapse all the components in the TRUE branch of main condition.
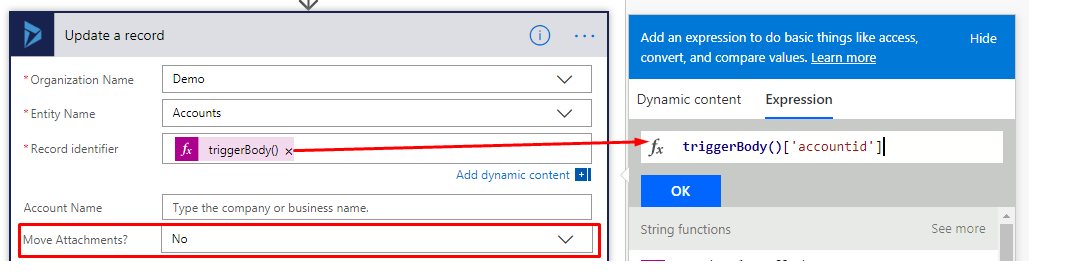
- Add last action as Dynamics 365 – Update a record.
- After collapsing all components, TRUE branch of condition should look like below.
- Save the Flow & see the working demo by creating accounts, their contacts & attachments on the contacts.


.jpg)