14 Aug, 2020
How to migrate Closed (Won or Lost) Opportunities?
Posted on 14 Aug, 2020 by Admin, Posted in
Dynamics 365
Dynamics-365 Sales
 Blogs
Blogs
Introduction
In this blog I have explained how to migrate historical Closed (Won or Lost) Opportunities.
Solution
We will use comma separated (CSV) file as import file. Here are some important things you need to consider:
- Get your import file ready: Make sure your data is as complete and accurate when you create the import file.
- Make sure that the import file has “Status” & “Status Reason” fields information.
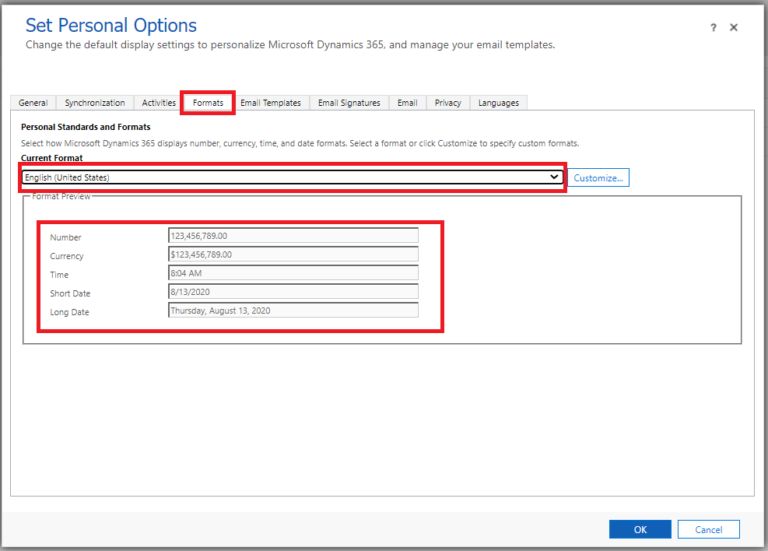
- Format of your date and crm environment should be same: make sure that “Source” and “Target” date formats are same. Because if “Source” system format is different than “Target” then system will throw an error.
- To check it, go to Settings > Data Management > Imports.
- Click on Setting icon at top right side of the import page.
- Select Options.

- Check your date format and crm environment date format are same or not, if it is not change it select your date format.
Step by Step
- Go to Settings > Data Management > Imports.
- On the command bar select Import Data > Import Data.
- Browse and select the import file and click on Next.

- Now, it will show you file upload summary, click on Next.
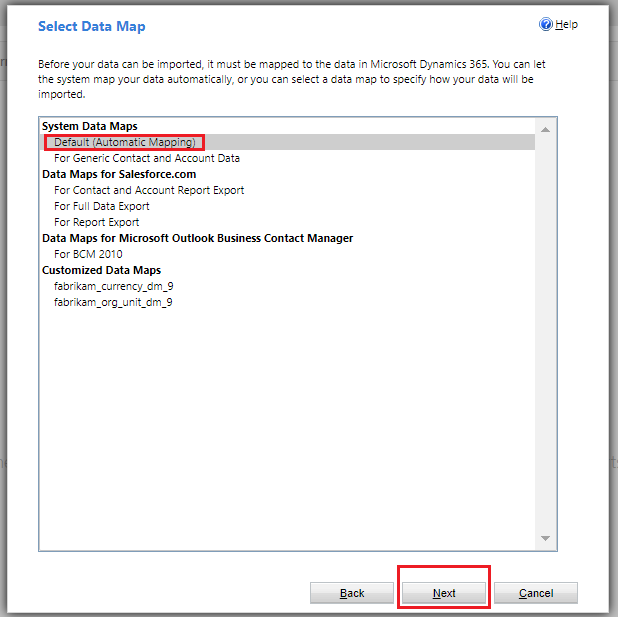
- Select data map, here I am selecting the Default one.
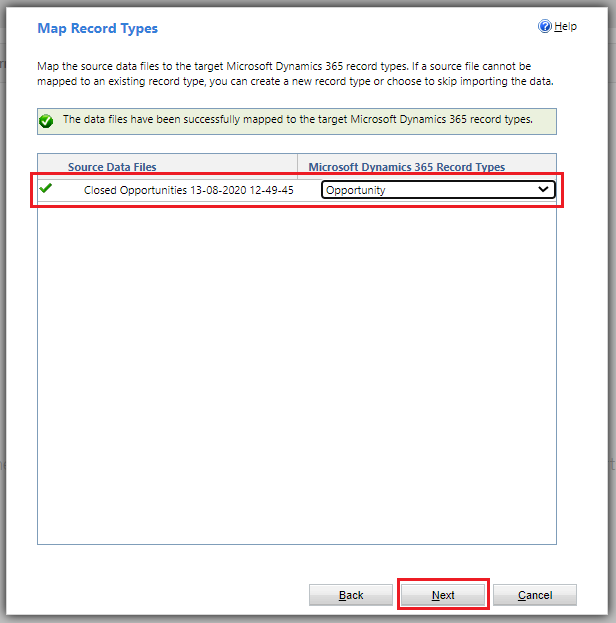
- Now select record type as Opportunity, Click on Next.
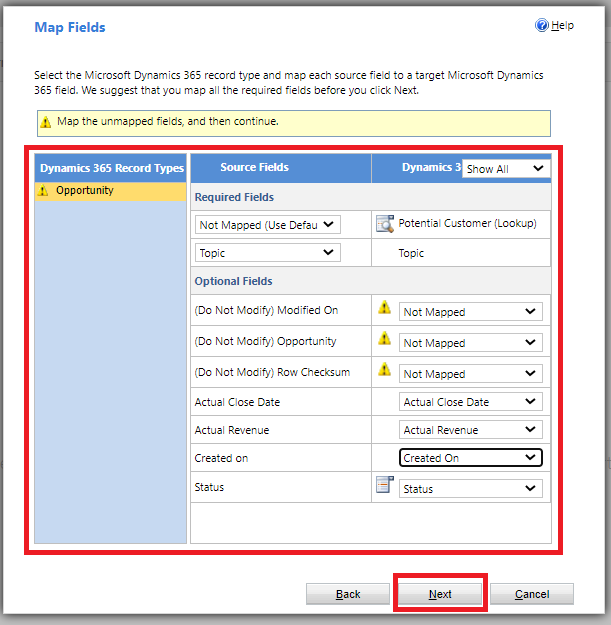
- In step 5, we had selected Data Map to default, it will automatically map source fields to crm fields. Here we need to check its mapping and map or un-map according to our requirement. Click on Next. (Unmapped fields will be ignored.)
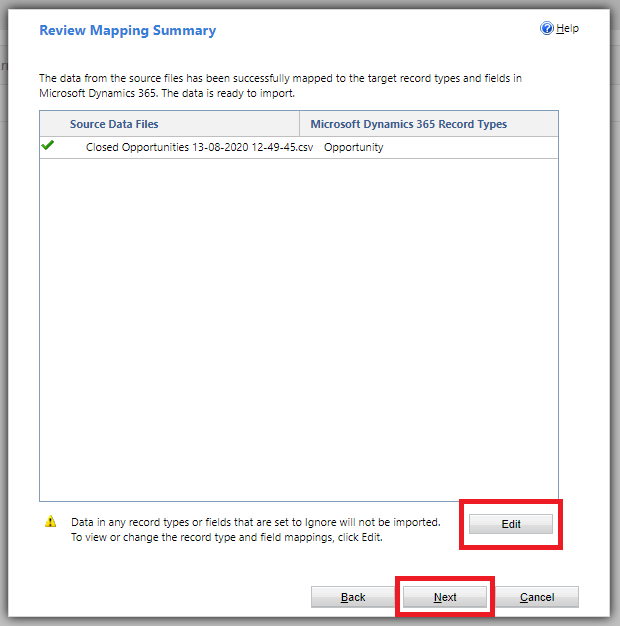
- Now it will show you Review Mapping Summary. If you want to change some mapping them click on “Edit“, if not then click on Next.
- This is the final step, here you can configure some setting such as “Allow Duplicates”, “Select owner of imported records” and “Data map name”, choose accordingly. After that click on Submit.

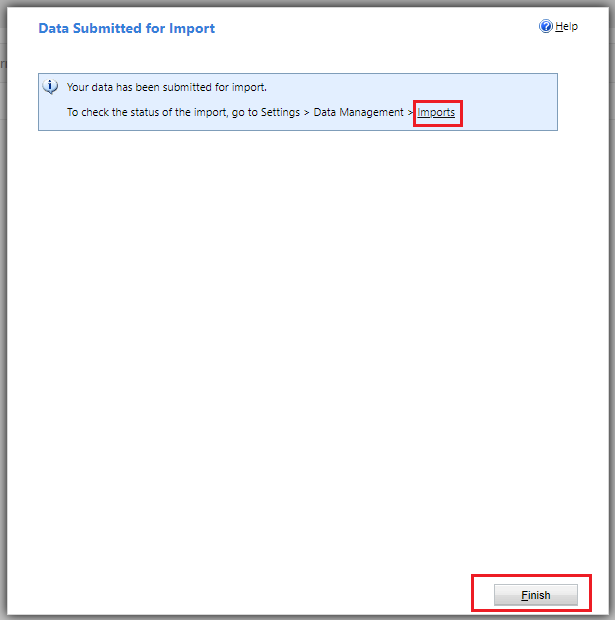
- Now import is submitted, to verify that the wizard was successful, select Imports, and then review the report. Otherwise, select Finish.