
14 Mar, 2022
Posted on 14 Mar, 2022 by Admin, Posted in Dynamics 365 Power Platform Dynamics-365 Sales
 Blogs
Blogs
INTRODUCTION:
In this blog we will see how to handle different scenarios for exporting data from Dynamics 365.
EXPORTING DATA FROM DYNAMICS 365:
Dynamics 365 will allow us to export data using multiple ways. We will now discuss how to export data from Dynamics 365. We have five ways for exporting data.
1. Open in Excel Online:
Exporting data from Dynamics 365 using Open in Excel Online will help us to make necessary changes directly from the new excel window and save the changes to the excel.
Step 1: Open Dynamics 365 Sales Hub App and select the entity that you want to export. In this blog we will take Account entity as an example. Click more on the command bar and you can see multiple options available for exporting data. Now select Open in Excel Online from the list.

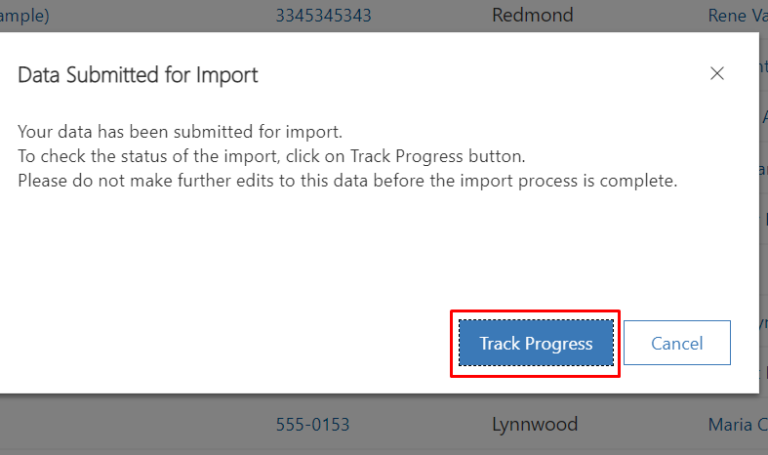
Step 2: A new window opens for Open in Excel Online without closing existing window. You can directly make changes from here and after making necessary changes click on “Save” to save the changes or click on “Return” to return to main page.

You can track the progress by clicking on “Track Progress” or you can click on “Cancel” if you don’t want to track progress of worksheet.
2. Static Worksheet:
Exporting data from Dynamics 365 using Static Worksheet will export all the available records for the selected table.
Step 1: Open Dynamics 365 Sales Hub App and select the entity that you want to export. In this blog we will take Account entity as an example. Click more on the command bar and you can see multiple options available for exporting data. Now select Static Worksheet from the list. It will directly export the Excel worksheet.

Step 2: You can make necessary changes in the Excel Worksheet downloaded and after saving the sheet you can import the data into Dynamics 365. You can check the provided link for importing data into Dynamics 365.(https://nebulaaitsolutions.com/how-to-import-data-into-dynamics-365/)
3. Static Worksheet(Page only):
Exporting data from Dynamics 365 using Static Worksheet(Page only) will export only the number of records set per page without exporting all the records.
Step 1: Click more on the command bar and then click on “>” and then select Static Worksheet(Page only). The difference between Static Worksheet and Static Worksheet(Page only) is Static Worksheet (Page only) will export only the number of records set per page where as Static Worksheet will export all the records available.

Step 2: You can change the number of records set per page from Personalization Settings.

4. Dynamic Worksheet:
Exporting data from Dynamics 365 using Dynamic Worksheet will allow us to select specific columns that we want to make changes without exporting entire worksheet.
Step 1: Open Dynamics 365 Sales Hub App and select the entity that you want to export. Click more on the command bar and you can see multiple options available for exporting data. Now select Dynamic Worksheet from the list. 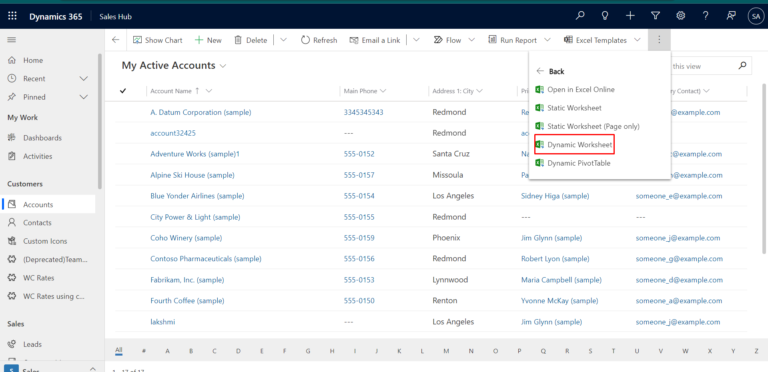
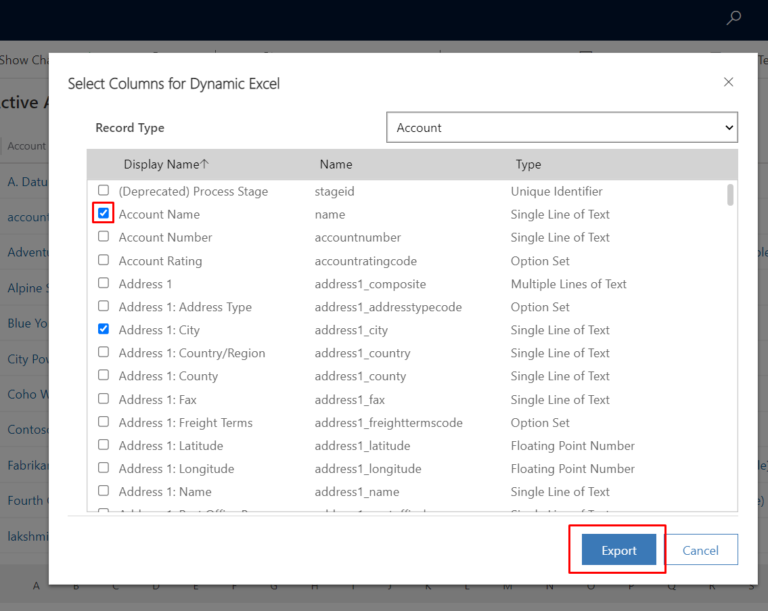
Step 2: On click of Dynamic Worksheet a new window opens(Select Columns for Dynamic Excel). This will allow us to select specific columns that we want to make changes without exporting entire worksheet. After selecting the columns, you can click on “Export“. On click of Export, Dynamic Worksheet gets exported.
5. Dynamic PivotTable:
Exporting data from Dynamics 365 using Dynamic PivotTable will allow us to select specific columns that we want to make changes without exporting entire worksheet.
Step 1: Open Dynamics 365 Sales Hub App and select the entity that you want to export. Click more on the command bar and you can see multiple options available for exporting data. Now select Dynamic PivotTable from the list.

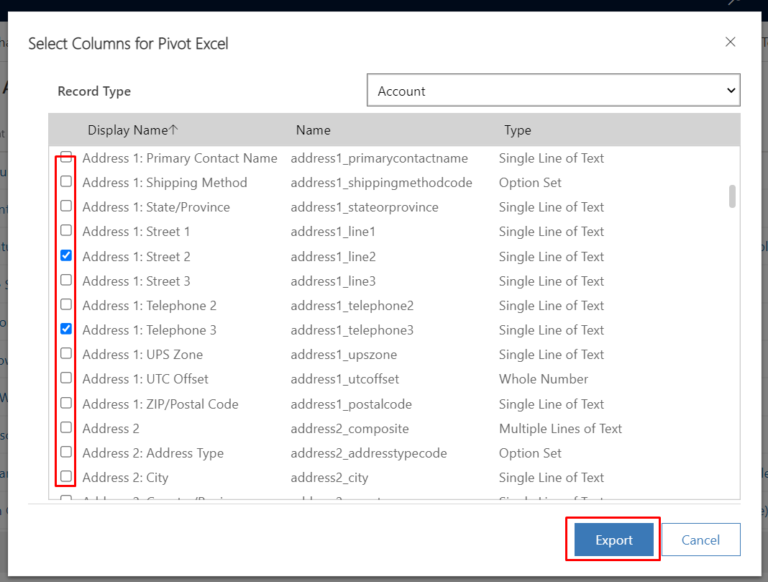
Step 2: On click of Dynamic PivotTable a new window opens(Select Columns for Pivot Excel). This will allow us to select the specific columns that we want to make changes without exporting entire worksheet. After selecting the columns, you can click on “Export“. On click of Export, Dynamic PivotTable gets downloaded.
Data Import: https://nebulaaitsolutions.com/how-to-import-data-into-dynamics-365/this link in detail explains how to import data using different supported file types in Dynamics 365.
Comment
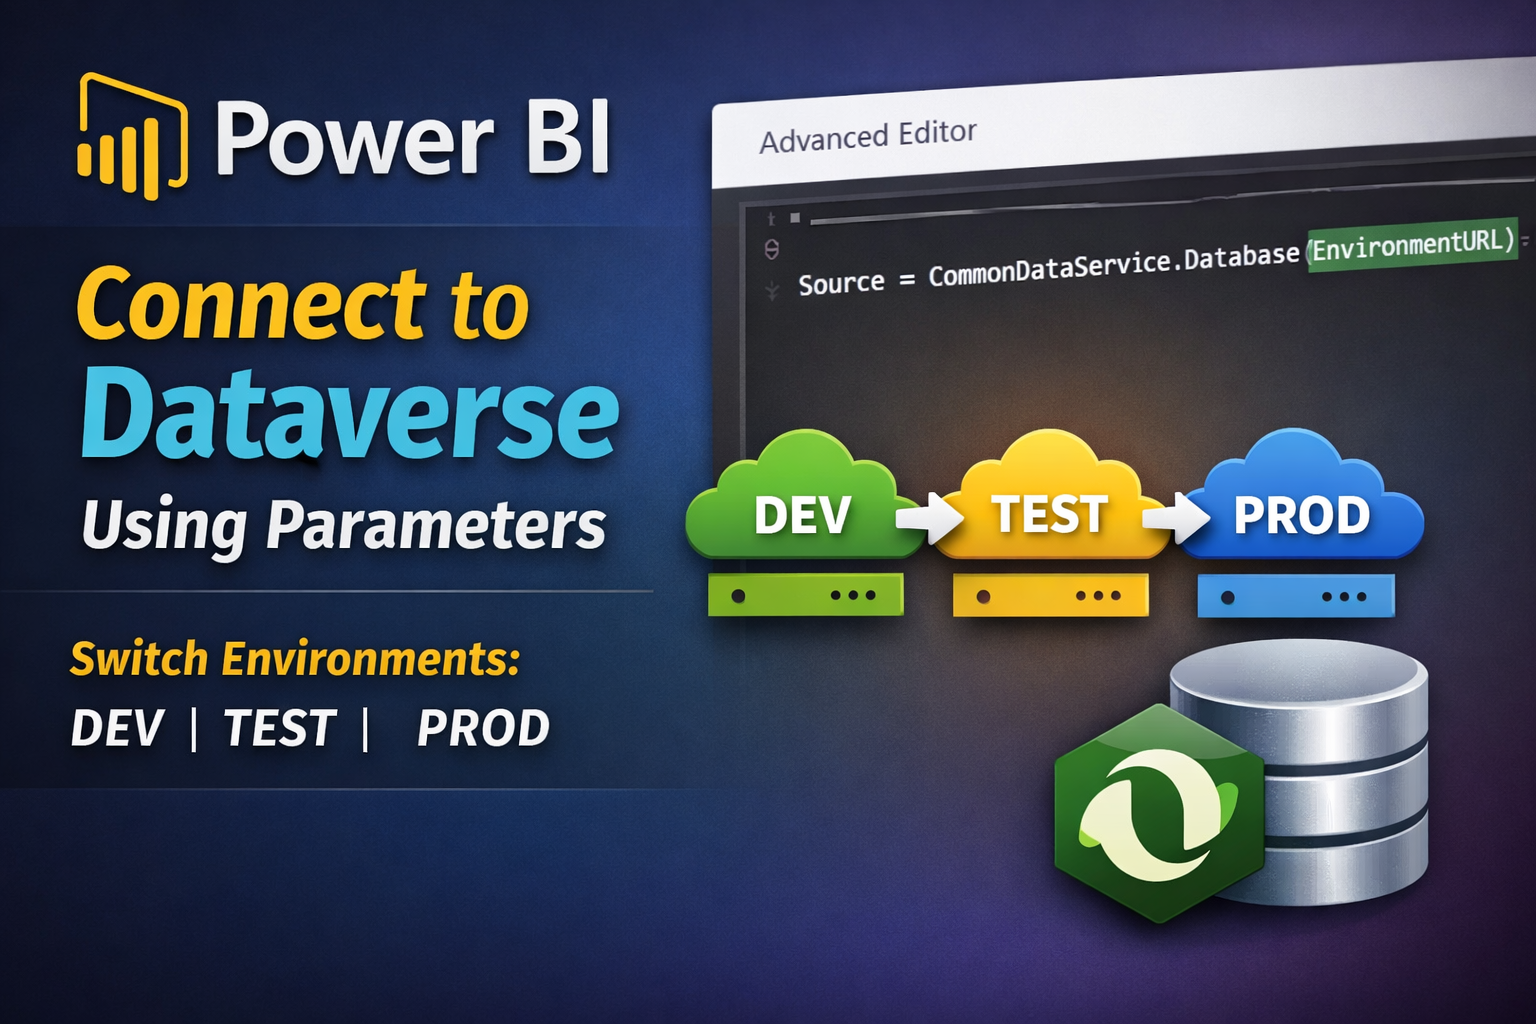
When working with multiple environments in Microsoft Dataverse (DEV, TEST, PROD), hardcoding the environment URL inside Power BI Desktop creates…
READ MORE
Introduction In Power Apps, even a small mistake during deployment can impact users and business processes. This checklist will help…
READ MORE
Introduction: In Model-driven apps, PCF controls are typically embedded inside forms or views. However, unique business requirements often demand more…
READ MORE