
27 Feb, 2026
Posted on 27 Feb, 2026 by Trupti Nikumbh, Posted in Power BI
 Blogs
Blogs
When working with multiple environments in Microsoft Dataverse (DEV, TEST, PROD), hardcoding the environment URL inside Power BI Desktop creates maintenance challenges.
If you move your report between environments, you would normally need to:
Edit the connection manually
Update credentials
Republish the file
But there’s a better way.
In this guide, you’ll learn how to use Parameters in Power BI to dynamically control your Dataverse connection.
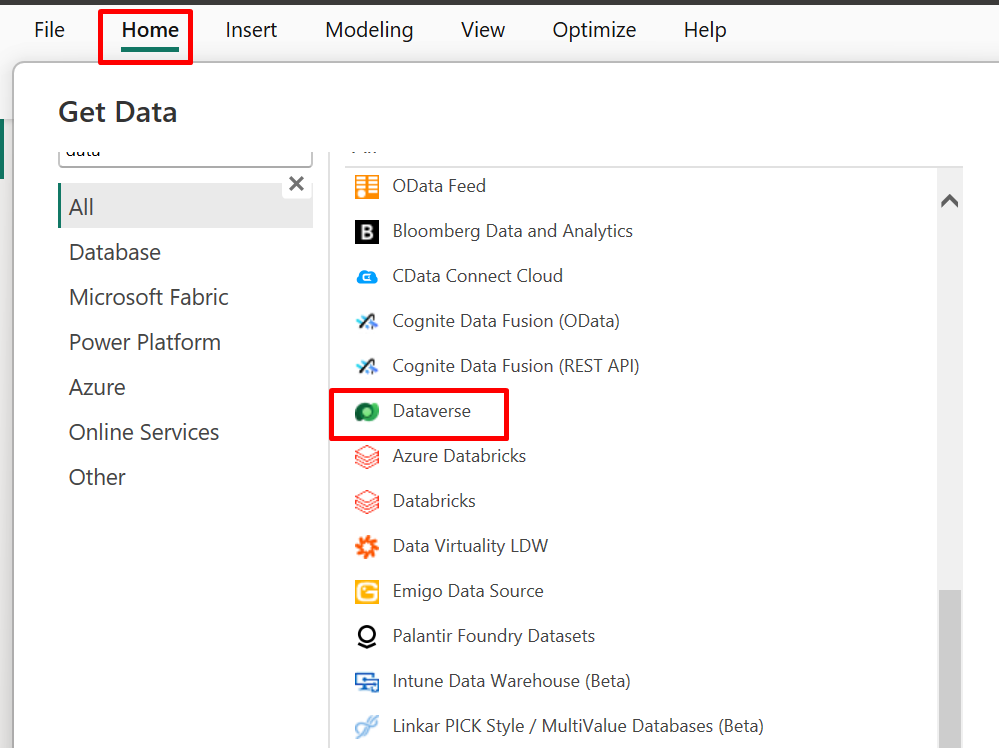
First, connect to Dataverse in the usual way.
Open Power BI Desktop.
Go to:
Home → Get Data → Dataverse
Enter your environment URL (example DEV):
https://devorg.crm.dynamics.com
Select your required table and click Load.
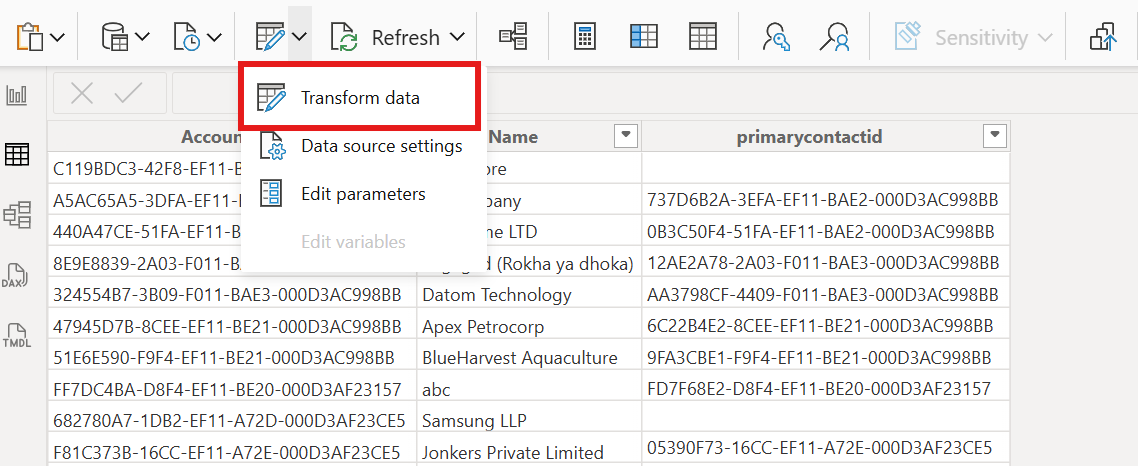
This creates the initial connection using a hardcoded URL.
Home → Transform Data
This opens the Power Query Editor where we will configure the parameter.
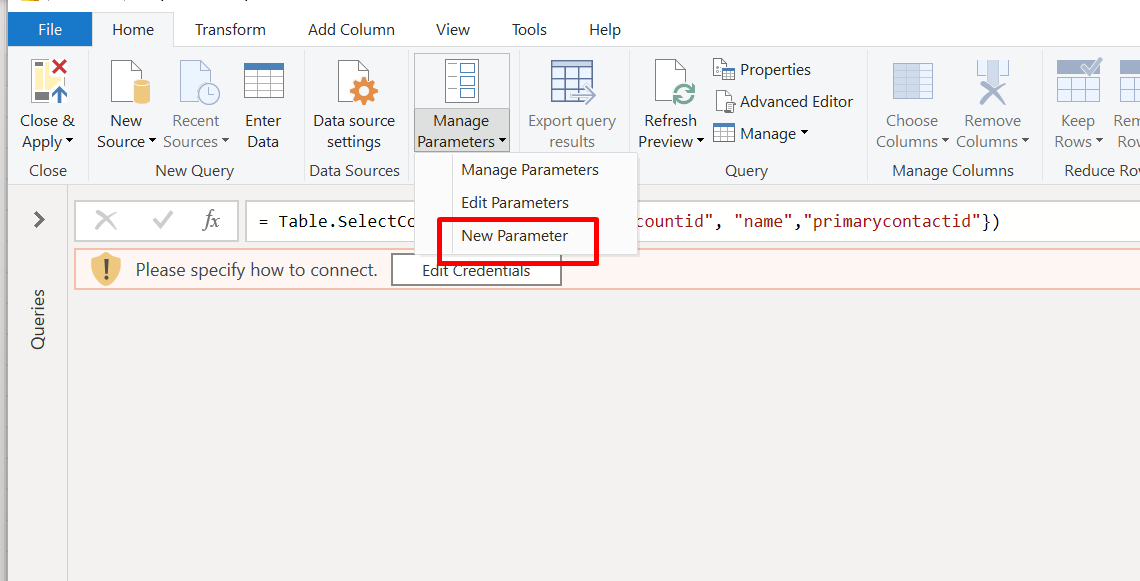
Inside Power Query:
Home → Manage Parameters → New Parameter
Configure the parameter as follows:
| Field | Value |
| Name | EnvironmentURL |
| Type | Text |
| Suggested Values | Any Value |
| Current Value | https://devorg.crm.dynamics. |
Click OK.
This parameter now stores your environment URL dynamically.
Select your Dataverse query.
Click:
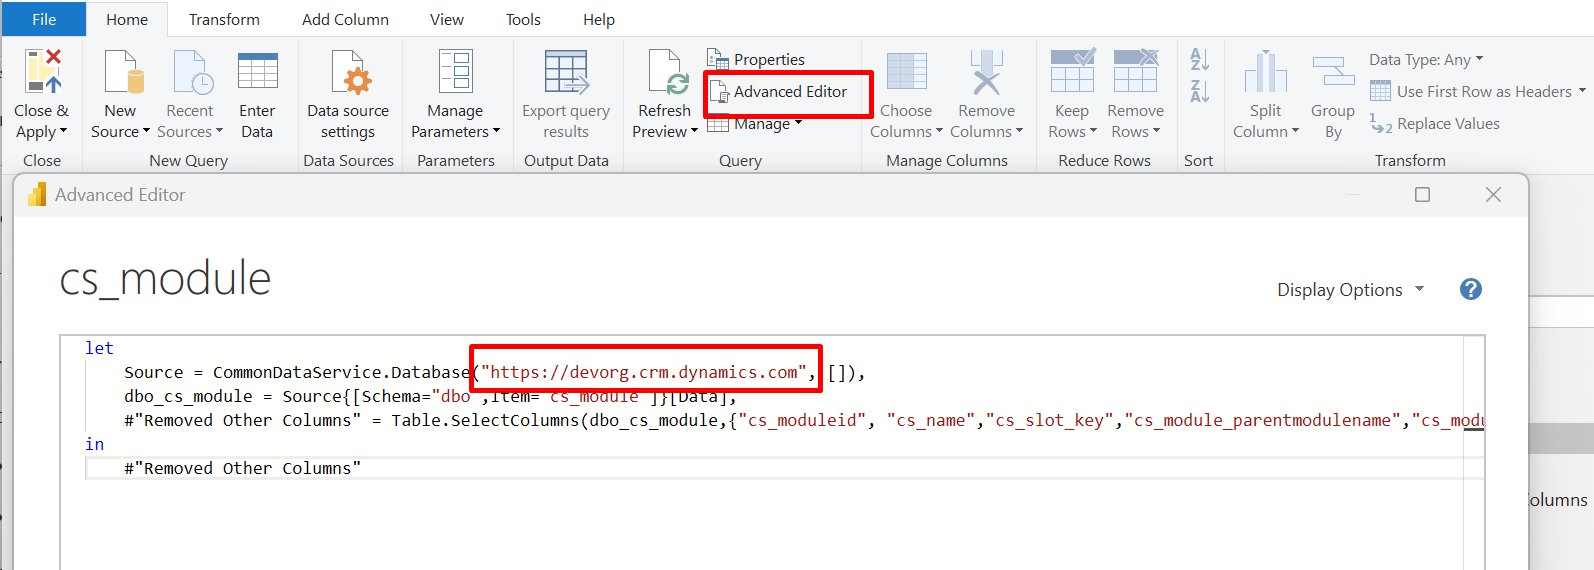
Advanced Editor
You will see something like:
Source = CommonDataService.Database("https://devorg.crm.dynamics.com")
Replace it with:
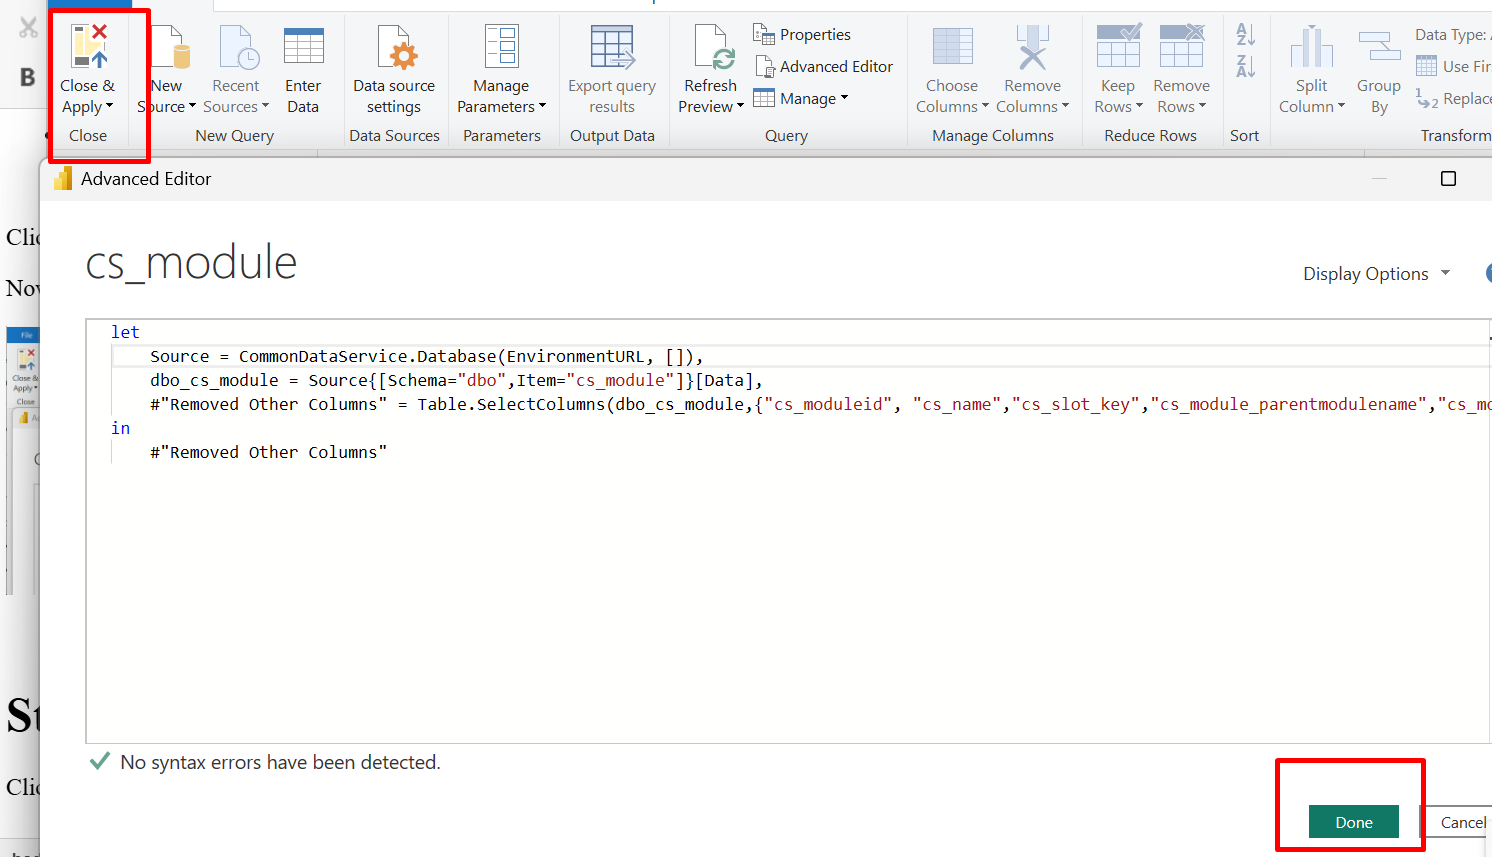
Source = CommonDataService.Database(EnvironmentURL)
Important:
Remove quotation marks
Use the parameter name directly
Click Done.
Now your connection depends on the parameter value.
Close & Apply
Your report now runs using the parameter instead of a fixed URL.
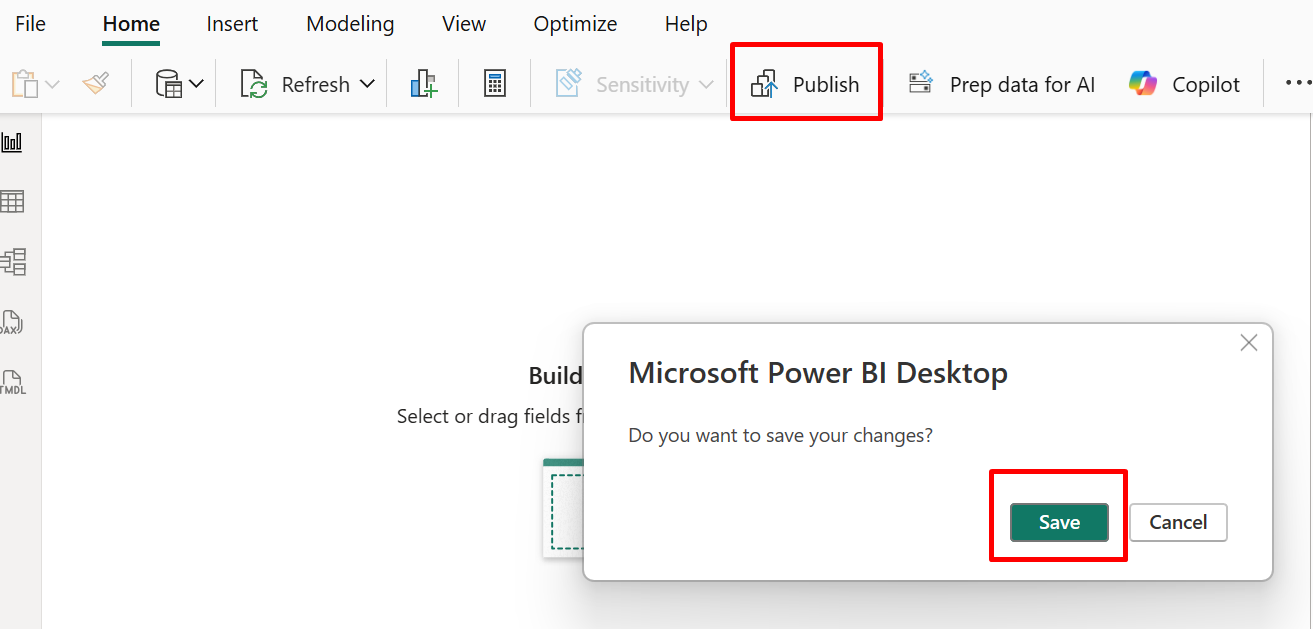
Home → Publish
Choose your workspace in Power BI Service.
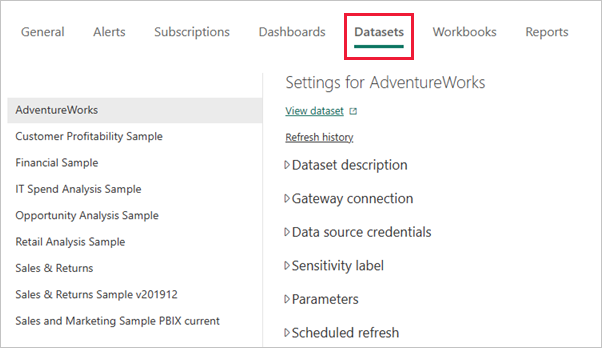
app.powerbi.com → Workspace → Dataset → Settings
Scroll to the Parameters section.
You will see:
EnvironmentURL = https://devorg.crm.dynamics.com
Here you can change the value to:
https://prodorg.crm.dynamics.com
Click Apply.
This updates the dataset to use the new environment.
Your dataset will now connect to the new Dataverse environment.
CommonDataService.Database(EnvironmentURL)
During refresh:
Power BI replaces EnvironmentURL with the value stored in:
Dataset Settings → Parameters
That is how one PBIX file works across multiple environments.
| Environment | Parameter Value |
| DEV | https://dev.crm.dynamics.com |
| TEST | https://test.crm.dynamics.com |
| PROD | https://prod.crm.dynamics.com |
You publish once.
Then simply change the parameter value in Workspace.
Comment

Introduction: Organizations frequently generate documents like invoices, certificates, quotations, transcripts, inspection reports etc. While single-value fields such as Name, Email,…
READ MORE
The Problem Recently, we faced an interesting issue while working with the Status Reason (statuscode) field on the Contact table.…
READ MORE
There are certain things in a CRM project that a QA must validate or verify before any solutions gets deploy…
READ MORE