
19 Jun, 2026
Posted on 19 Jun, 2026 by Rohit Bhagat, Posted in Power Apps Power Automate Power Platform
 Blogs
Blogs
Building a Power Apps Code App is just the beginning. In real-world business applications, users often need to send emails, create approvals, or trigger automated workflows. This is where Power Automate helps by adding automation capabilities to your application.
In this blog, we'll learn how to connect a Power Automate Flow to a Power Apps Code App and trigger it directly from React code using the latest Code Apps experience.
✅ We'll build a simple Employee Notification application and use a Power Automate Flow to send email notifications directly from the app.
Power Automate enables developers to automate business processes without building custom backend services. When a flow is added as a data source in a Power Apps Code App, Power Apps automatically generates the required model and service files, making it easy to invoke flows directly from React and TypeScript code.
Let's see how we can implement this in a simple Employee Notification application.
Before getting started, make sure you have the following:
Let's start by creating a Power Apps Code App using the latest Code Apps experience.
Run the following commands in your terminal:
Once the project is created, connect it to your Power Platform environment:
Select your Power Platform environment:
Once the environment is selected, run the application locally:
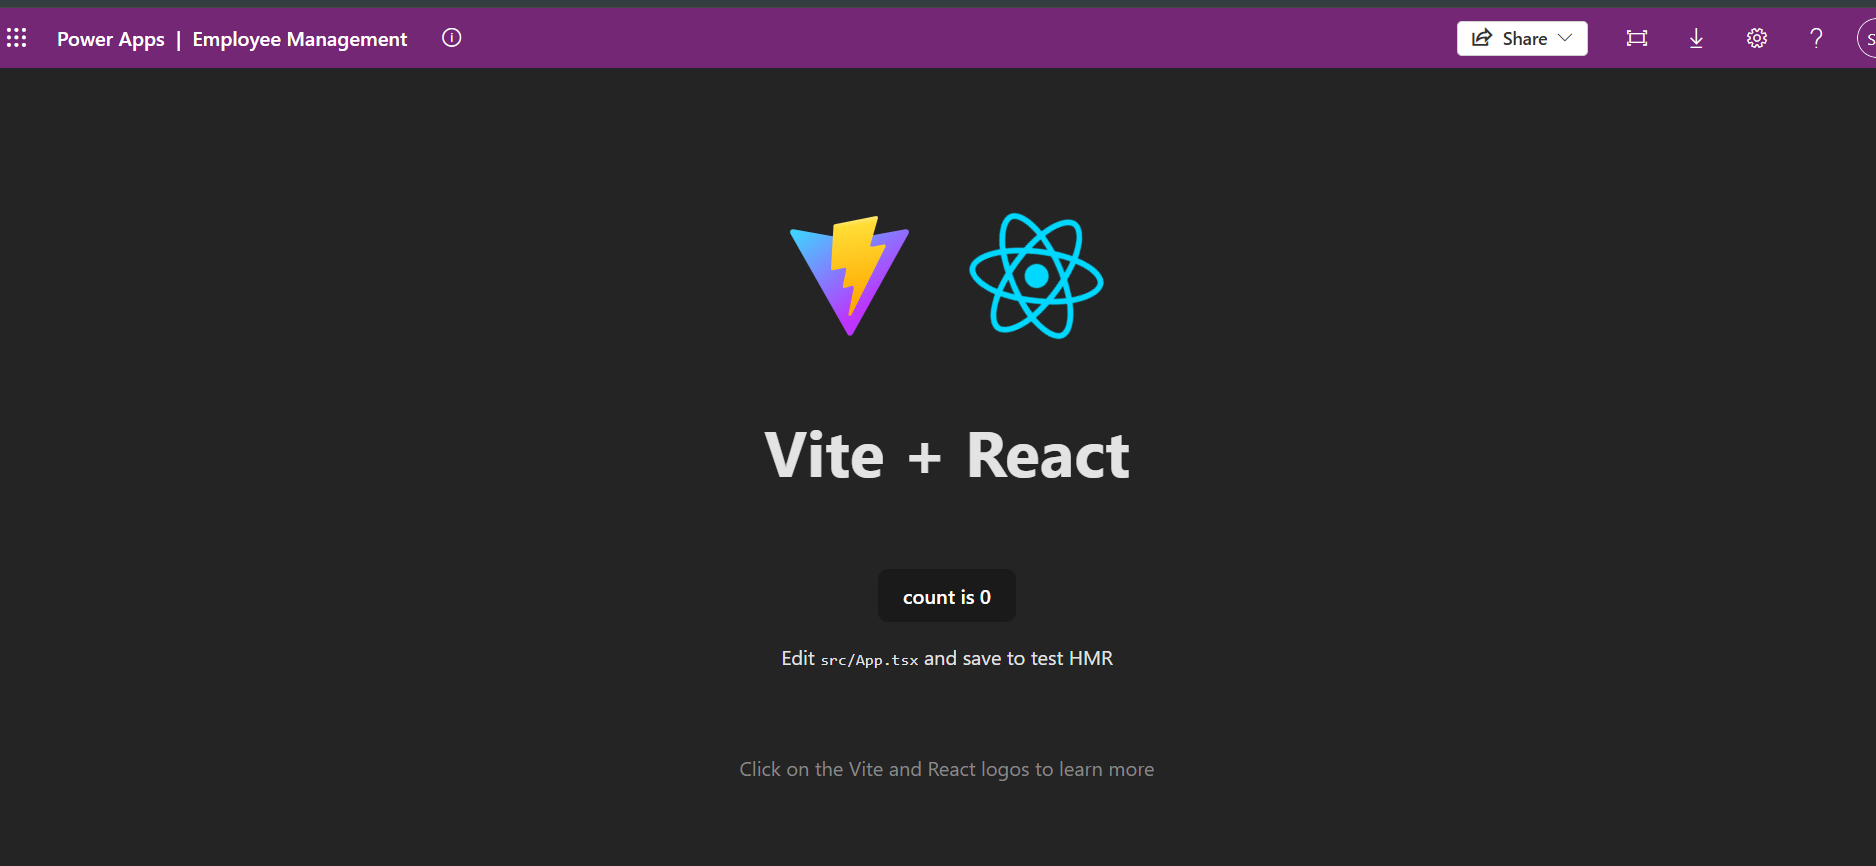
Open the Local Play URL displayed in the terminal. If everything is configured correctly, you should see your Power Apps Code App running in the browser.
After verifying that the application is working as expected, publish it to Power Apps using:
The npm run build command generates the production build, and pac code push publishes the app to Power Apps. Once deployed, the Code App becomes available in the Apps section of your environment.
Now that our Power Apps Code App is ready, let's create a Power Automate Flow that will be triggered directly from the application.
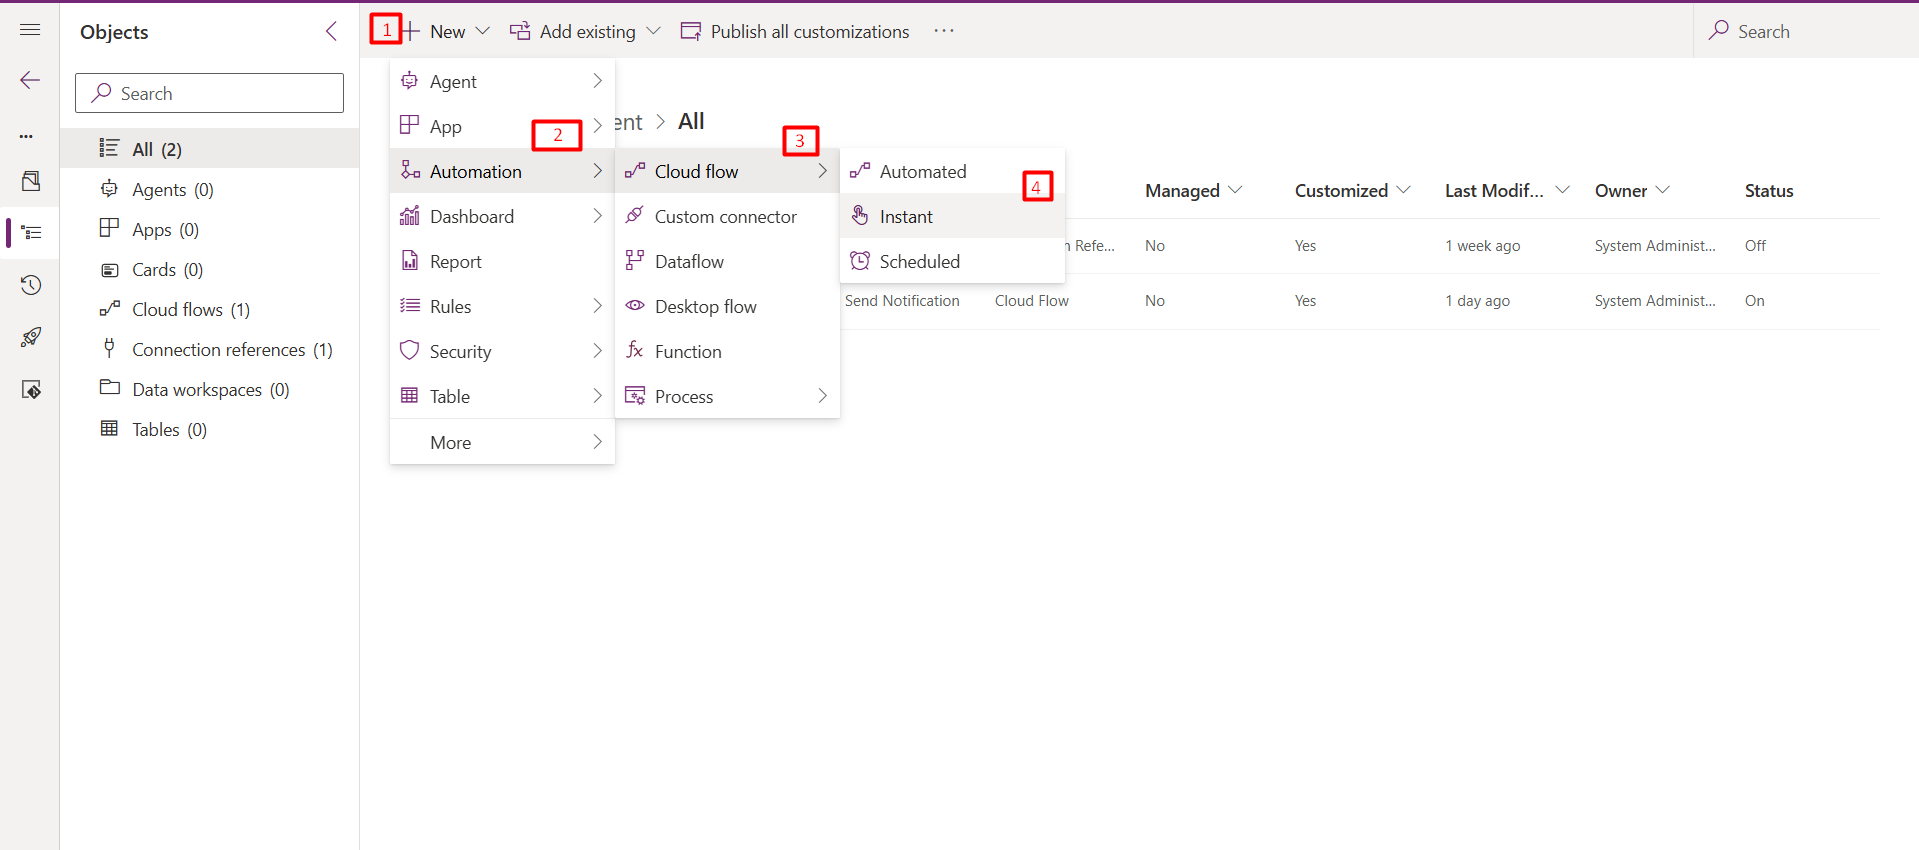
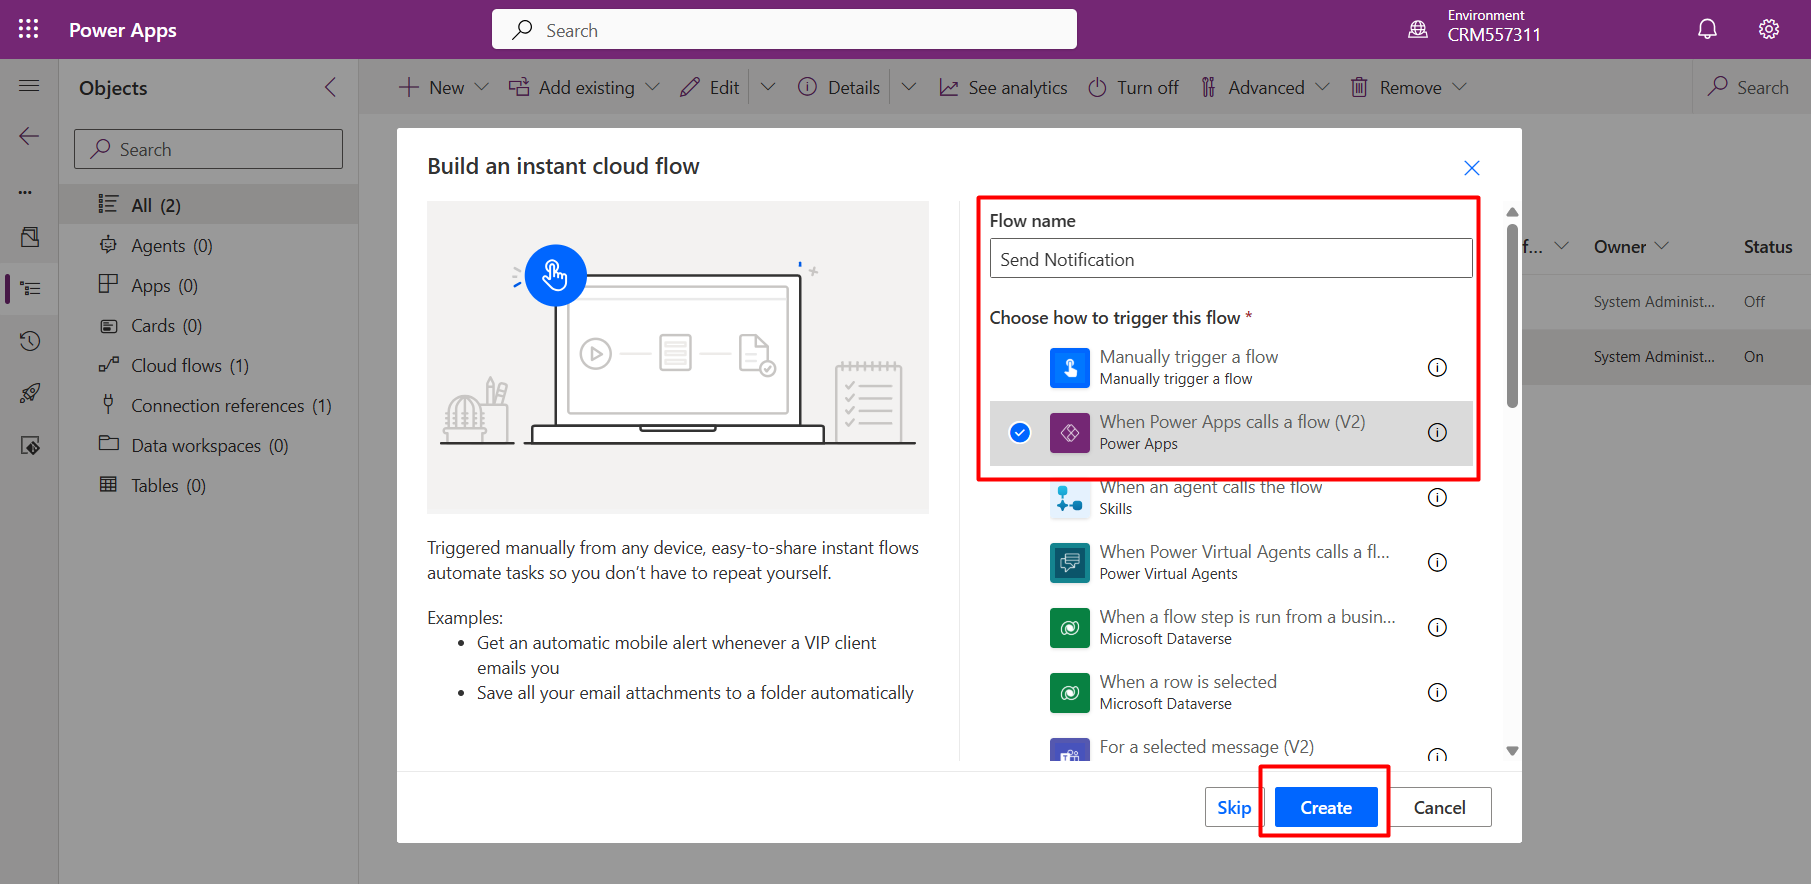
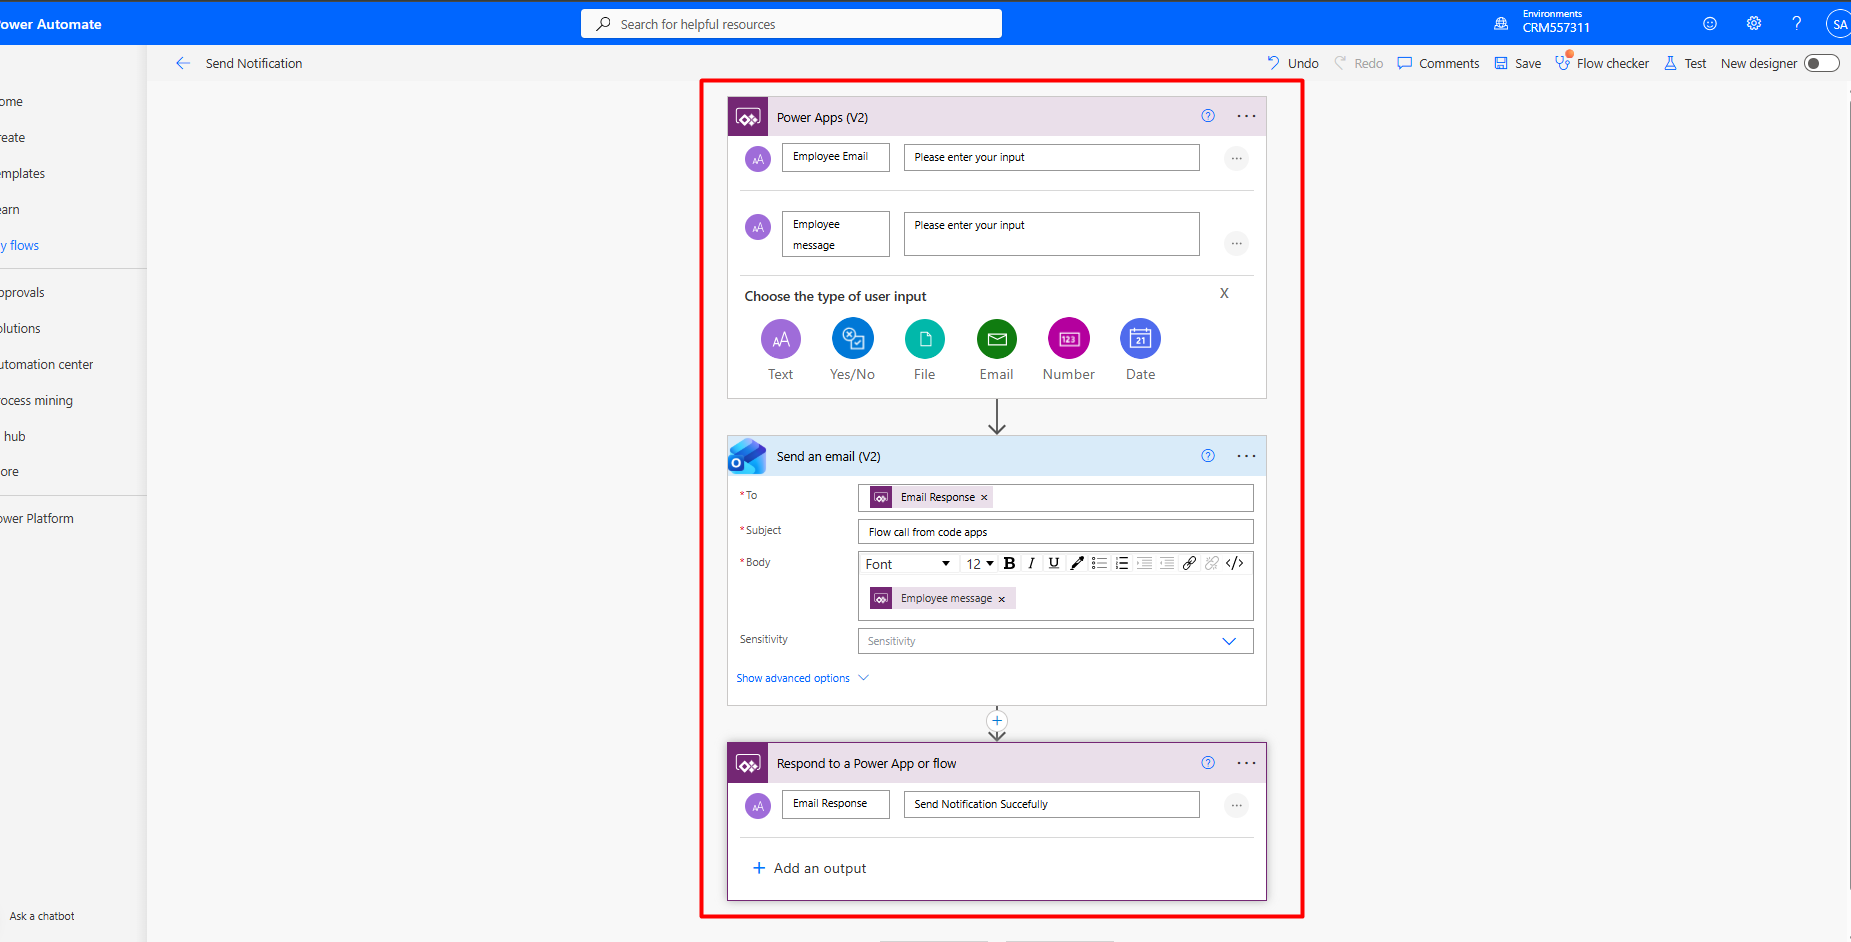
Open your solution and click New → Automation → Cloud Flow → Instant. Provide a name for the flow and select Power Apps (V2) as the trigger.
Next, add the required input parameters that will be passed from the Code App. For this example, we'll create two text inputs:
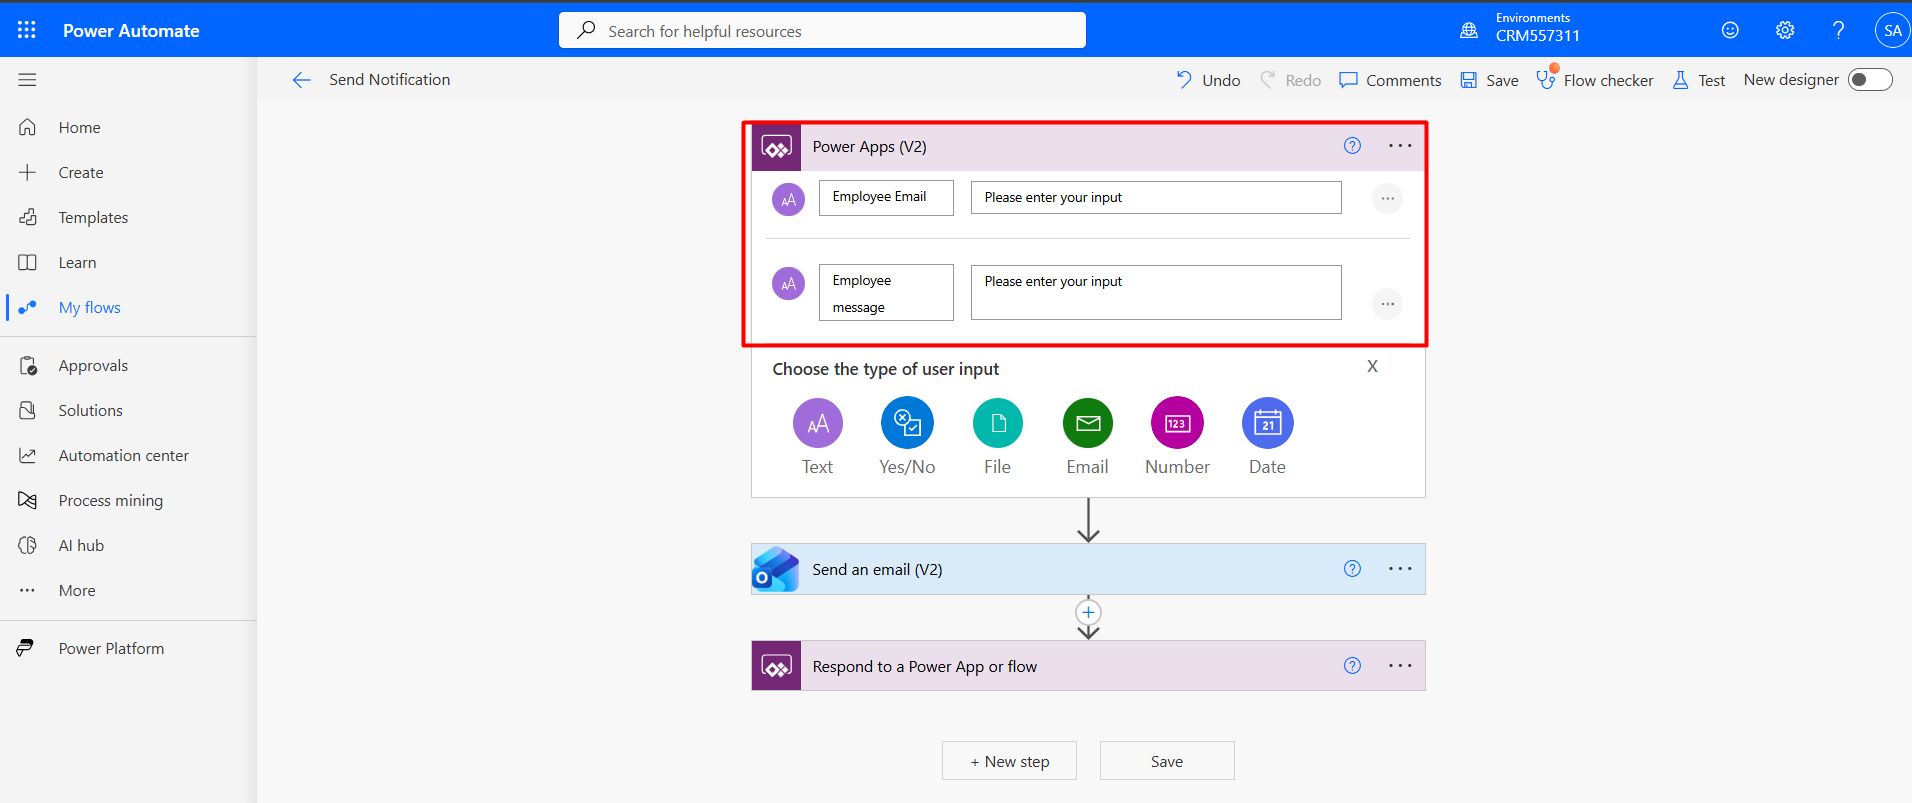
Add a Send an email (V2) action and use the values received from the Power Apps trigger. Then add a Response action to return a success message back to the Code App.
Important: Make sure the flow is created inside a solution, as Power Apps Code Apps only support solution-aware flows.
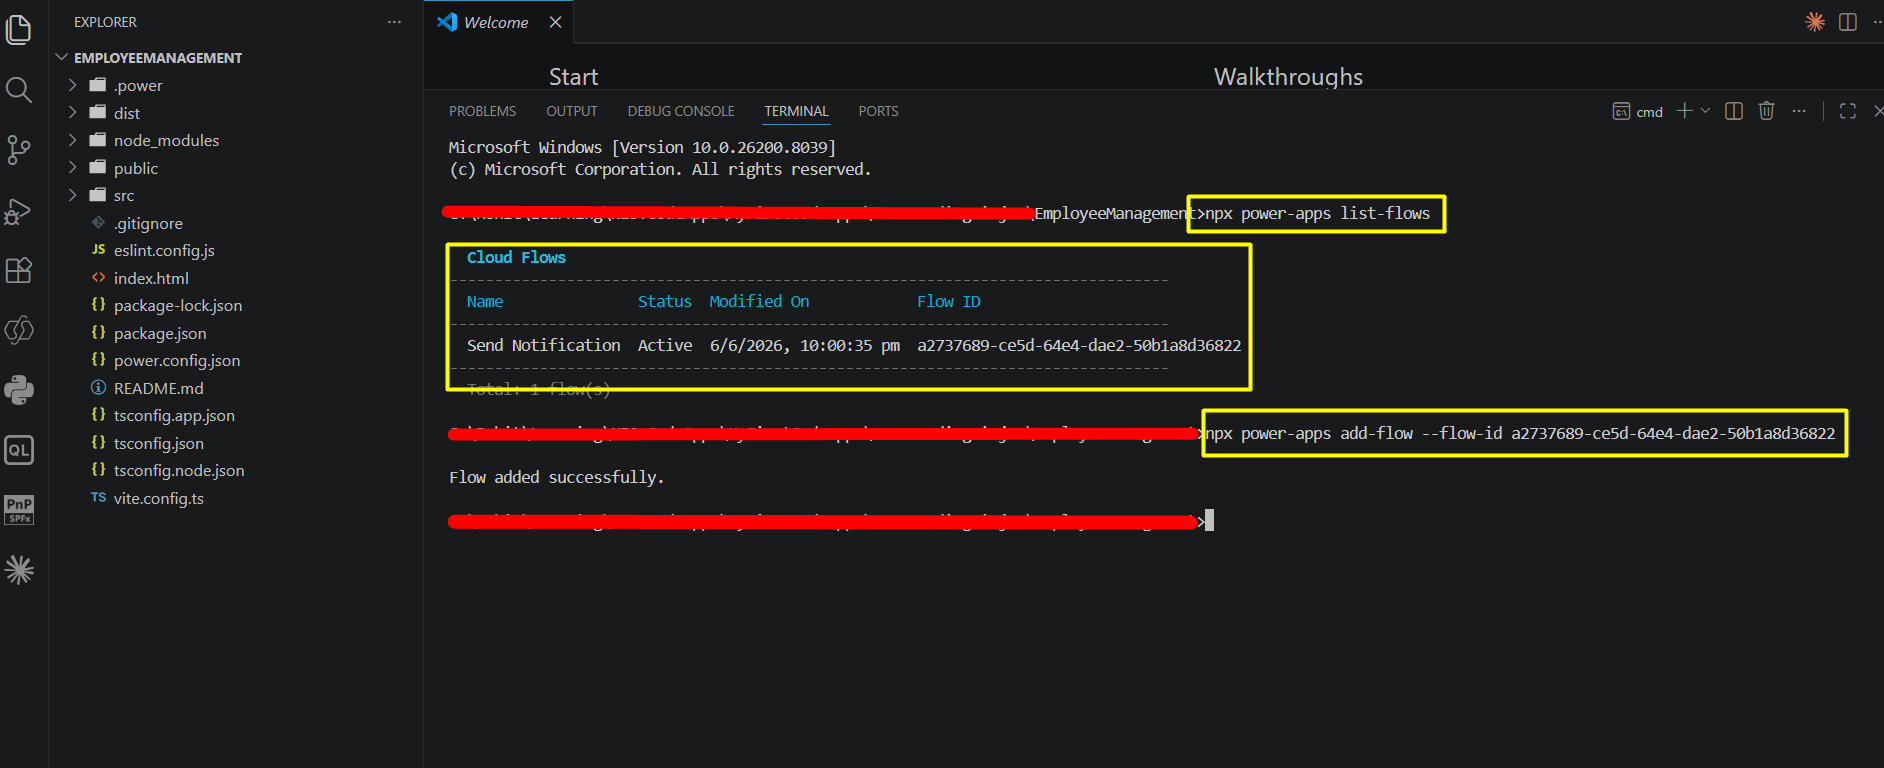
Now that our Power Automate Flow is ready, let's add it to our Code App. First, list all available solution-aware flows in your environment:
The command returns all available flows along with their Flow IDs.
Copy the Flow ID of the flow you want to use and run:
For example:
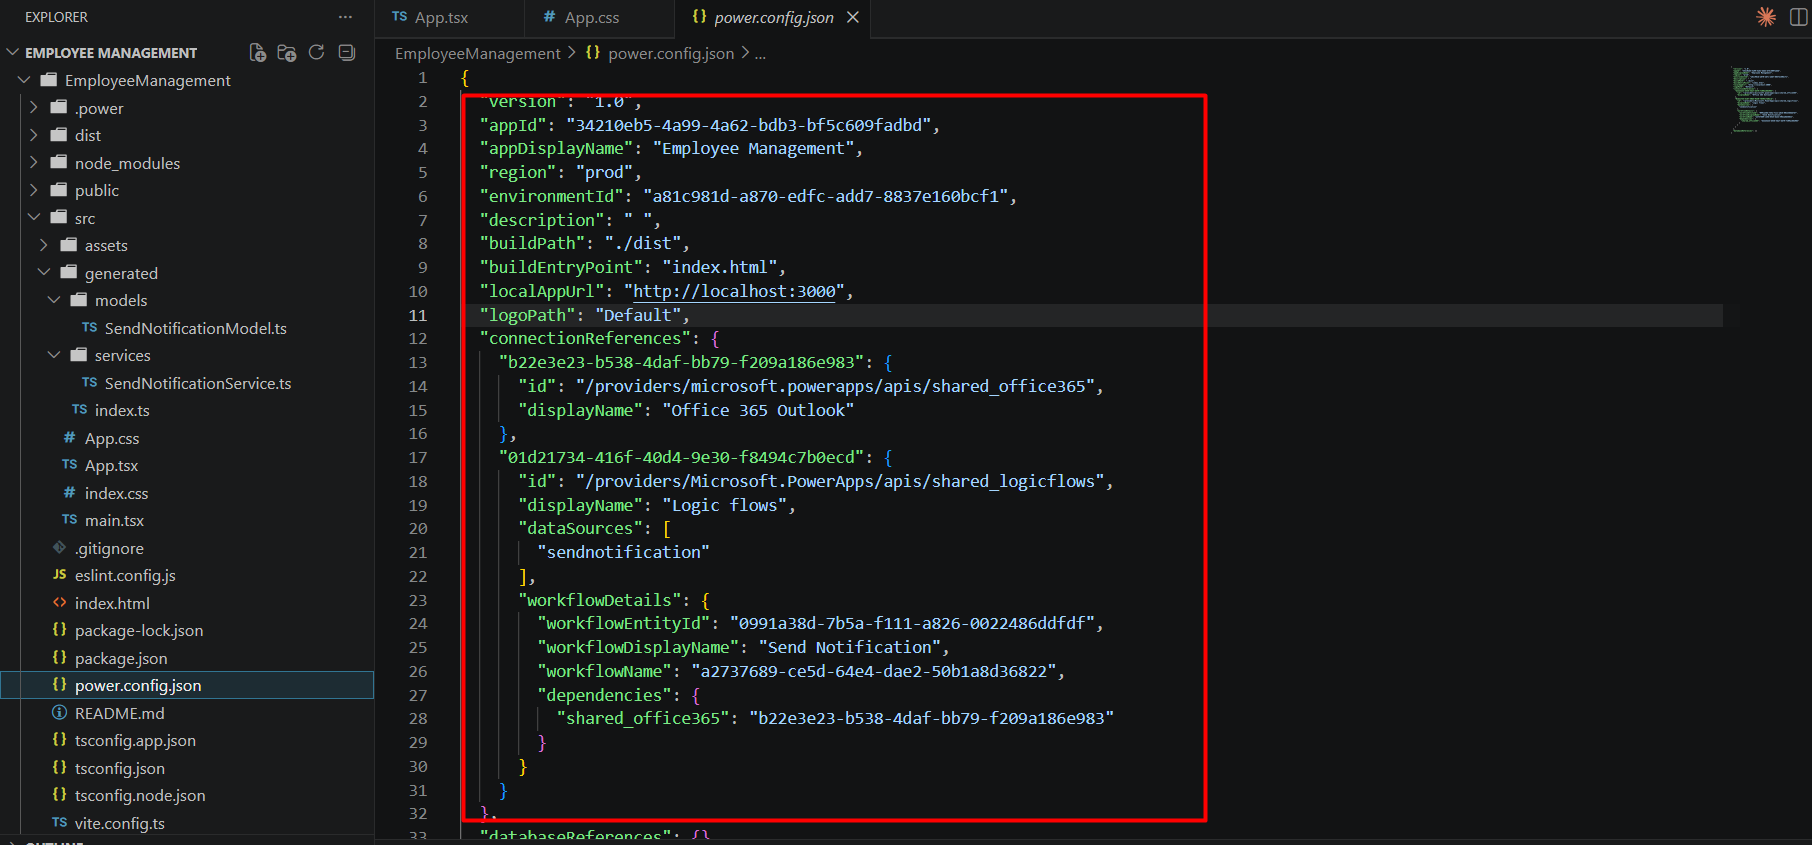
After the flow is added successfully, Power Apps automatically generates the required files and updates the power.config.json file with the necessary flow configuration and connection references.
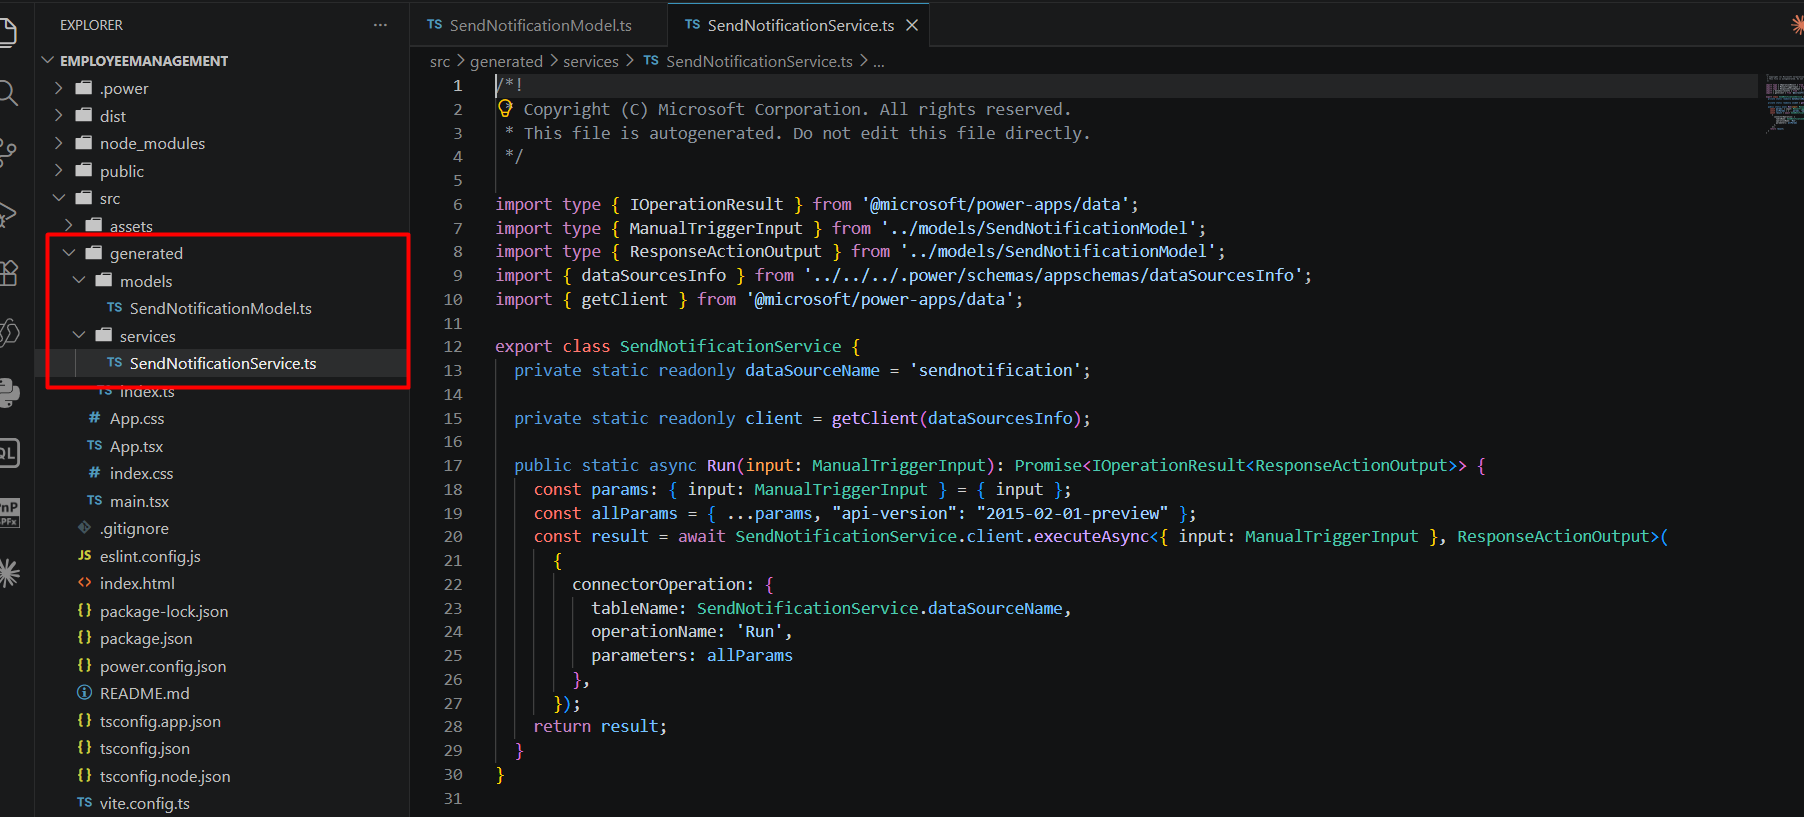
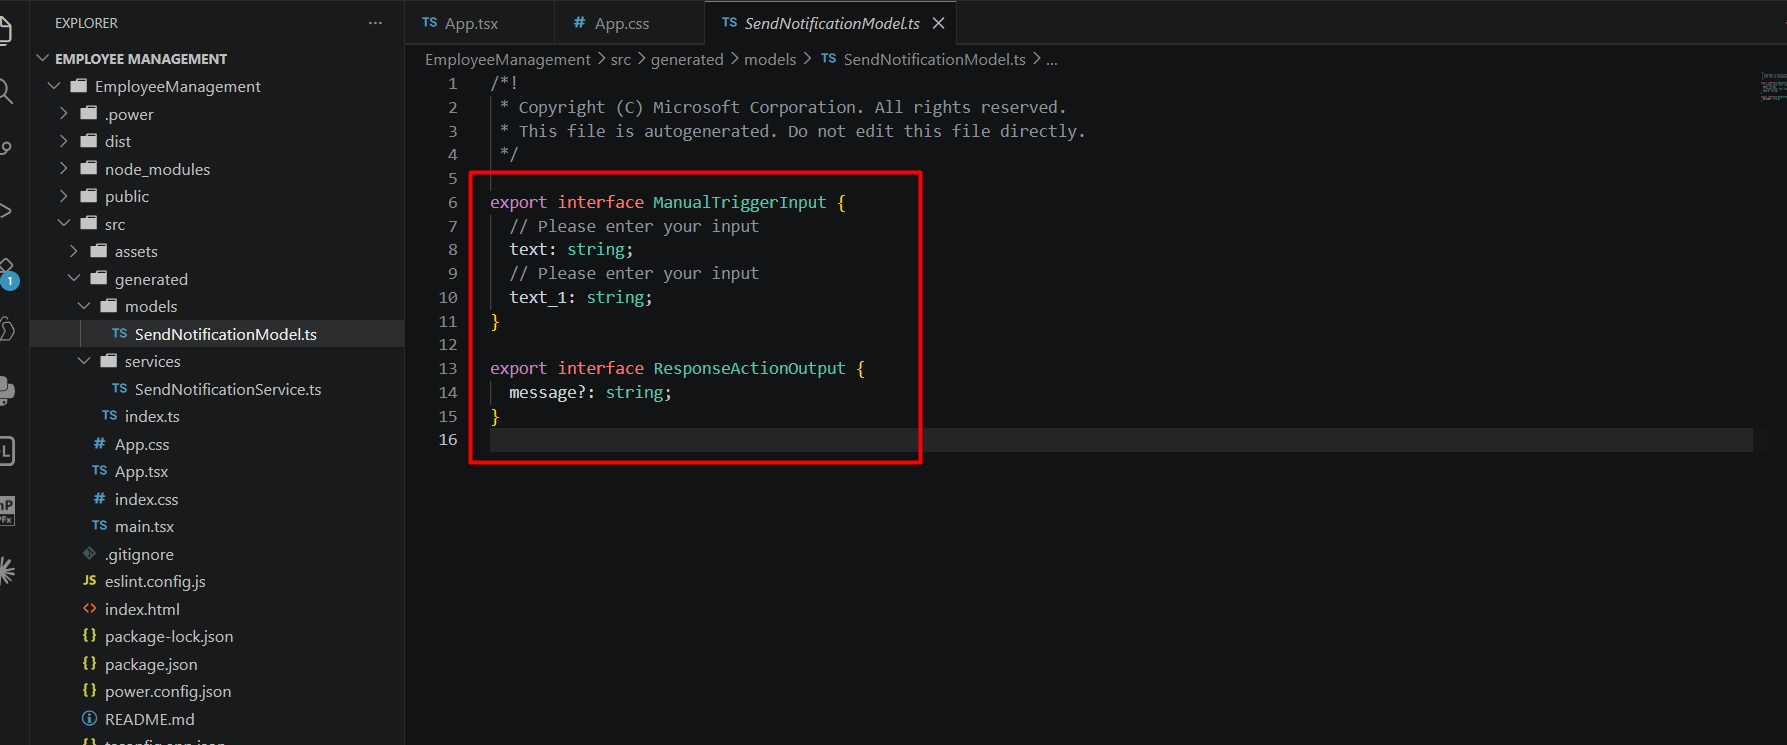
After adding the flow successfully, Power Apps automatically generates the required TypeScript files inside the generated folder.
For our example, the following files were created: SendNotificationModel.ts and SendNotificationService.ts. The model file contains the flow input definitions, while the service file contains the methods required to execute the flow directly from the application.
After adding the flow as a data source, we can trigger it directly from our React application using the generated SendNotificationService class.
In our example, we pass the employee email and employee Message to the flow using the generated Run() method:
When the user clicks the Send Notification button, the flow executes and sends the required data to Power Automate.
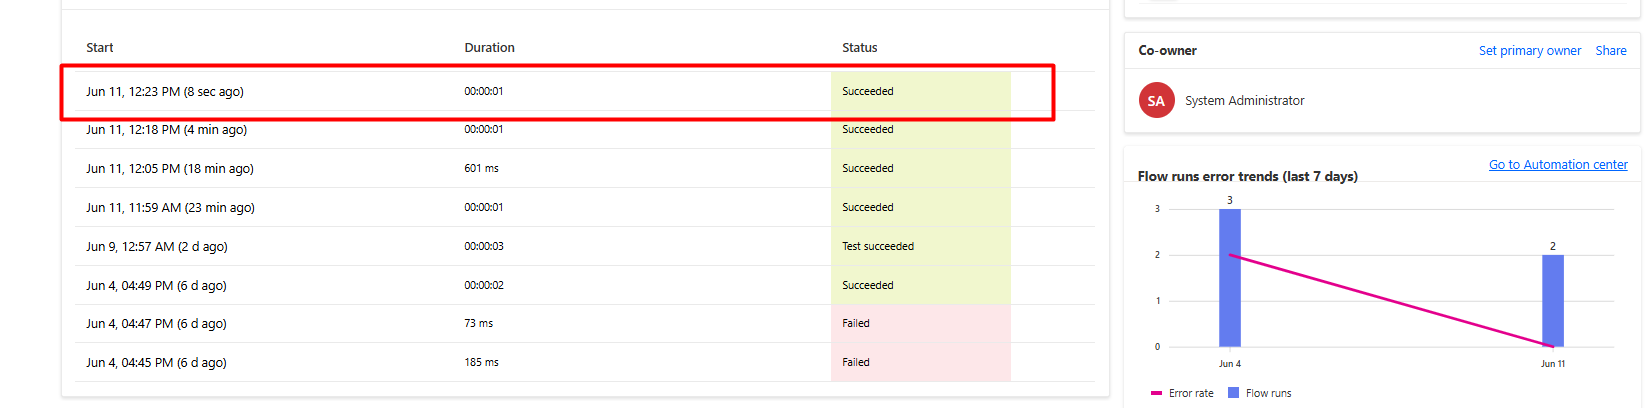
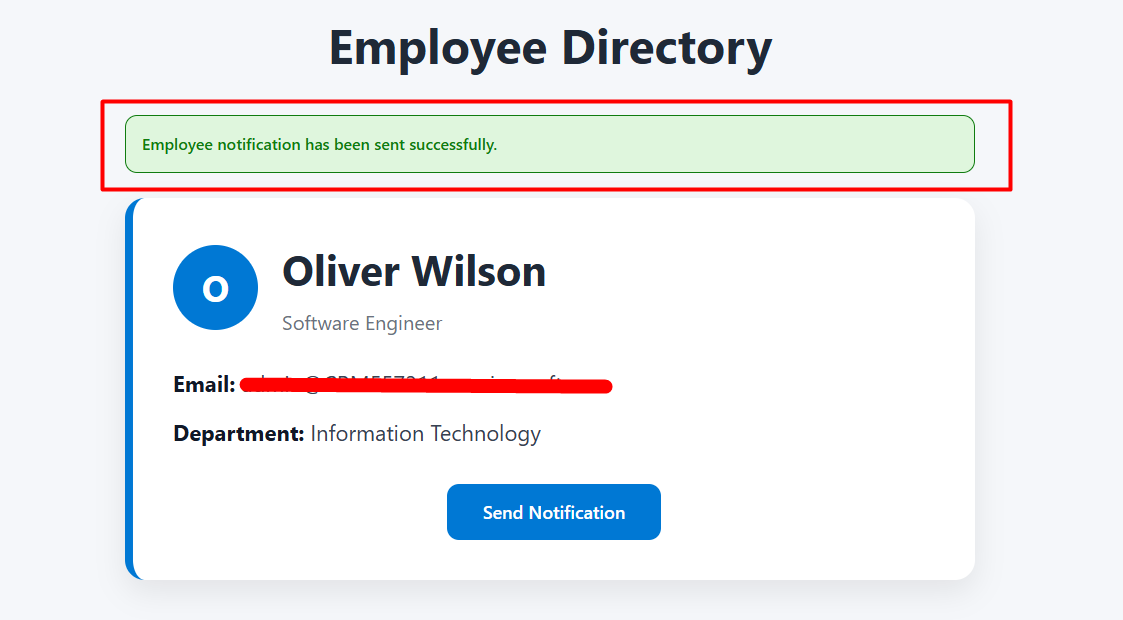
Run the application and click the Send Notification button.
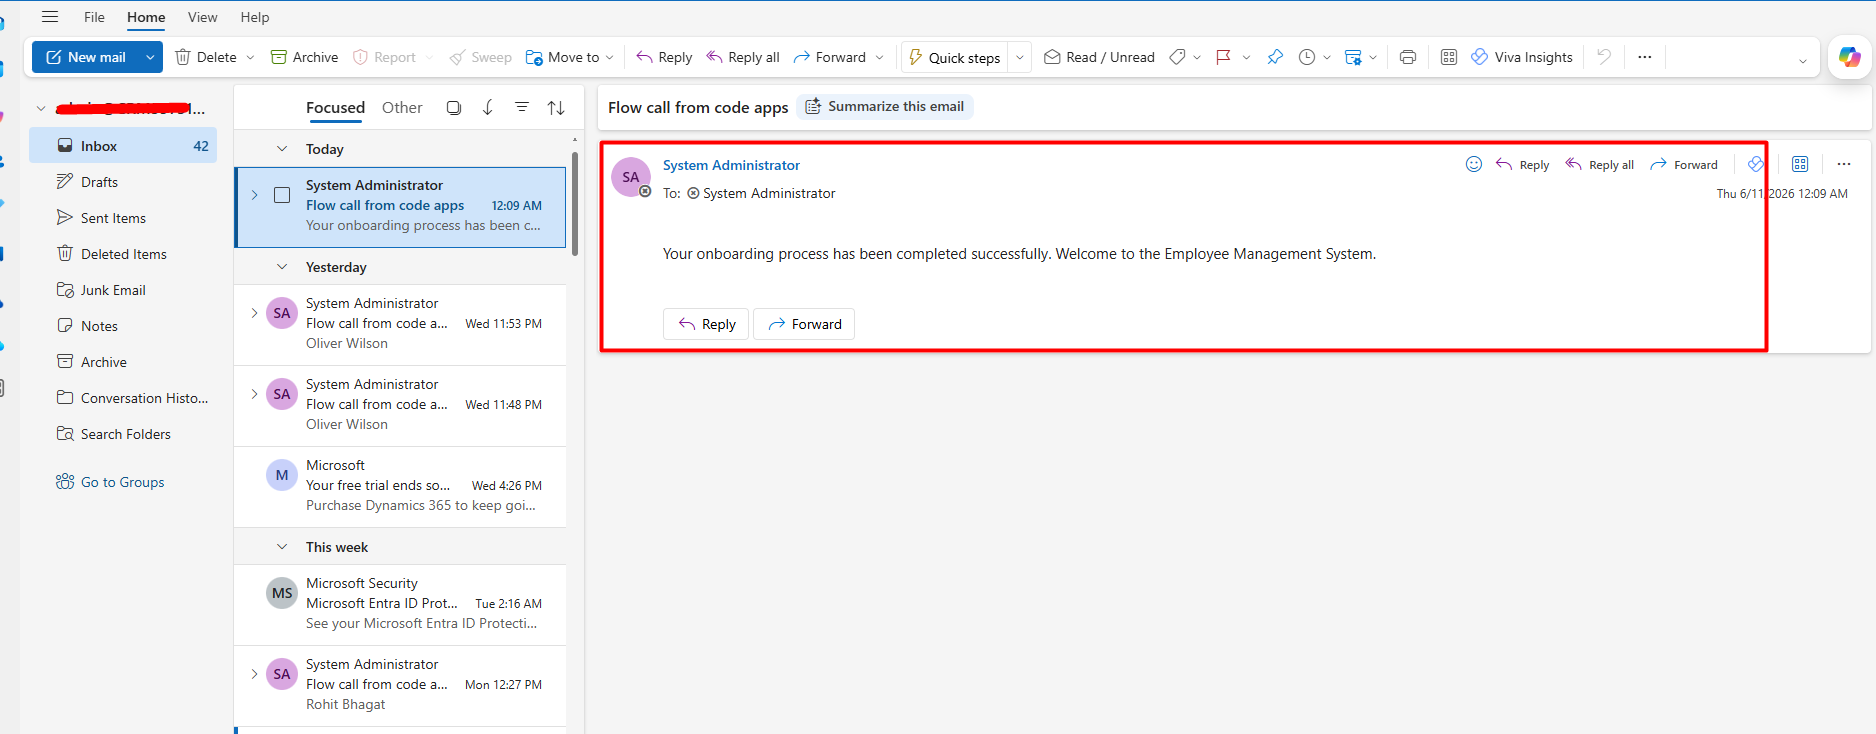
When the button is clicked, the Power Automate Flow is triggered and the employee details are passed to the flow. If the flow executes successfully, a confirmation message is displayed in the application and the notification email is sent to the specified recipient.

In this blog, we learned how to connect a Power Automate Flow to a Power Apps Code App and trigger it directly from React code. We also explored how Power Apps automatically generates the required files, making flow integration simple and developer-friendly.
With this approach, you can quickly add automation capabilities to your Code Apps and build powerful business solutions on the Microsoft Power Platform.
Comment
Power Pages Server Logic allows developers to execute secure backend JavaScript directly within Power Pages. It is commonly used for…
READ MORE
In this blog, we’ll build and deploy a Single Page Application (SPA) using React + Vite and host it on…
READ MORE
Introduction In Dynamics 365, subgrids are commonly used to display related records, such as Opportunities under an Account. While out-of-the-box…
READ MORE