
22 Sep, 2026
Posted on 22 Sep, 2026 by Rutuja Narad, Posted in Microsoft 365 Dynamics 365
 Blogs
Blogs
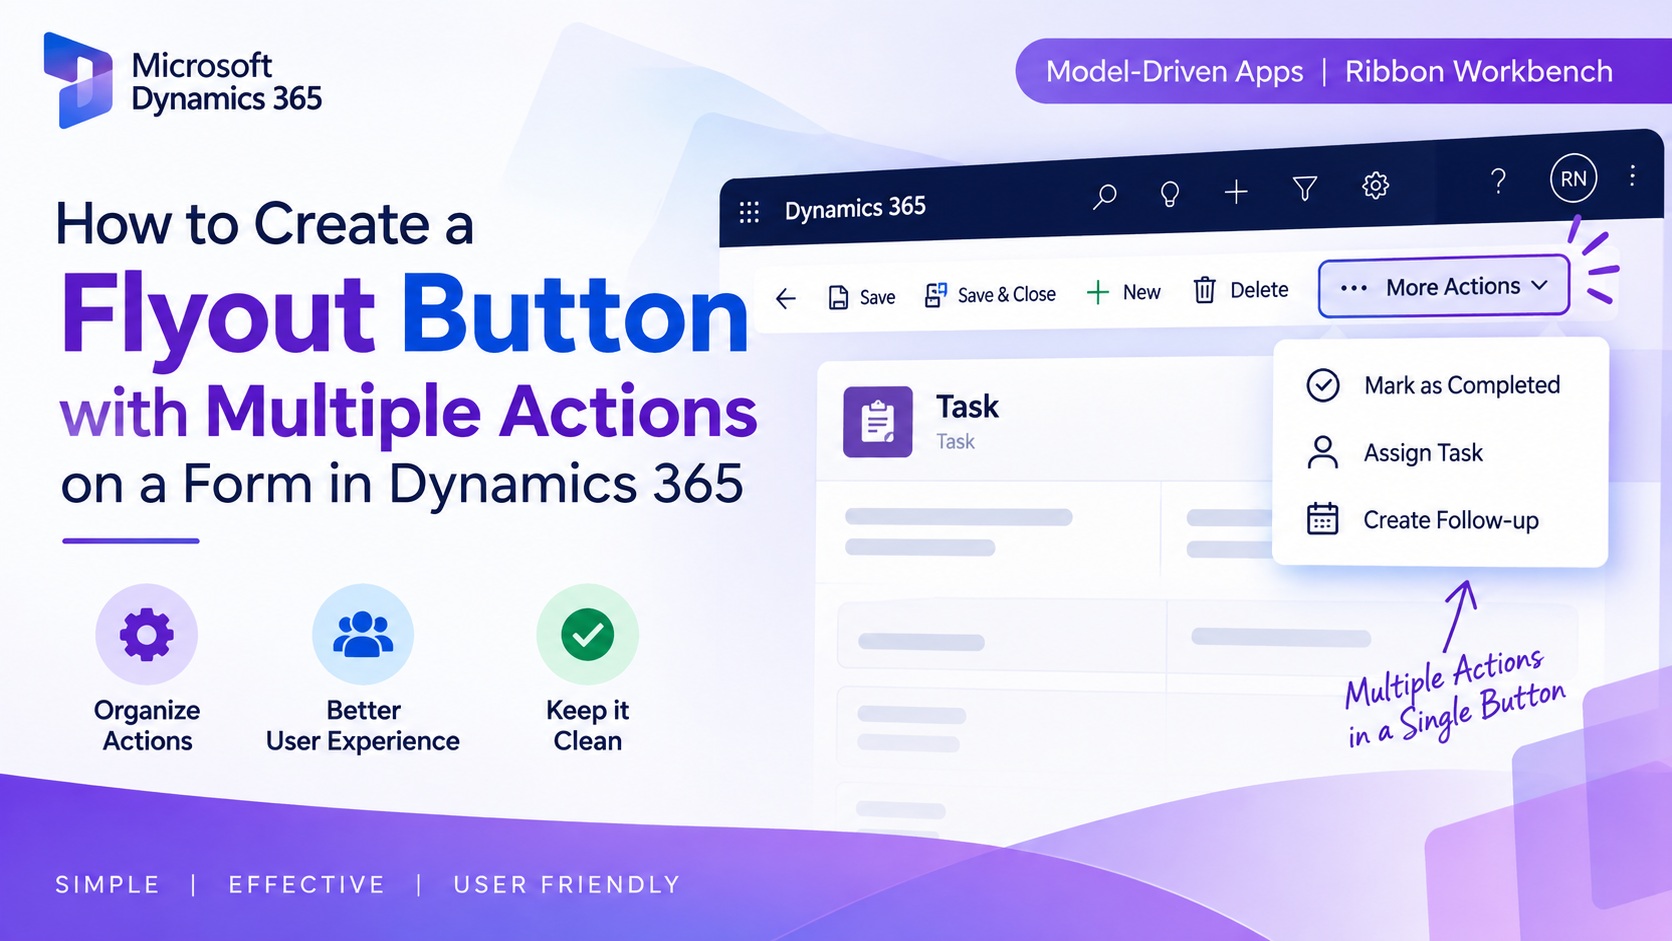
How to Create a Flyout Button with Multiple Actions on a Form in Dynamics 365
Introduction
In model-driven apps, command bars provide users with actions that can be performed on the current record. As the number of actions increases, placing every action directly on the command bar can make the interface crowded.
A flyout button provides a cleaner way to group related actions under a single command.
In this blog, we will walk through how to create a flyout button on a form and add multiple actions under it using a simple Task Management application.
Step 1: Set Up a Solution
Create a dedicated solution for the customization. This keeps all the components related to the flyout button organized in one place and makes it easier to manage and deploy the changes.
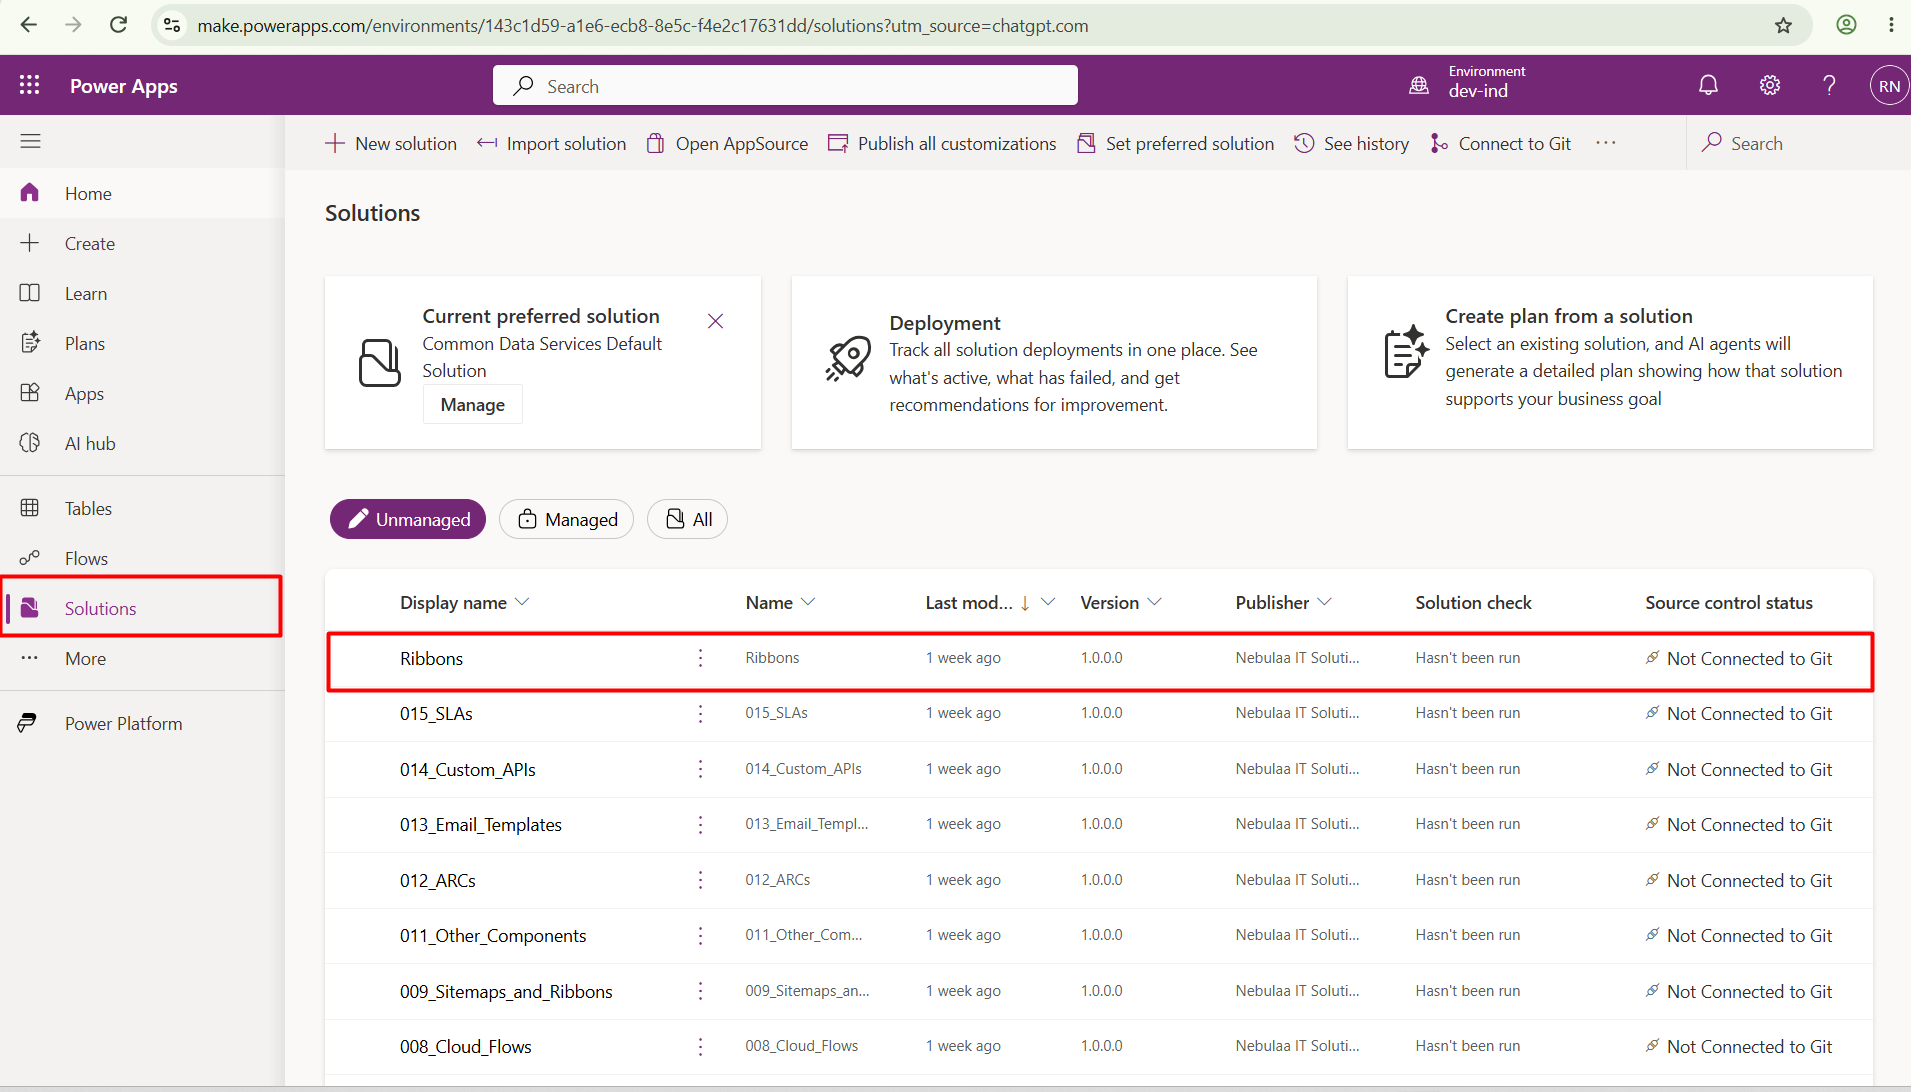
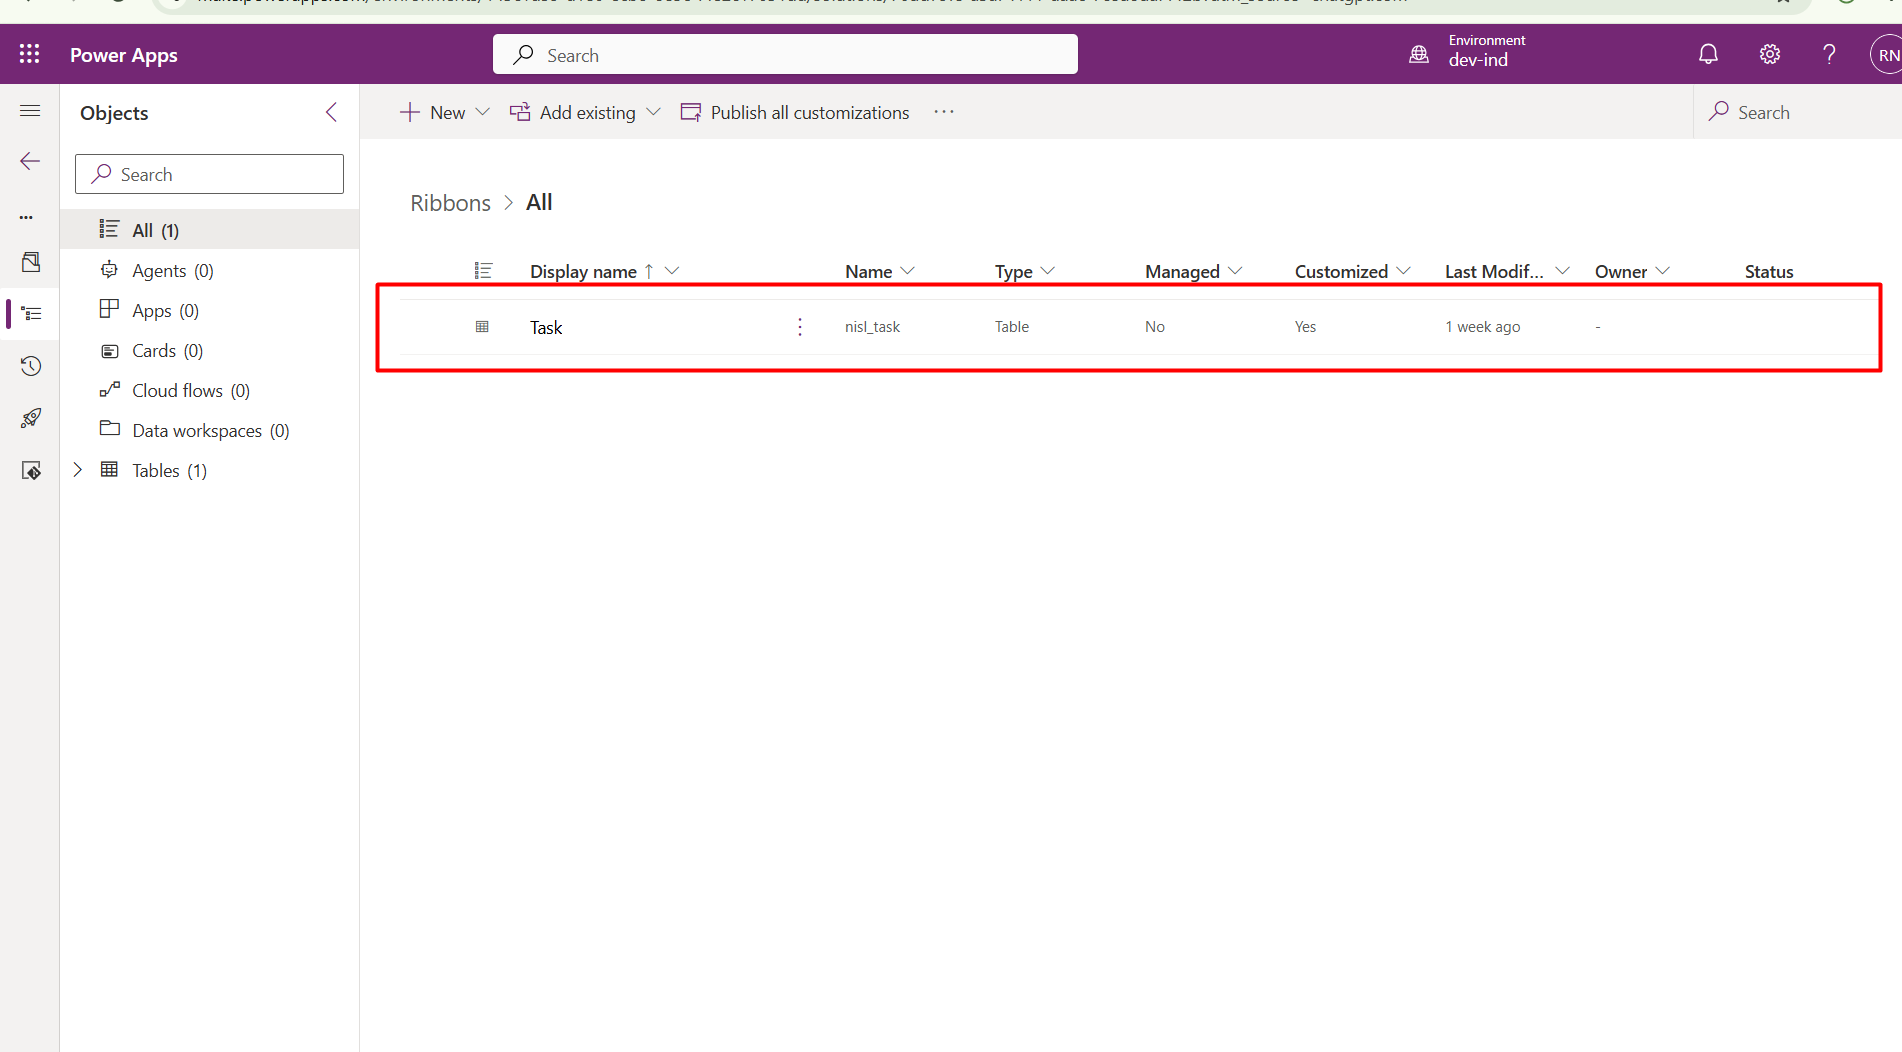
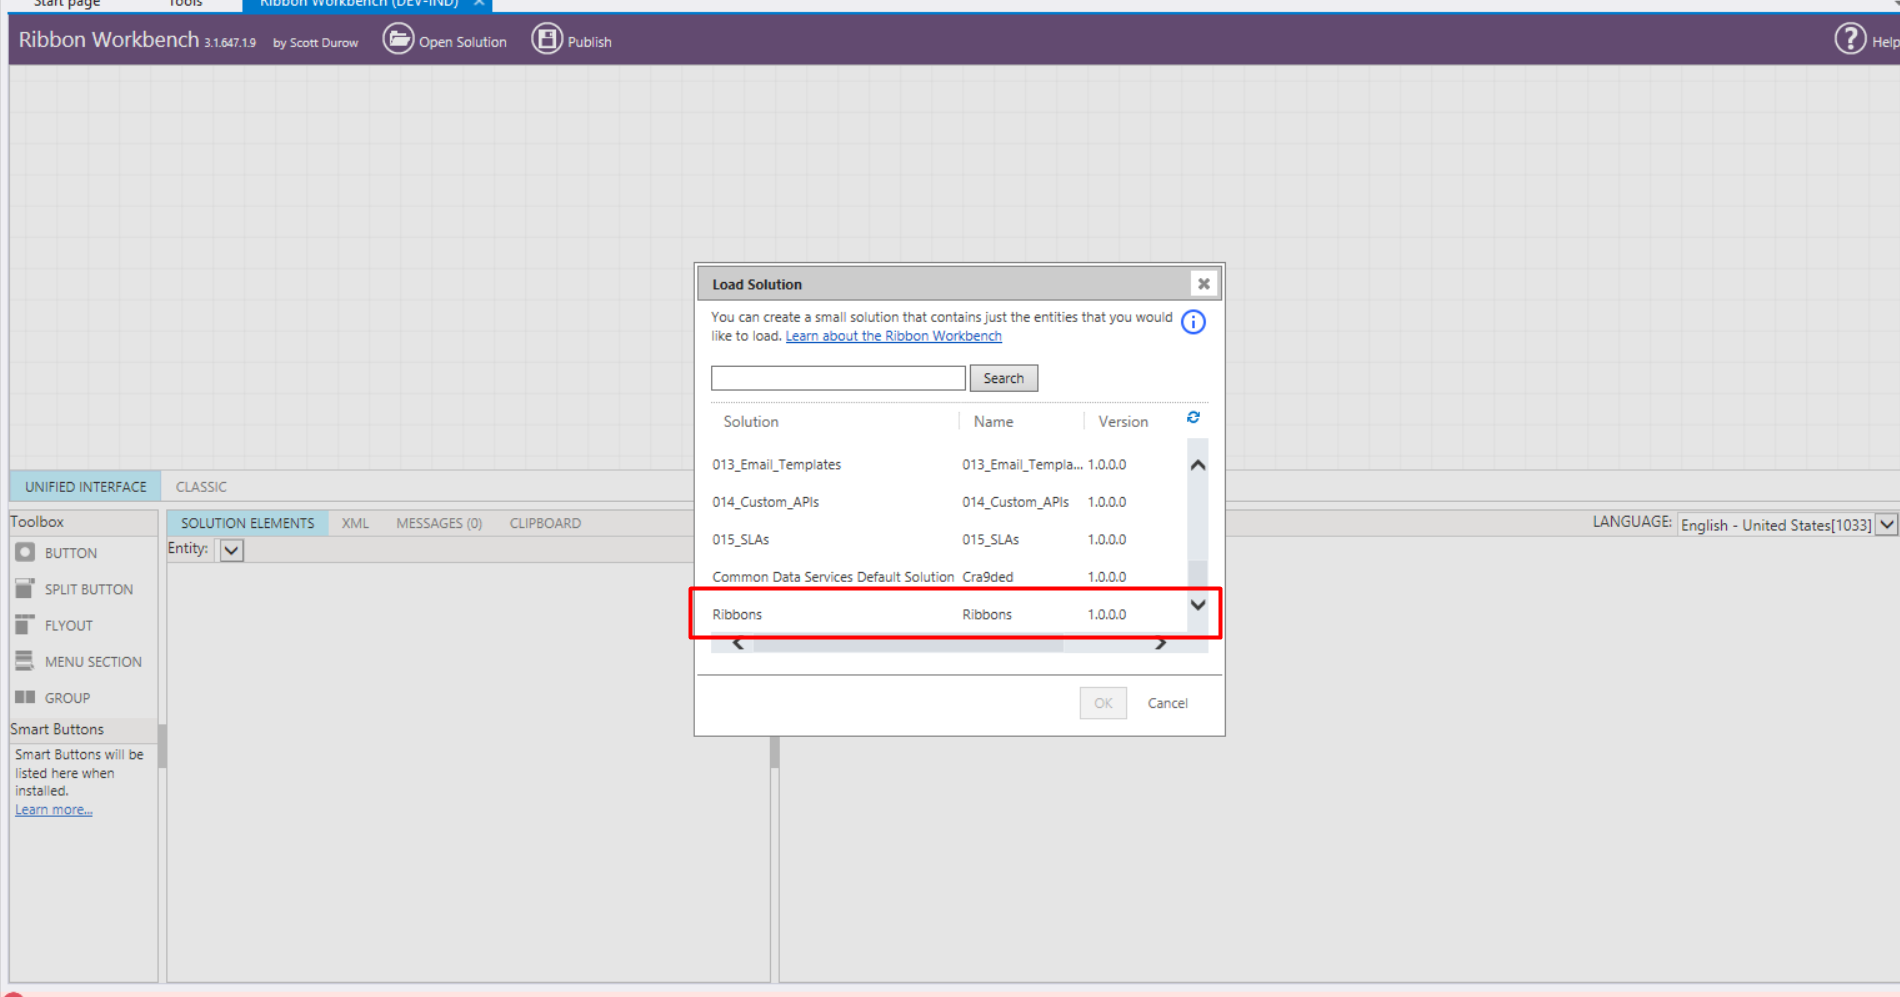
Step 2: Open the Solution in Ribbon Workbench
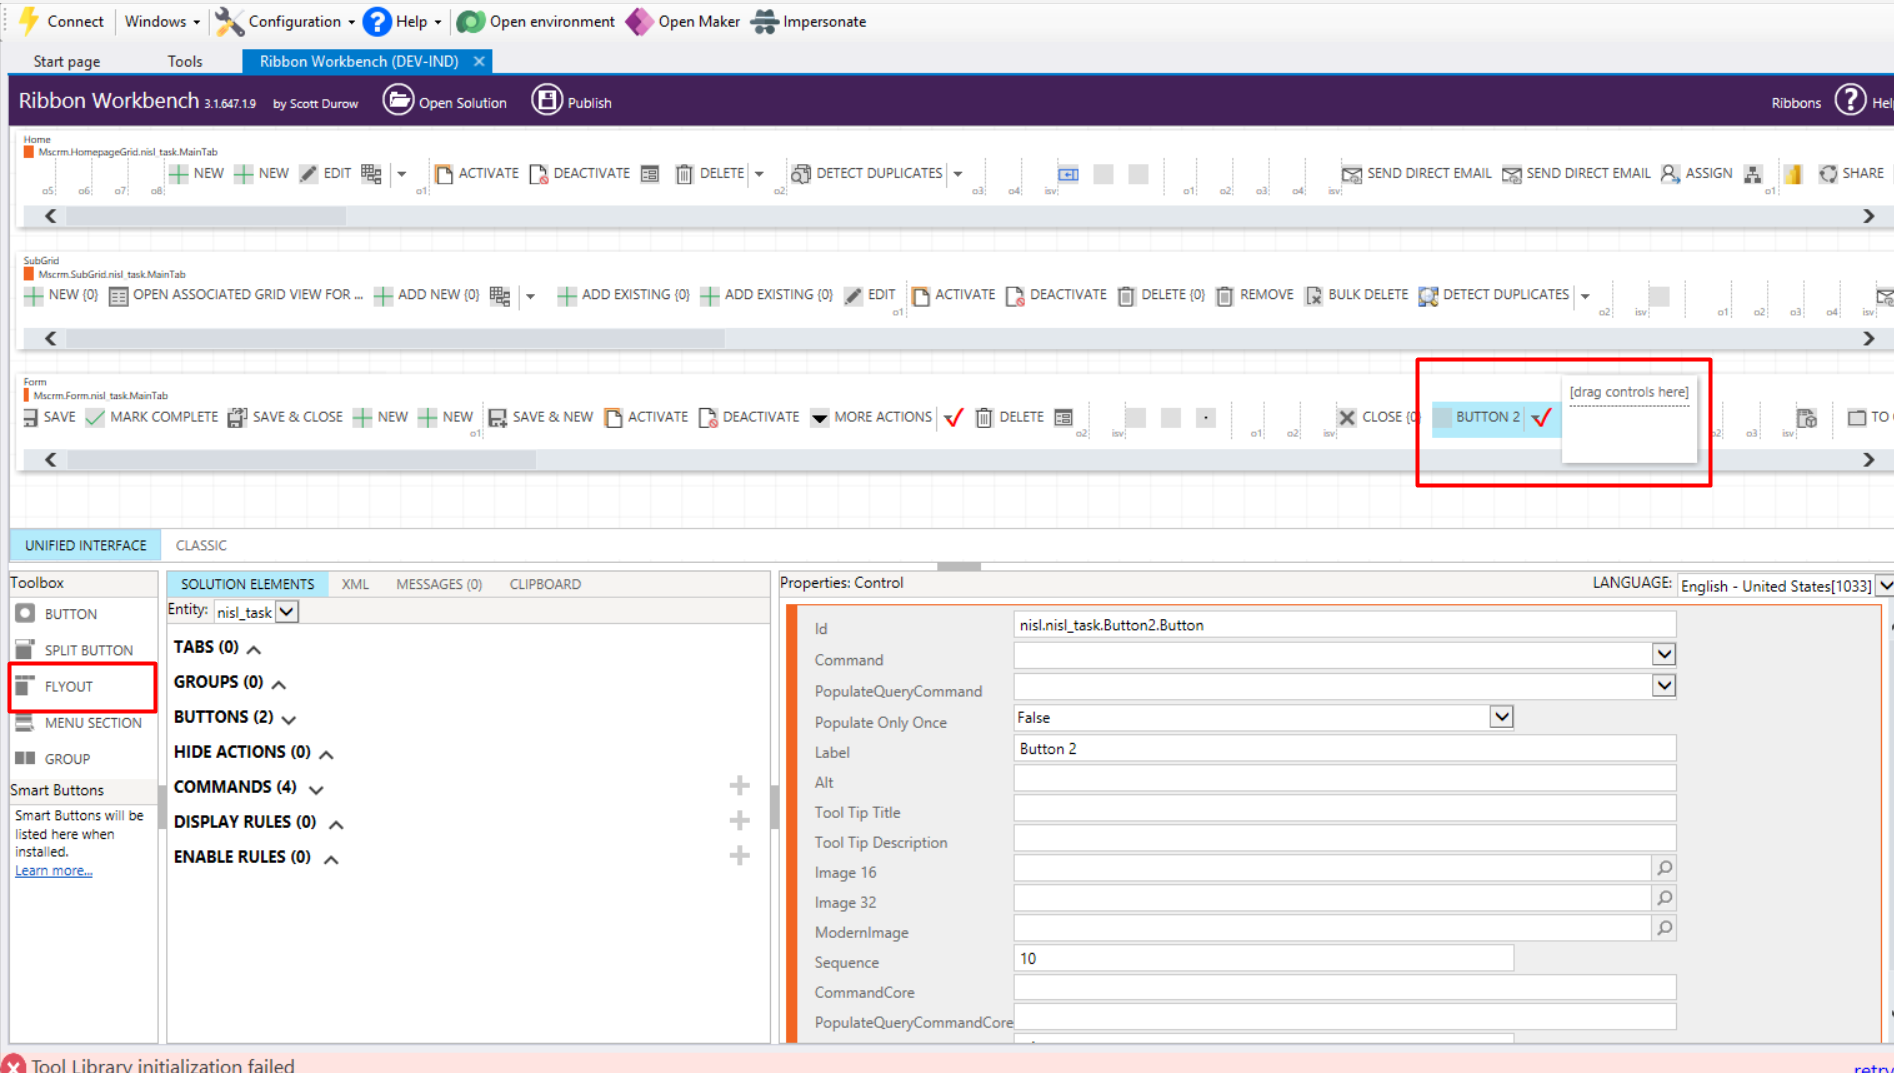
Step 3: Add a Flyout to the Main Form
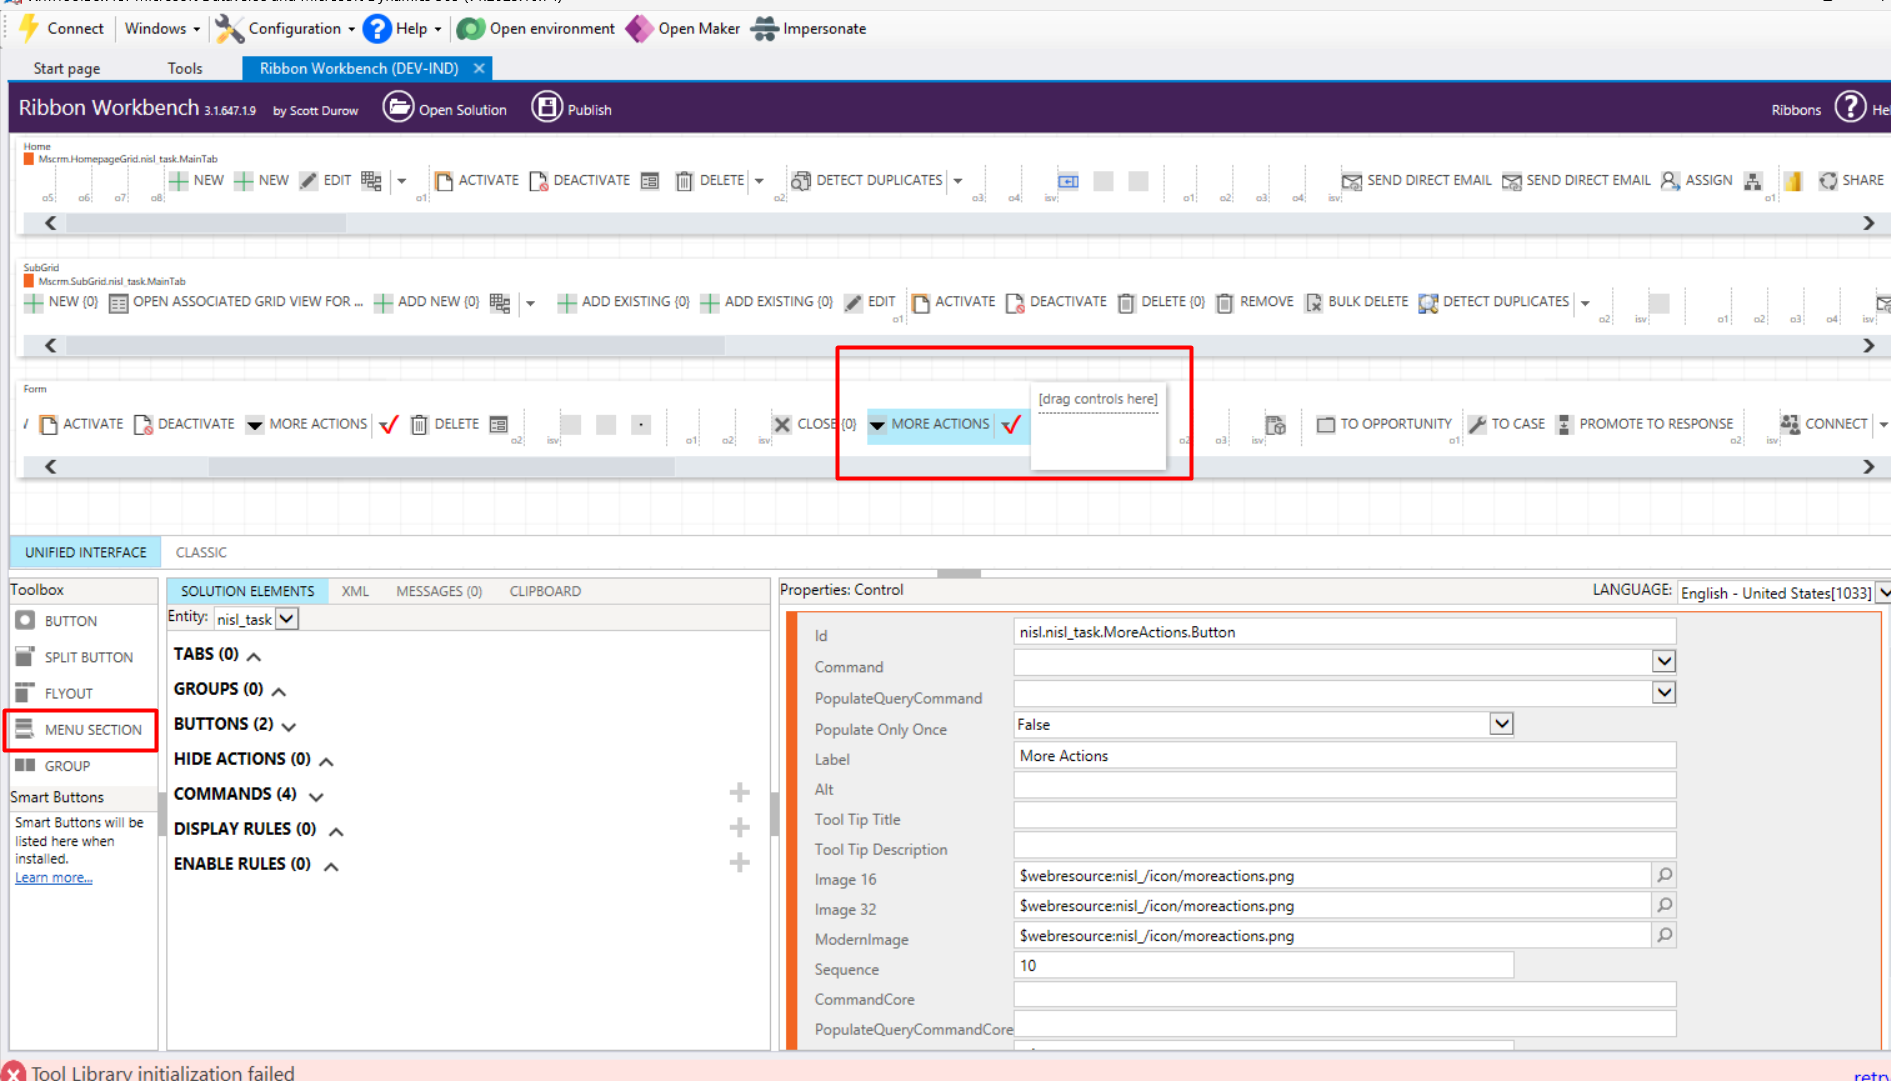
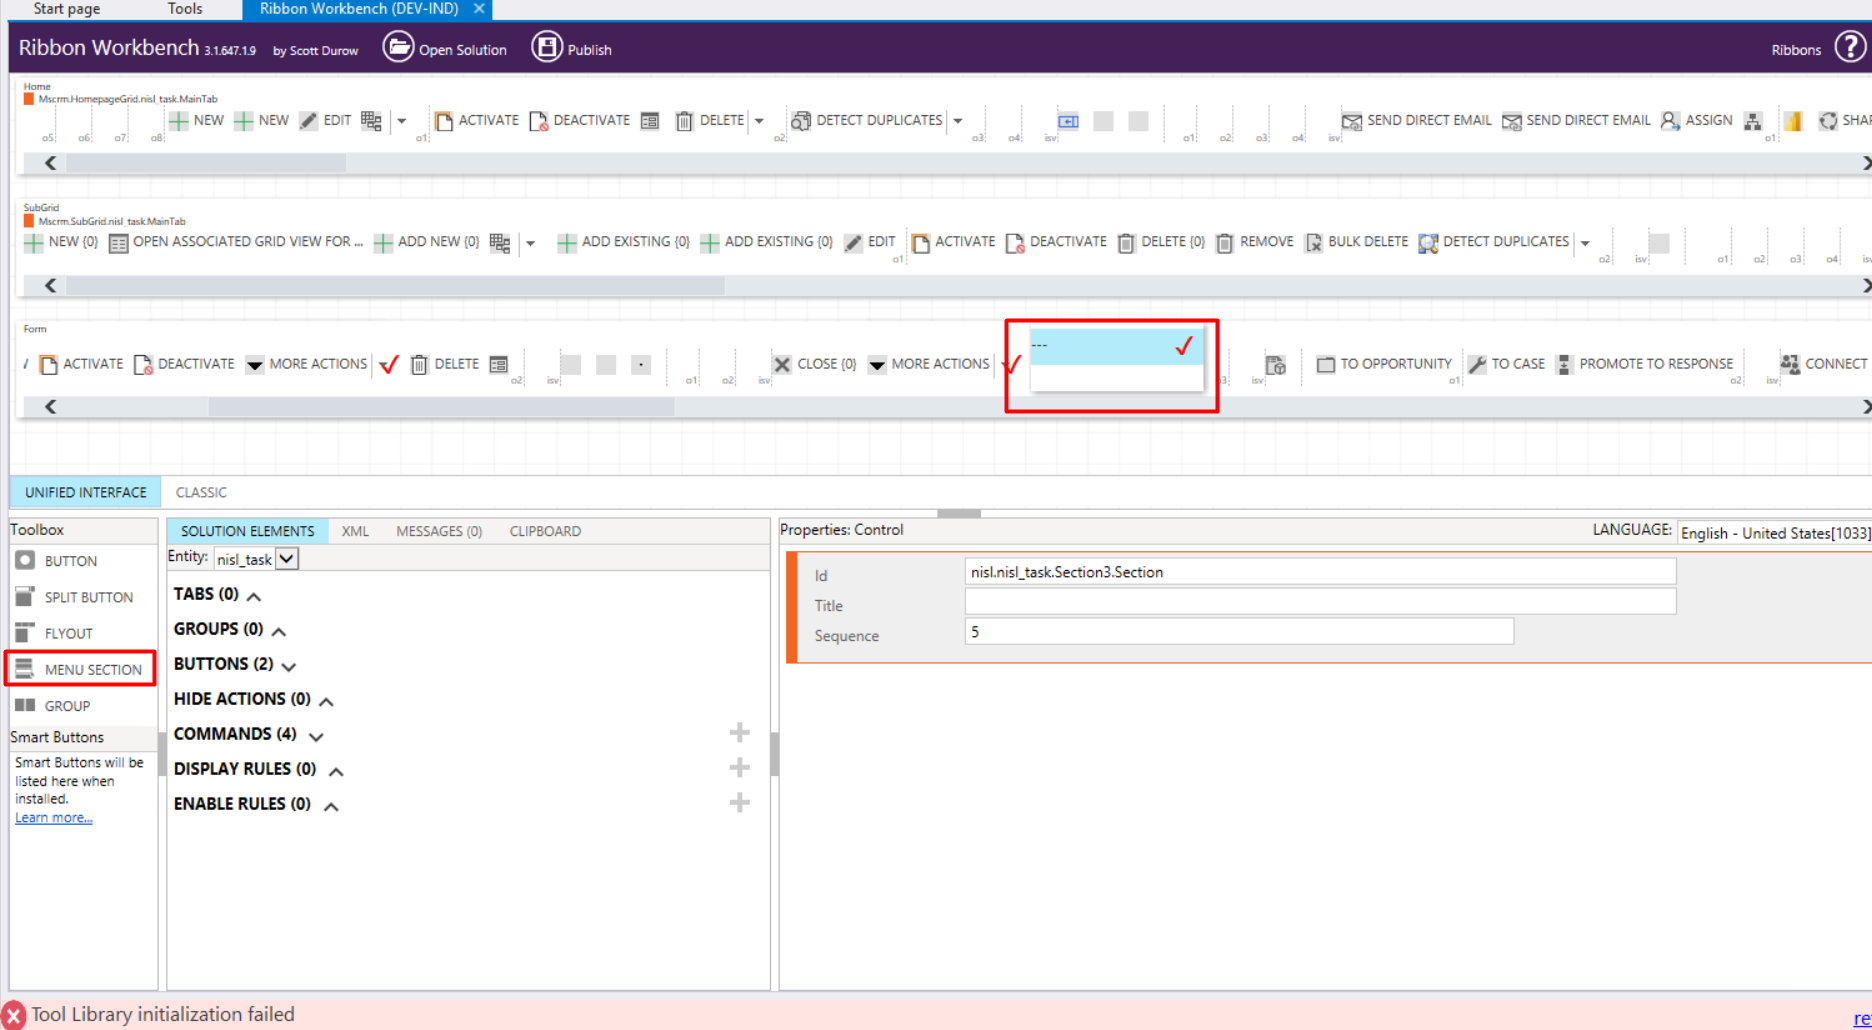
Step 4: Add a Menu Section
Step 5: Add Buttons to the Flyout
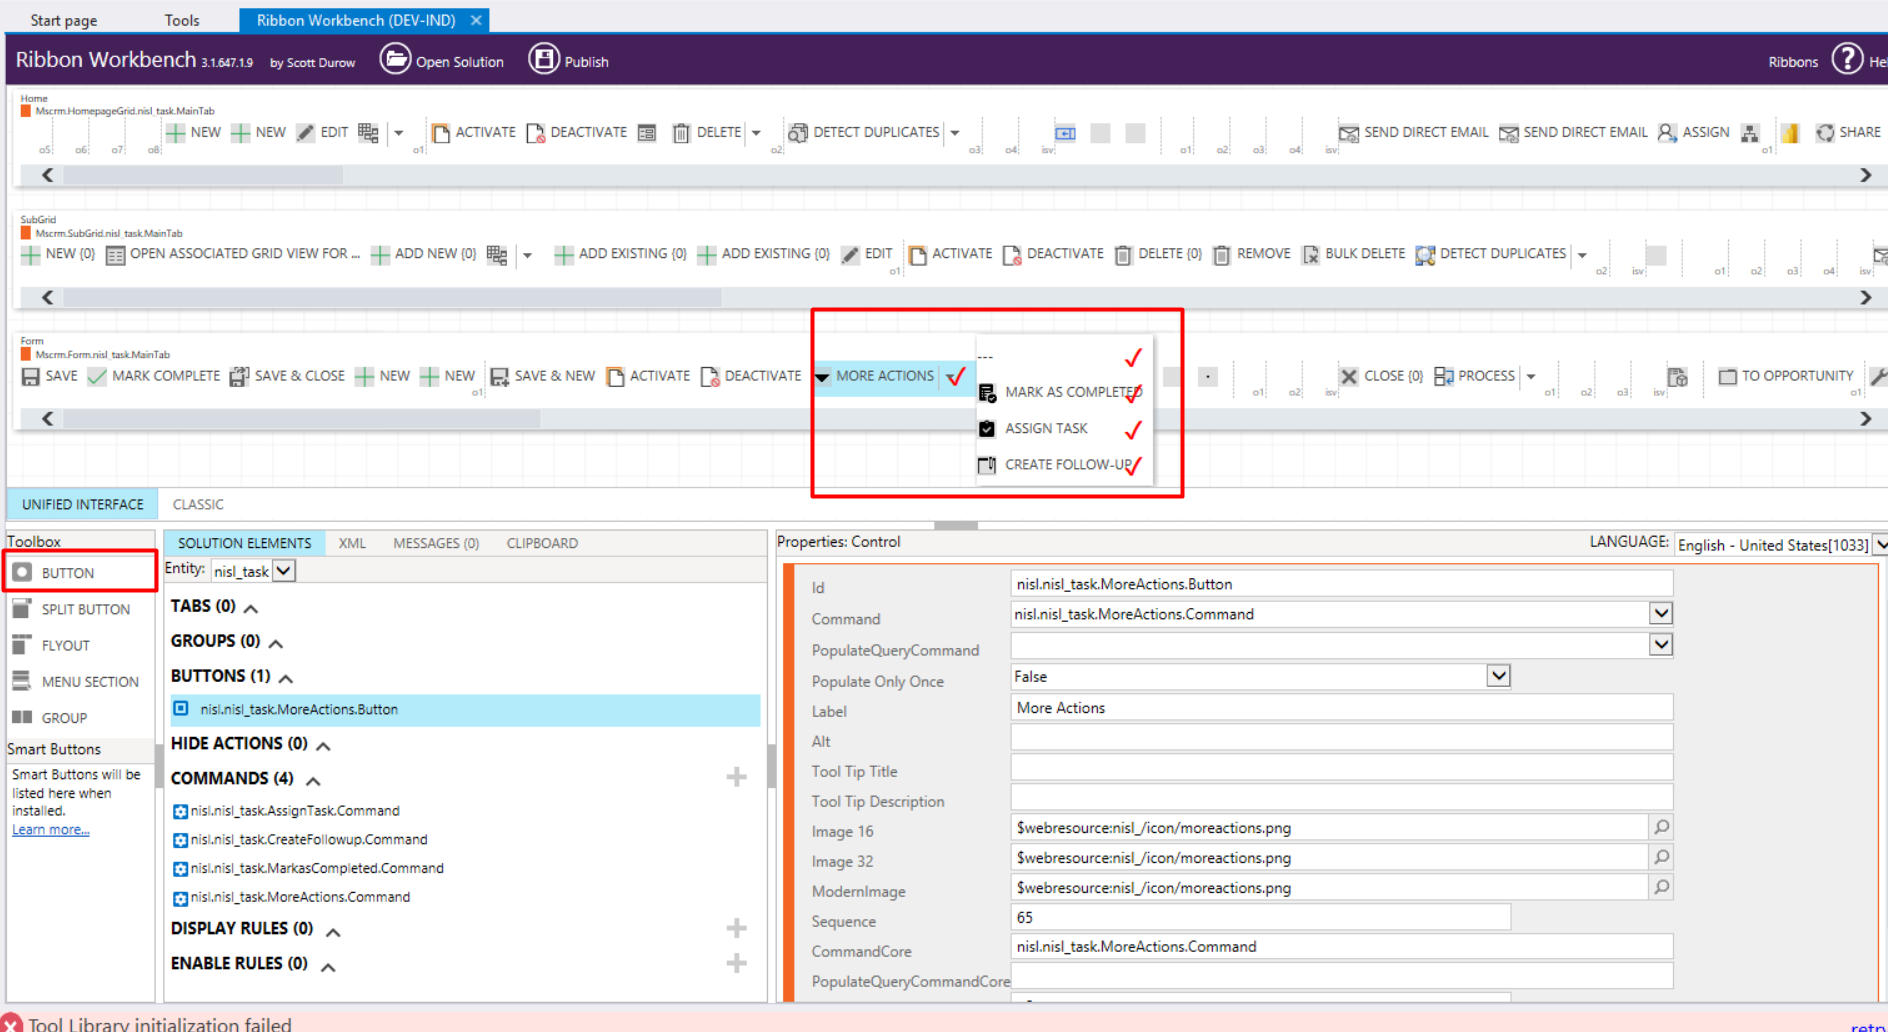
Step 6: Configure Commands, Actions, and Rules
Once the flyout and its buttons are added, configure the commands associated with each button. The command determines what happens when a user selects an action.
Step 7: Publish the Changes
After configuring the flyout, buttons, and commands, publish the changes from Ribbon Workbench.
This is important because otherwise the changes you made in Ribbon Workbench may not be reflected in the application.
Conclusion
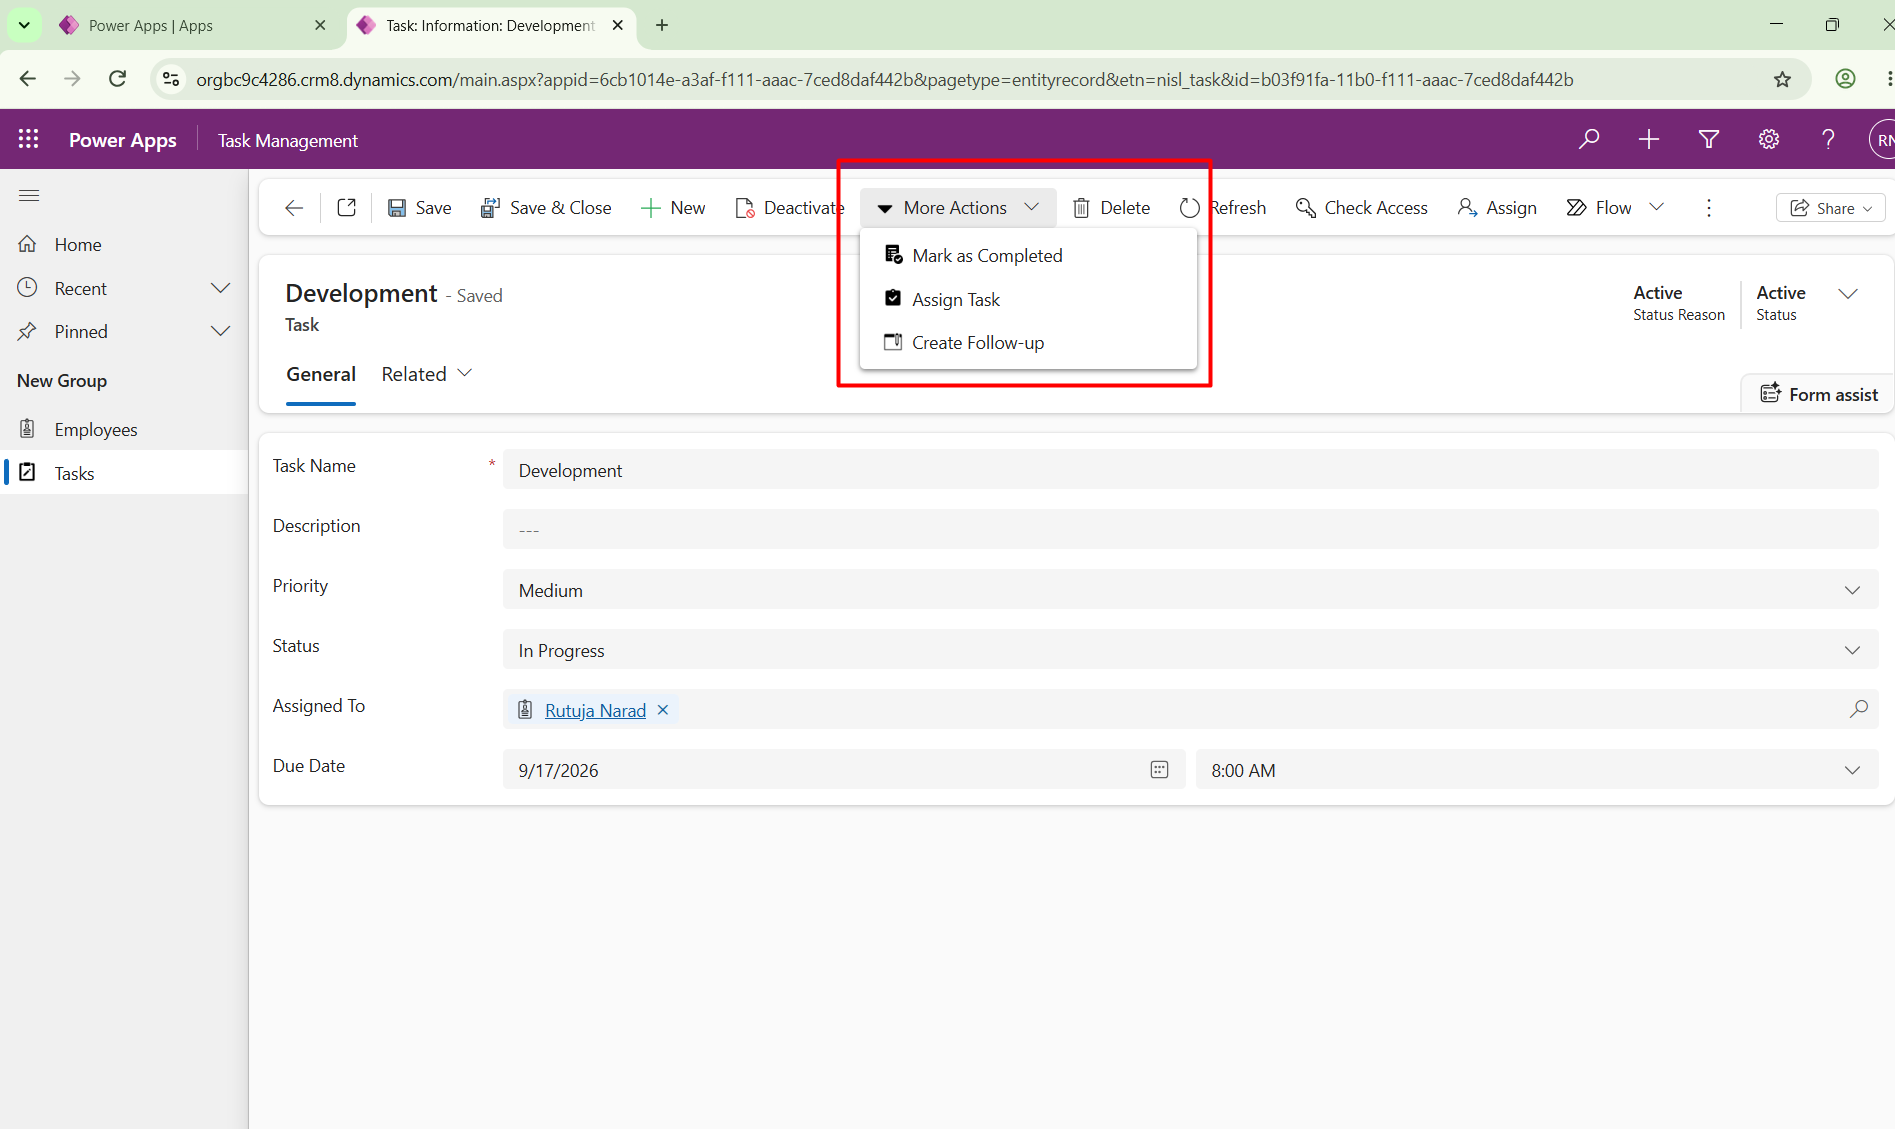
Adding a flyout button to a model-driven app provides a simple way to organize multiple related actions without overcrowding the command bar. Using Ribbon Workbench, we can easily create a flyout, add a menu section, and place multiple buttons under it.
In this example, we created a More Actions flyout on the Task form and added Mark as Completed, Assign Task, and Create Follow-up actions. By configuring the appropriate commands and actions, each option can be connected to its required functionality.
This approach helps keep the user interface clean and makes related actions easier for users to find and access.
Comment
How to Build Multi-Table Hierarchies in Dynamics 365 Sales Introduction Dynamics 365 Sales has always supported hierarchies, but until…
READ MORE
Most Power BI reports in a Dynamics 365 environment live somewhere the user has to go and find: a dashboard,…
READ MORE
Introduction Many times, we come across scenarios where we need to populate a Word template in Dynamics 365 using Power…
READ MORE