
31 Mar, 2026
Posted on 31 Mar, 2026 by Mihir Khot, Posted in Microsoft Power Platform Power Platform Power Pages
 Blogs
Blogs
In this blog, we’ll build and deploy a Single Page Application (SPA) using React + Vite and host it on Microsoft Power Pages.
1. What is a Single Page Application in Power Pages?
A Power Pages SPA site runs entirely on the client side, meaning:
Power Pages simply hosts your compiled front-end and provides governance, security, and integration with Dataverse and Entra ID.
2. Prerequisites
Before starting, make sure you have:
Environment Requirements
Tooling Requirements
Important: Allow JavaScript File Uploads
Dataverse environments may block .js uploads by default. You must remove .js from blocked extensions in:
Power Platform Admin Center → Settings → Privacy + Security → Blocked Attachments
3. Implementation Steps
Step 1: Build the SPA Using React + Vite
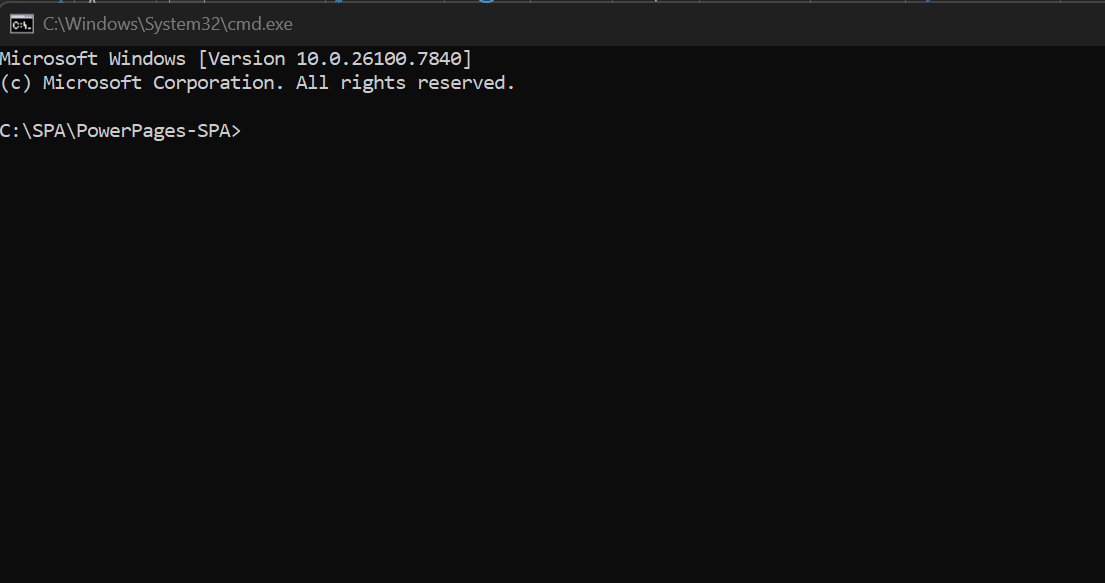
1.1 So first we create a folder where this SPA will be created. Open this folder in Command line using cmd command and enter.
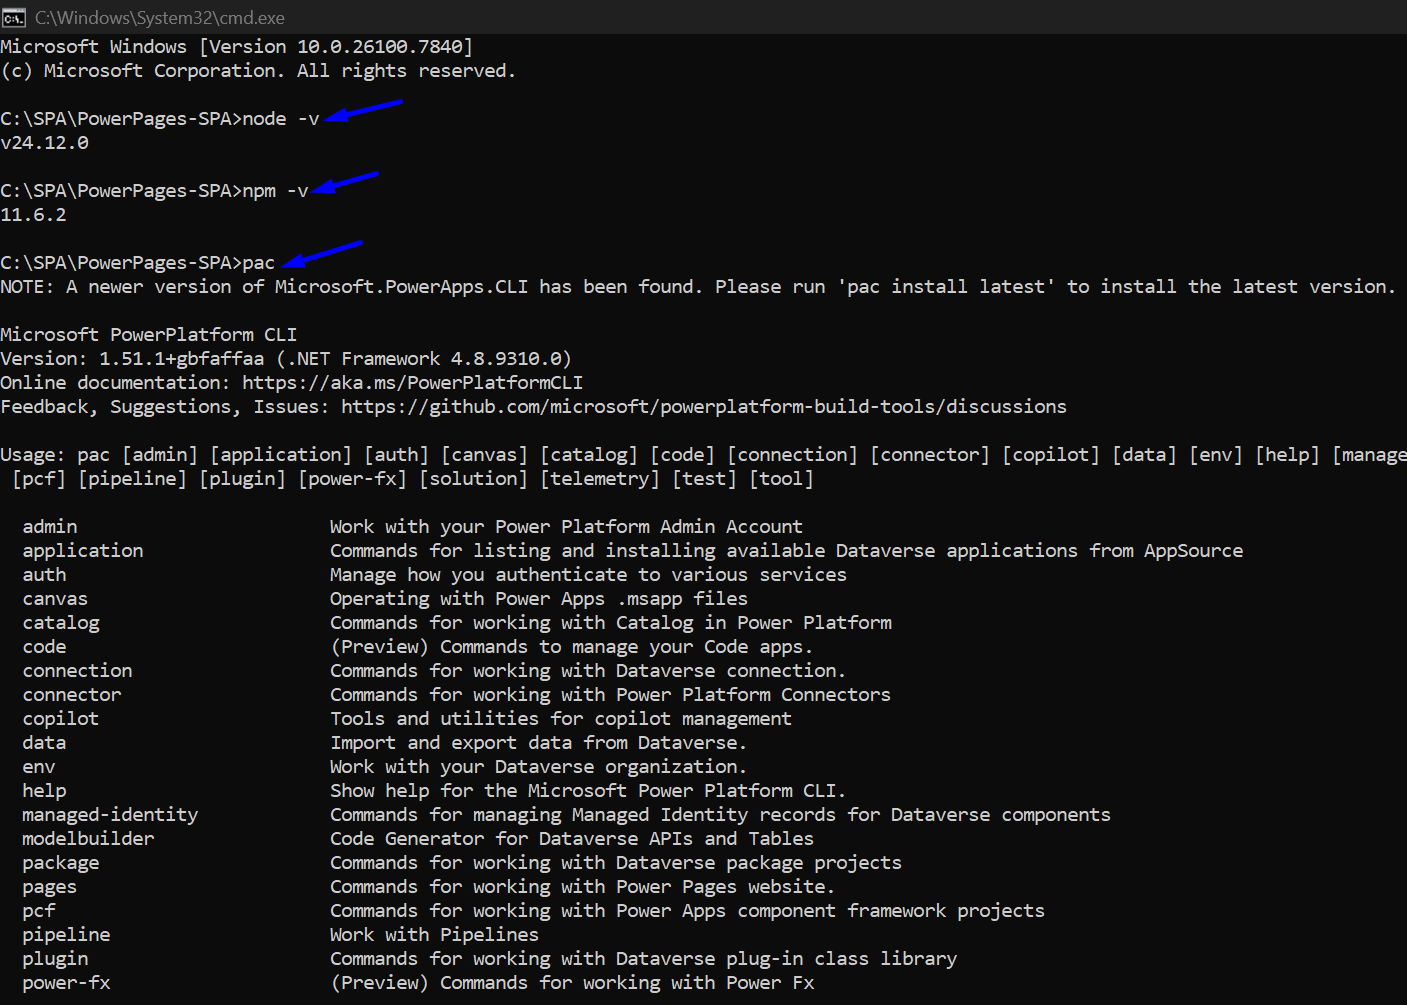
1.2 we run these below commands to check if node and npm are present
1.3 Use the command “npm create vite@latest powerpages-spa -- --template react-ts” to create a SPA using React + Vite.
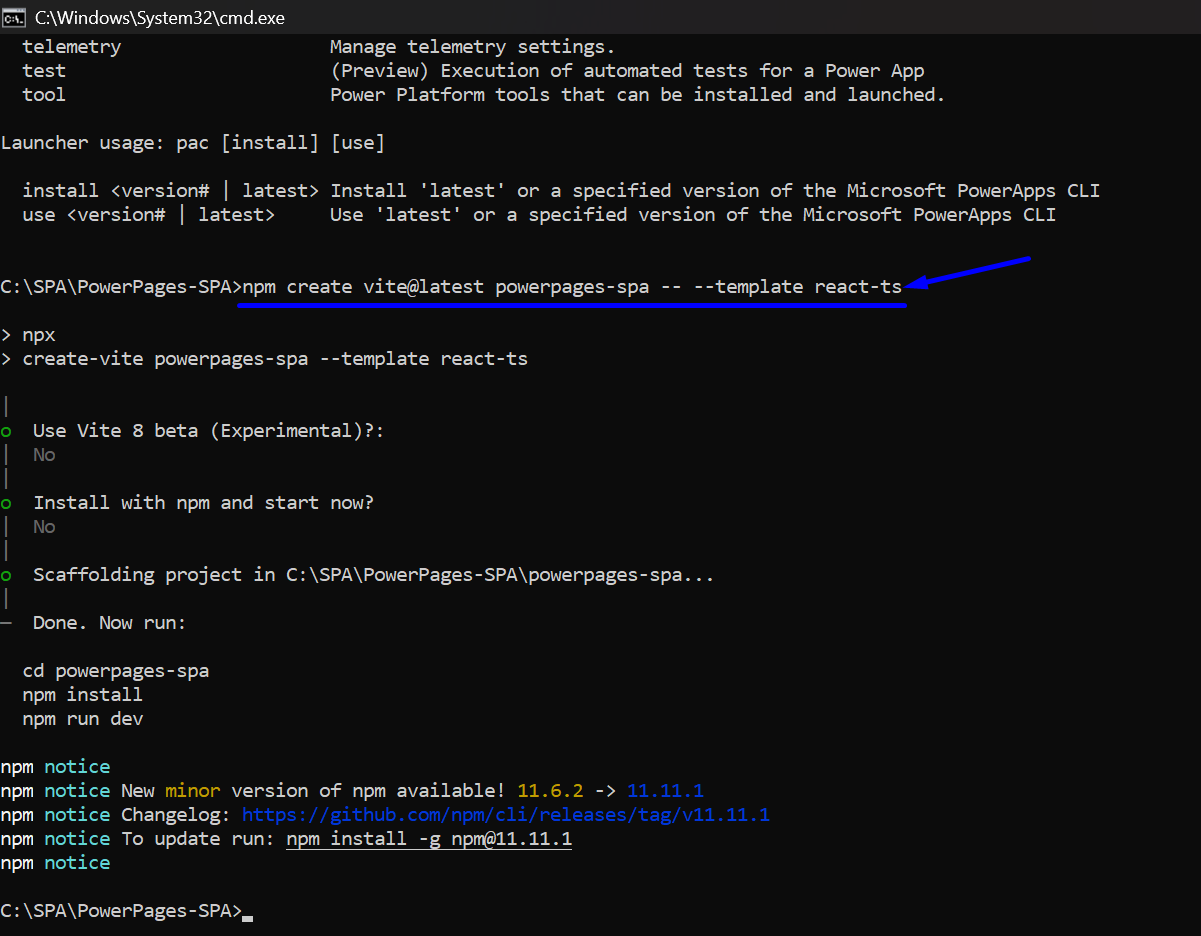
1.4 get inside the folder using cd command and then run npm related commands to add the missing packages.
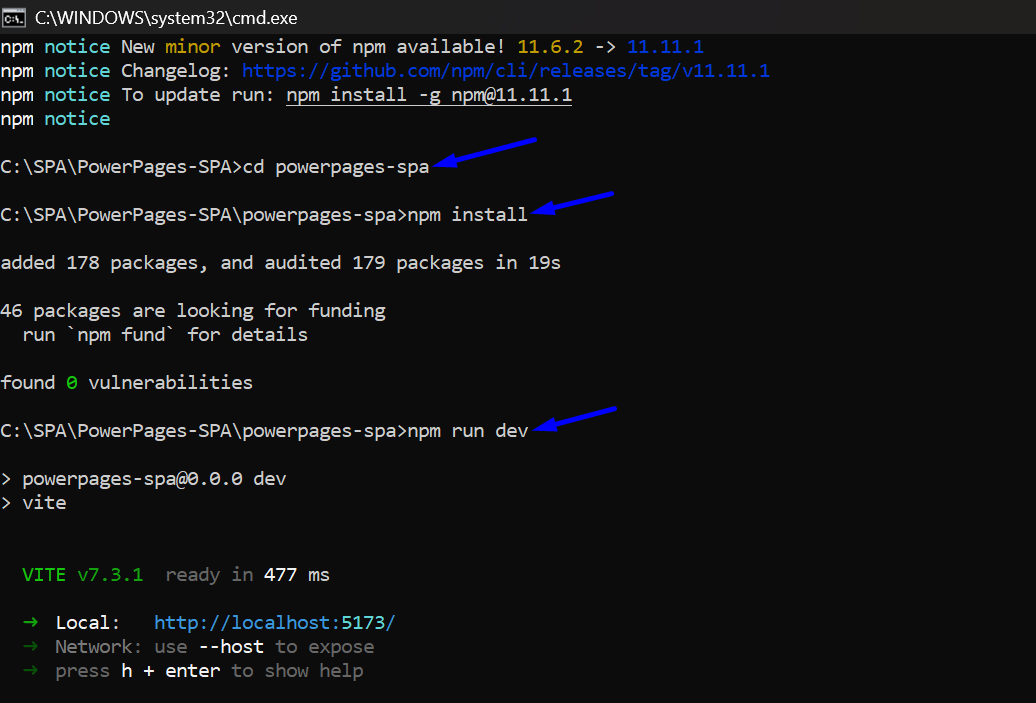
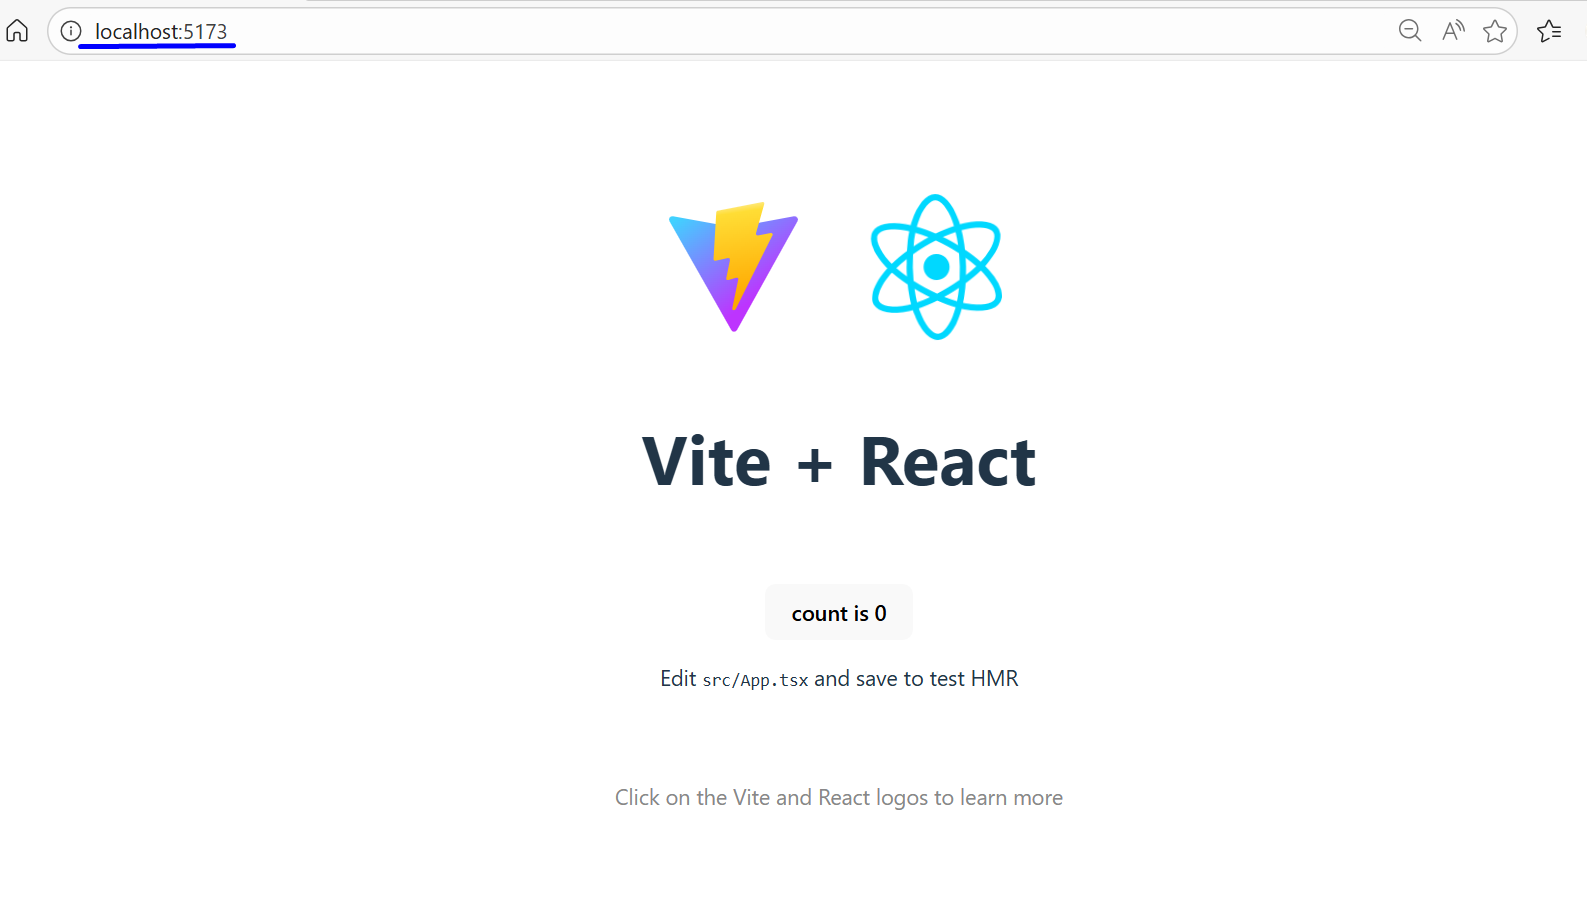
1.5 Now open your browser at http://localhost:5173 and you’ll see your new React app running.
Step 2: Add Pages and Routing
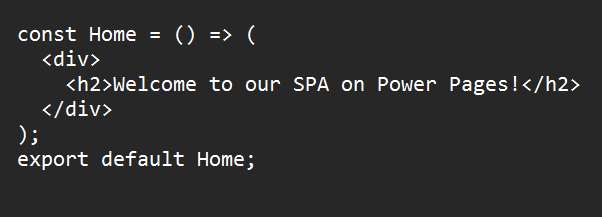
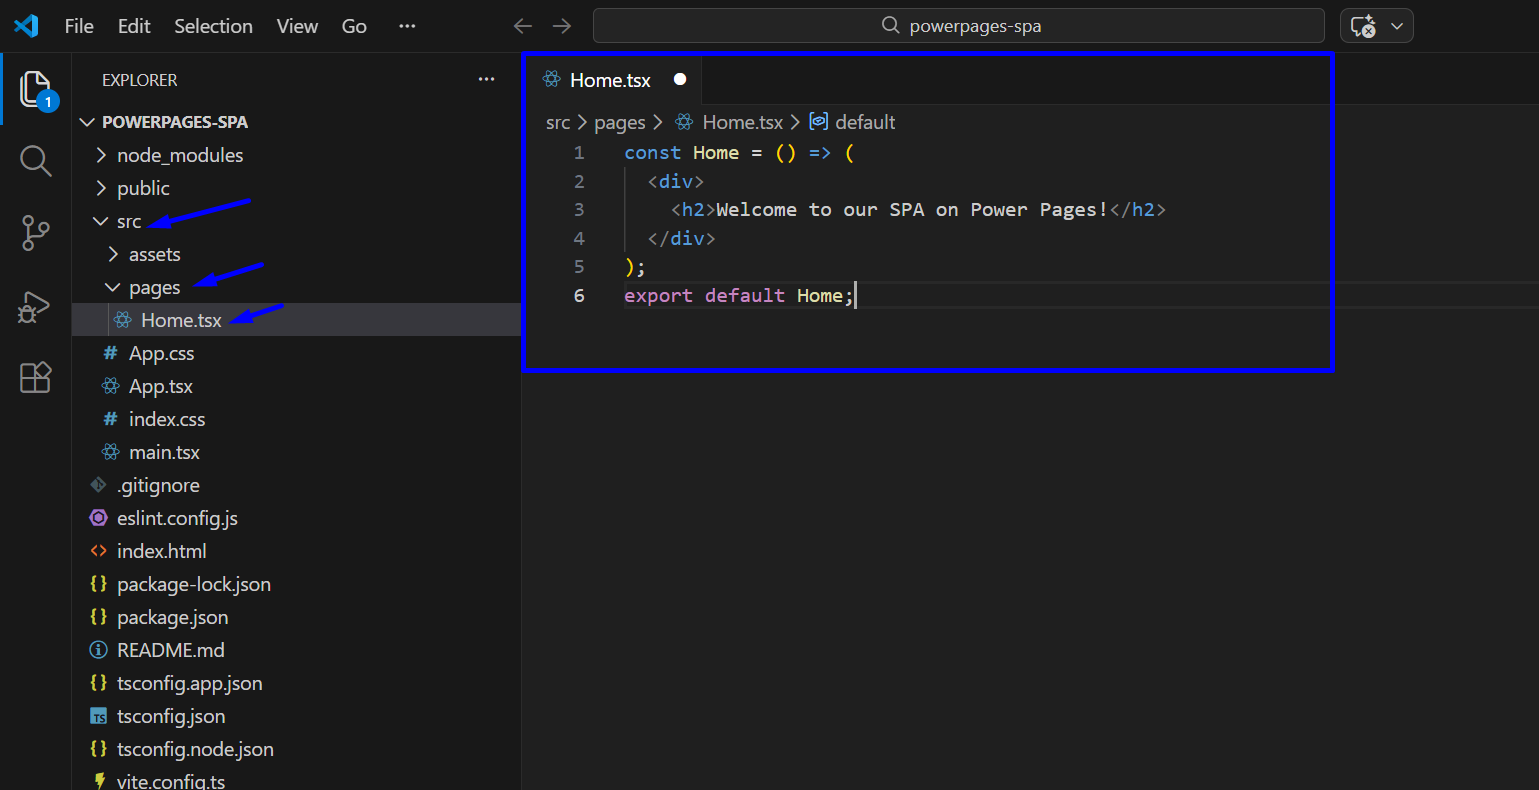
2.1 Now we will add Home page to make it look like a Basic SPA. For that we will open the folder using Code Editor. So, for that create a folder src/pages/ and add your files. Like here we have added a Home.tsx file and then you can add your code how it should look. For e.g:
src/pages/Home.tsx:
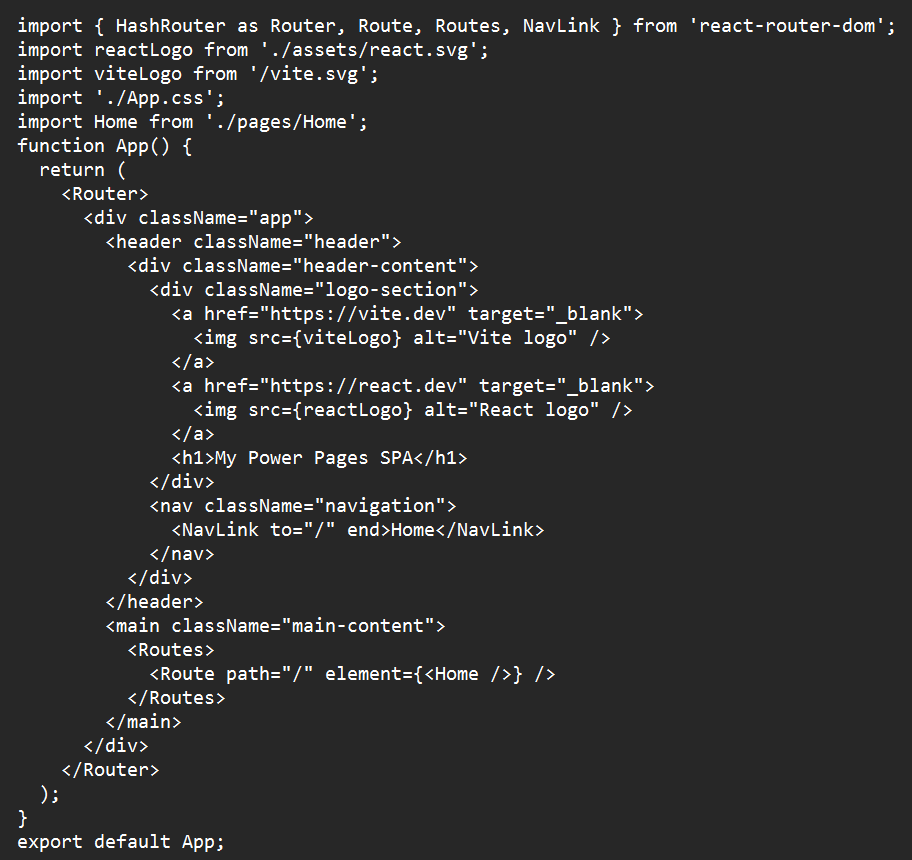
2.2 We update src/App.tsx file using below code to use React Router with HashRouter.
NOTE: Power Pages requires hash-based routing because it doesn’t support rewriting server URLs. If you use BrowserRouter, your SPA will break on refresh or navigation, because Power Pages tries to resolve routes itself. To fix that, use HashRouter - it keeps navigation fully on the client side, avoiding any routing conflicts.
src/App.tsx:
NOTE: If you find missing dependencies related to 'react-router-dom', then use this code "npm i react-router-dom" to install that dependency.

Step 3: Build and Deploy to Power Pages
3.1 Update the page code as per the requirement. Then, use “npm run build” command to build the site for production and it generates your optimized files inside the dist/ folder. And to see the changes use command “npm run dev”.
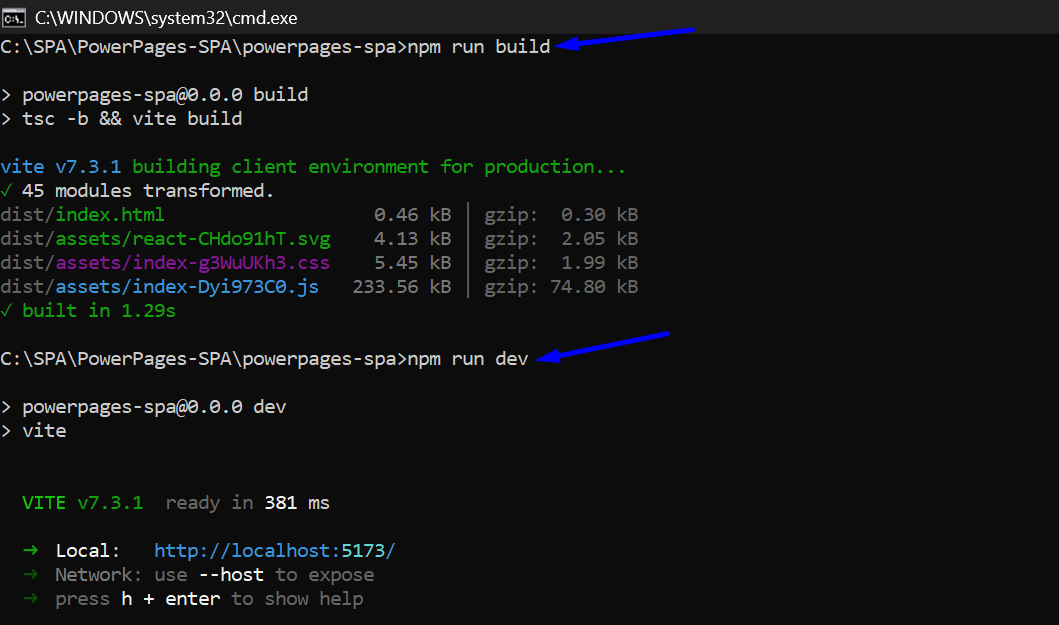
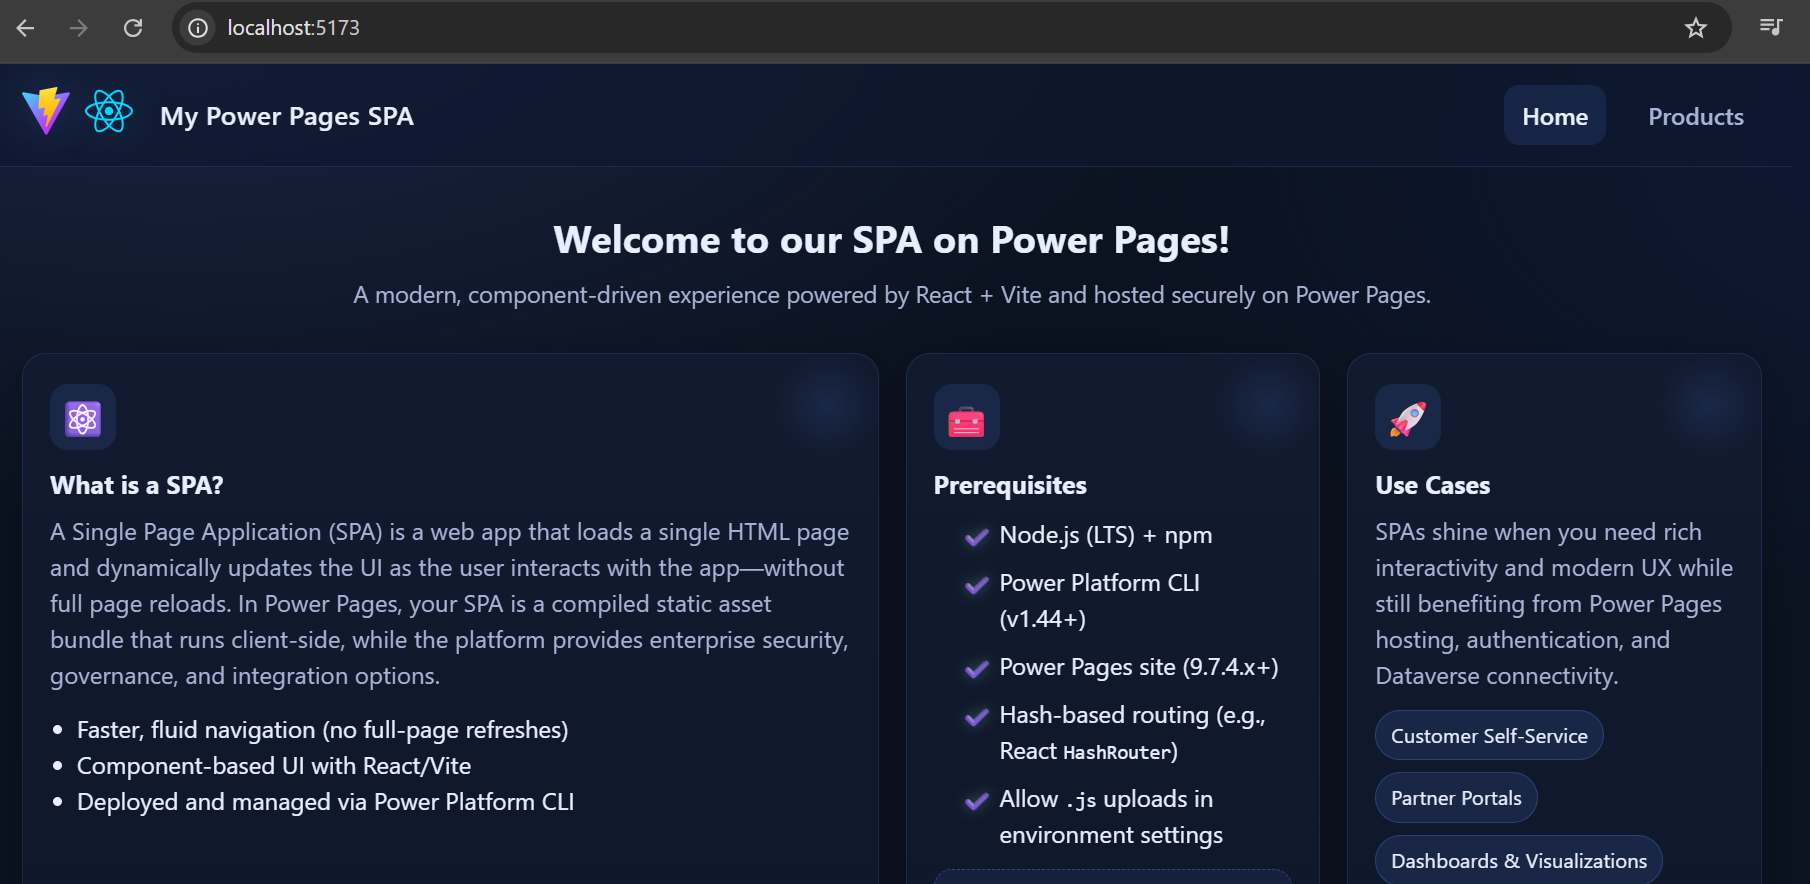
3.2 Check the local URL on the browser to see the generated site.
Step 4: Authenticate to Power Platform
Replace the URL with your actual Dataverse environment address. URL is “pac auth create --url https://yourorg.crm.dynamics.com”

Step 5: Deploy the SPA to Power Pages
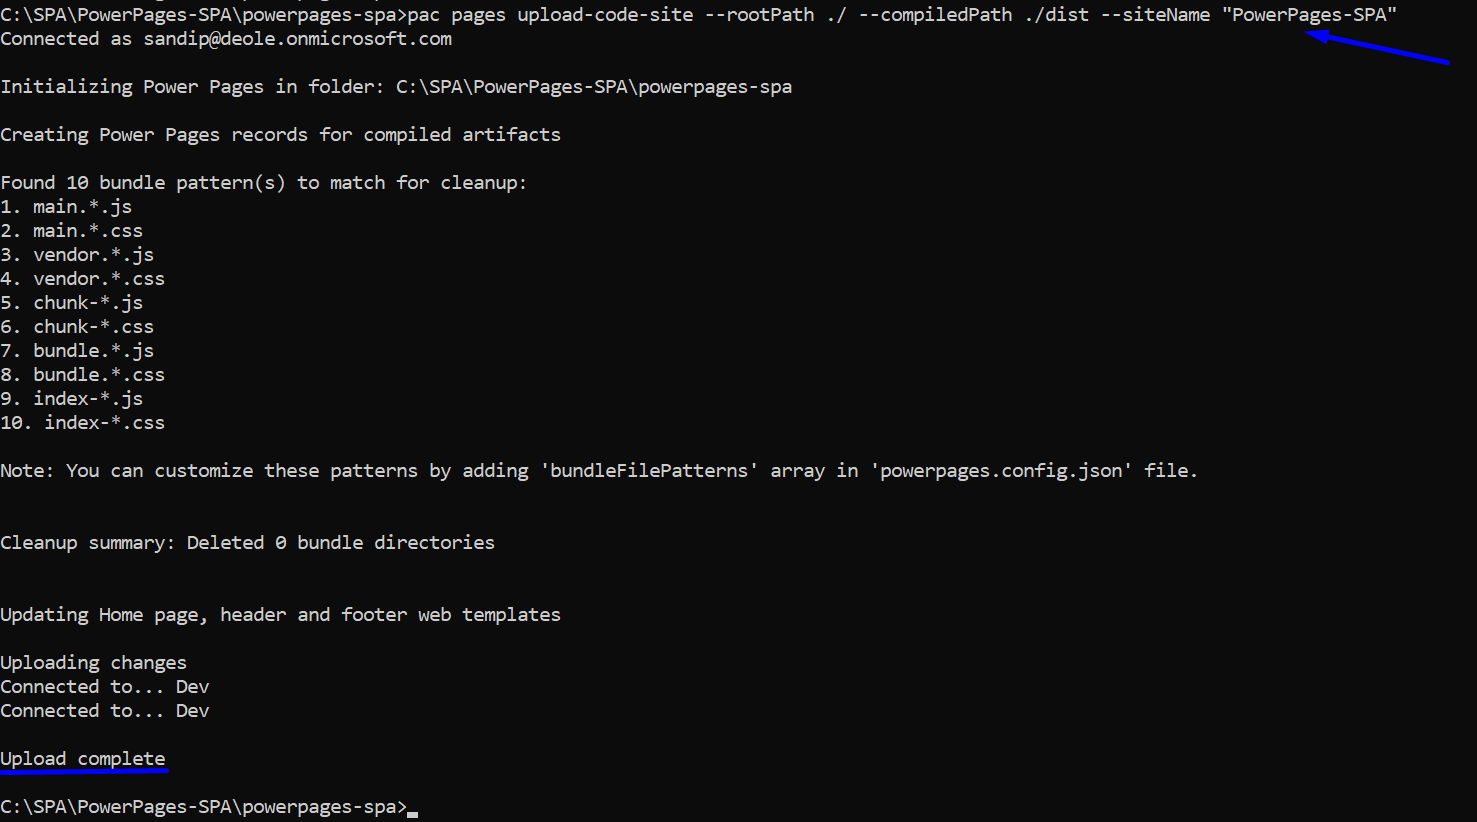
"pac pages upload-code-site --rootPath ./ --compiledPath ./dist --siteName "PowerPages-SPA" this command uploads your compiled React app to Power Pages.
NOTE: Fix JavaScript Upload Restrictions: If you see errors when uploading, your environment may block JavaScript files.
To fix this:
After that, rerun your upload command - it should complete successfully.
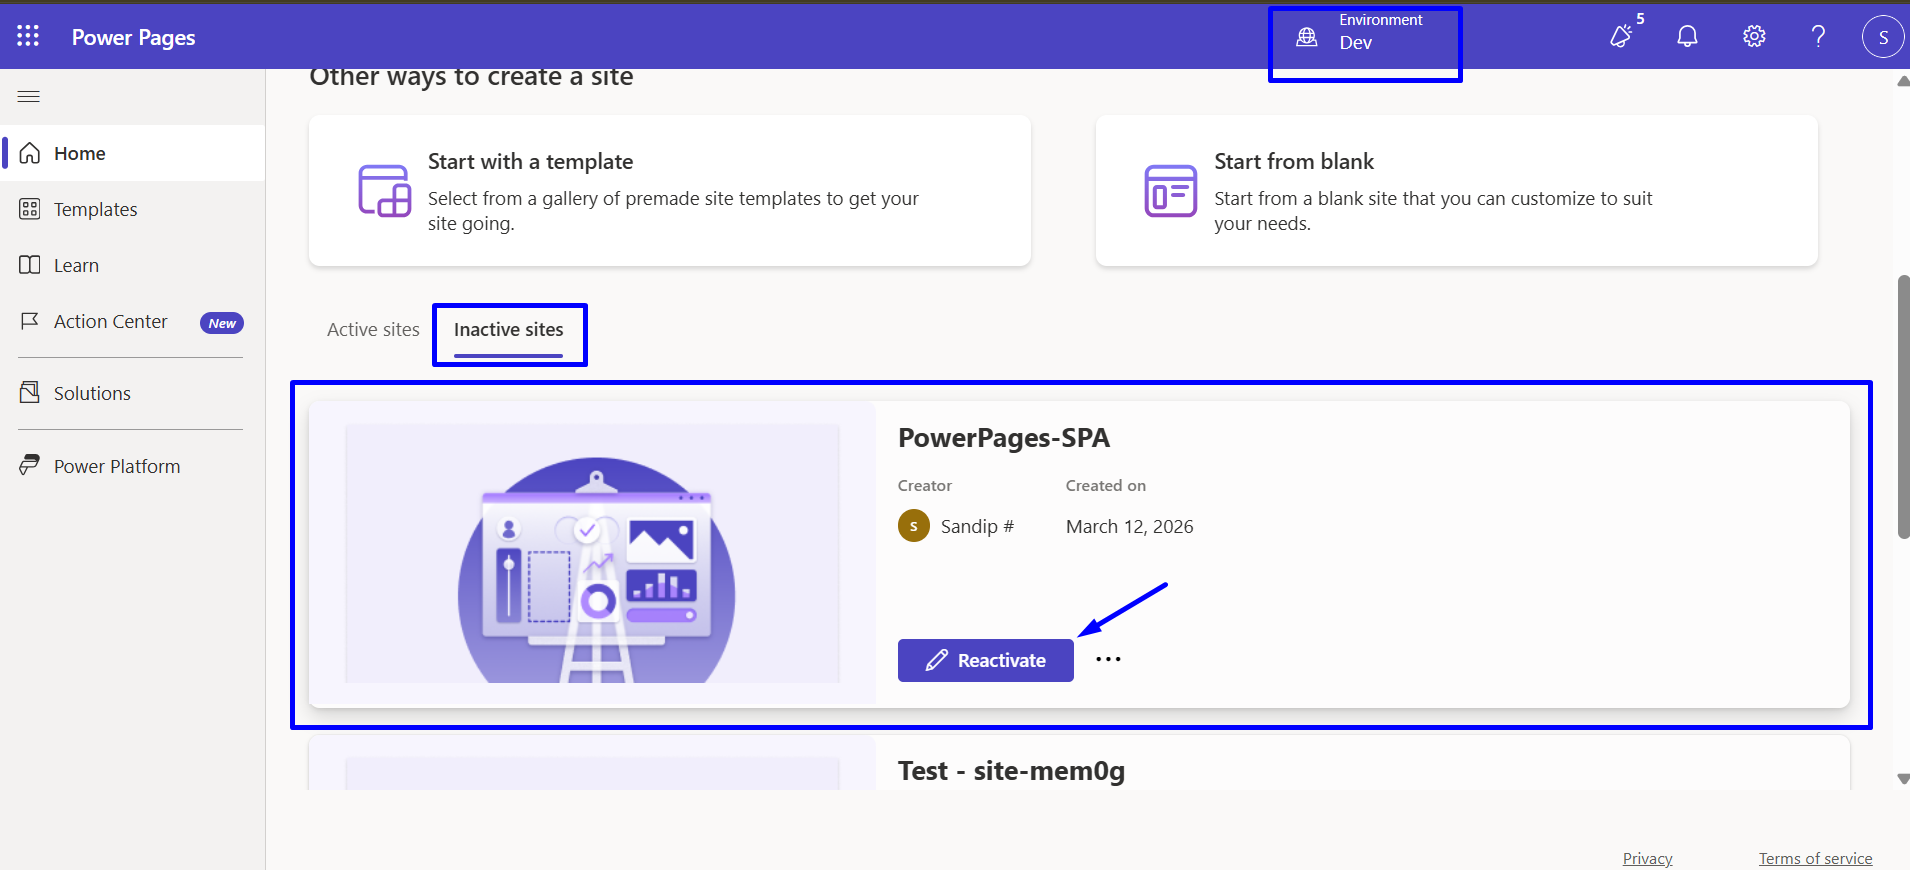
Step 6: Activate the Site
6.1 Once uploaded, Power Pages lists it as an Inactive site. Activate it to make it public.
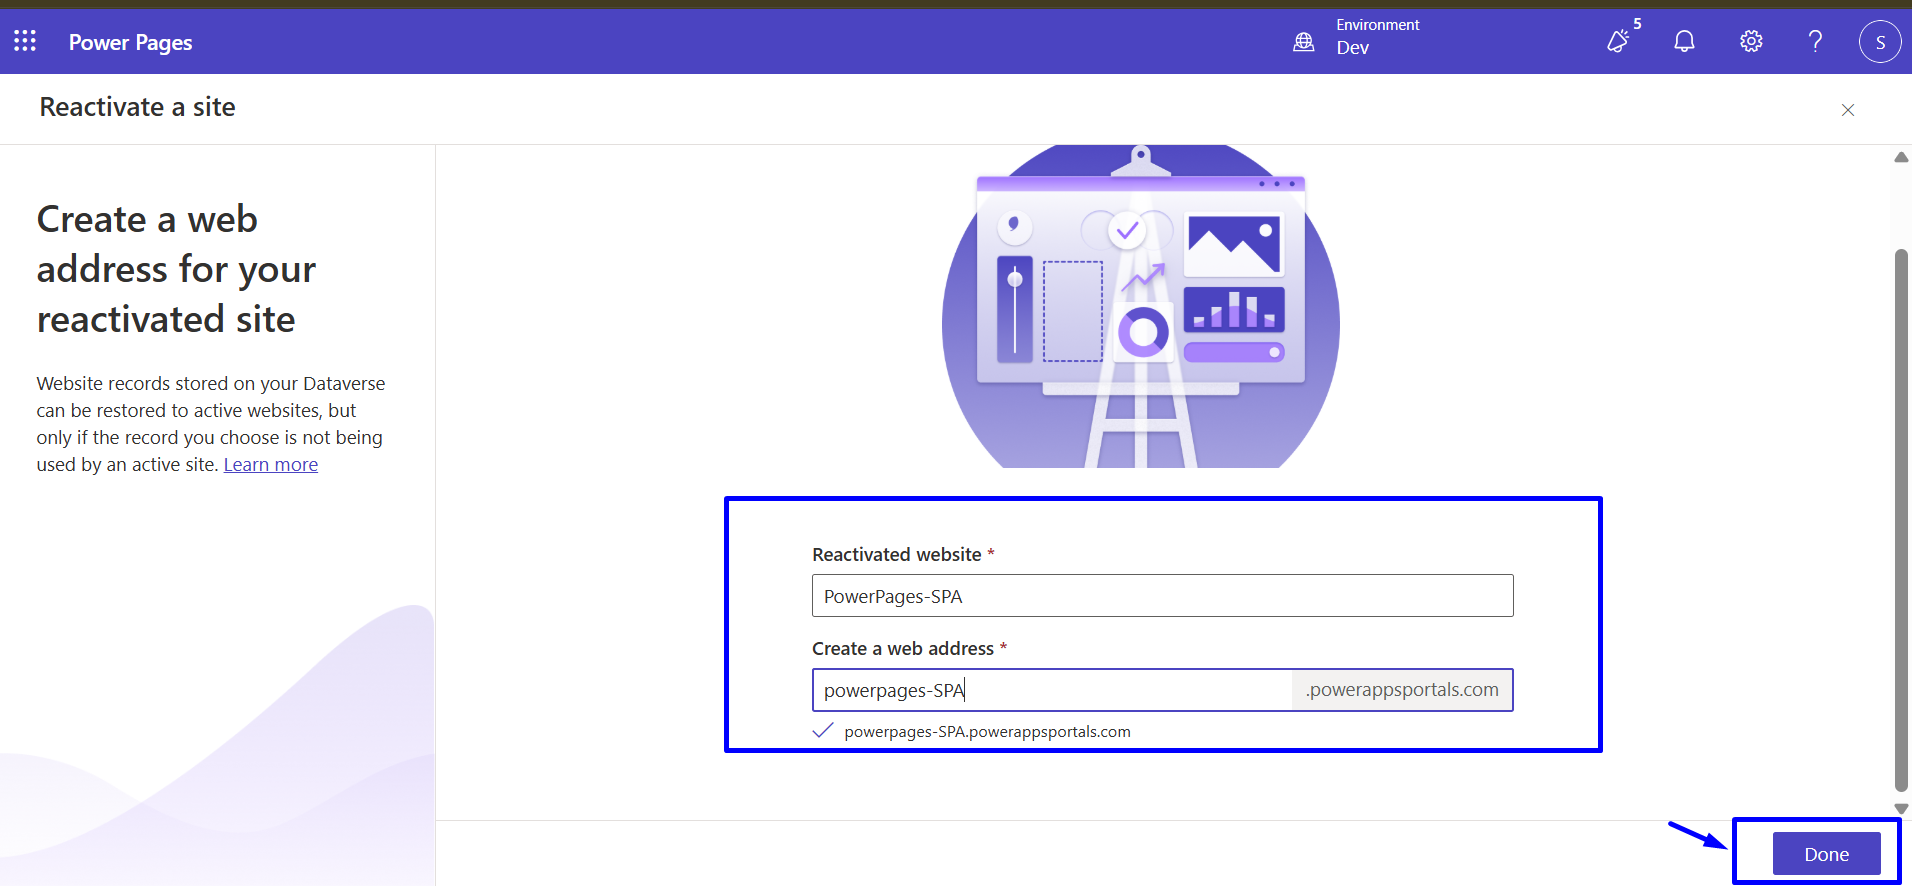
6.2 Configure the reactivated website name and web address and then click on “Done”
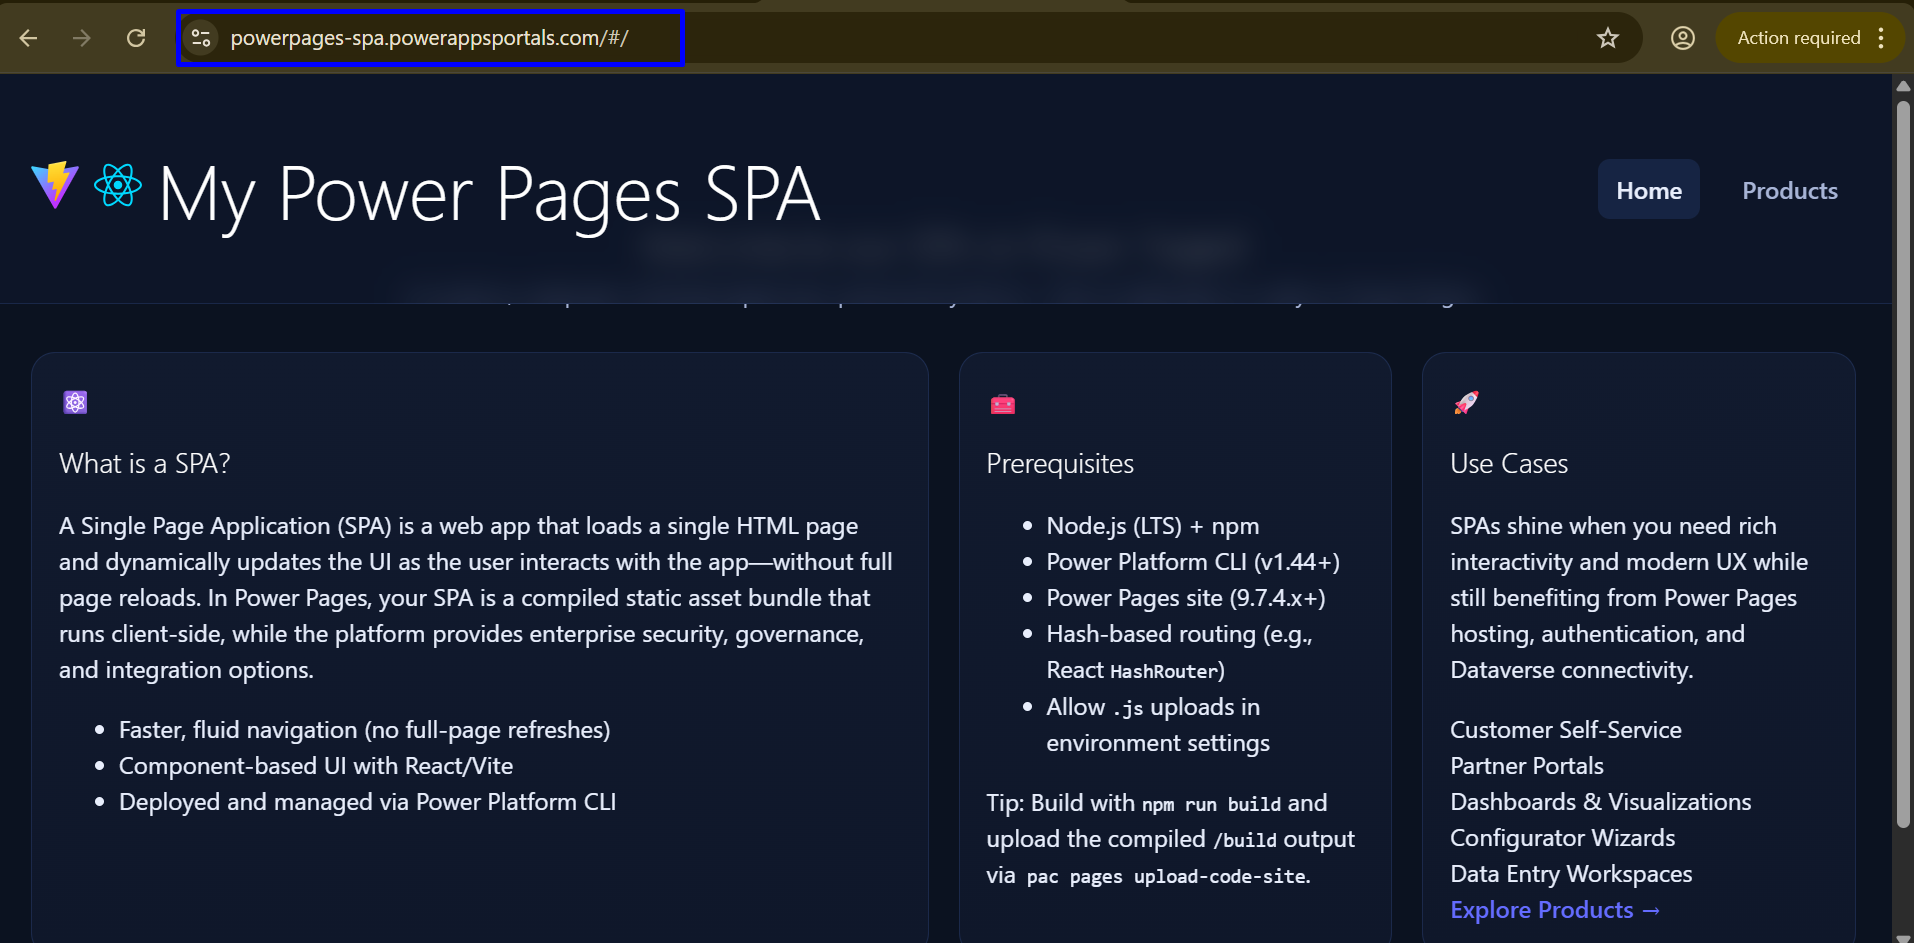
6.3 Sync your Site and then preview this site in Desktop View
NOTE: After the first upload, your site may take 5-10 minutes to activate.
You might see “Something went wrong” at first - don’t worry, that’s expected.
Power Pages is still processing and provisioning your site.
Step 7: Download Your Site (Preserve Configuration)
Each upload overwrites site configuration - authentication, permissions, and more.
To prevent that, download your current configuration before re-uploading.
pac pages list
pac pages download-code-site --path ./ --websiteid "YOUR SITE GUID" --overwrite
Replace the website ID with your actual Power Pages site GUID.
This downloads both the code and configuration locally.
Step 8: Re-Upload While Preserving Settings
When you’re ready to re-deploy updates, use this command to keep your site settings intact:
pac pages upload-code-site --rootPath ./mypowerpagesspa/ --compiledPath ./dist --siteName "PowerPages-SPA"
This safely updates your SPA files without touching existing Power Pages configurations.
4. Use Cases:
1. Customer Self‑Service Portals : Power Pages SPAs are ideal for customer‑facing portals where users need a fast, app‑like experience.
2. Partner & Vendor Portals : Organizations often need portals for suppliers, distributors, or partners that go beyond static content.
3. Internal Line‑of‑Business Applications : Power Pages SPAs can act as lightweight internal apps without building a full Azure‑hosted frontend.
5. Conclusion:
In this blog, we demonstrated how to build a modern React + TypeScript Single Page Application using Vite and successfully host it on Power Pages. We configured HashRouter to handle client-side routing within Power Pages constraints and deployed the application using the Power Platform CLI (PAC CLI). Finally, we covered how to safely download, update, and re-upload the SPA without losing existing site configuration, establishing a reliable and maintainable deployment workflow.
Comment

There are certain things in a CRM project that a QA must validate or verify before any solutions gets deploy…
READ MORE
Building a Power Apps Code App is just the beginning. In real-world business applications, users often need to send emails,…
READ MORE
Power Pages Server Logic allows developers to execute secure backend JavaScript directly within Power Pages. It is commonly used for…
READ MORE