
25 Mar, 2026
Posted on 25 Mar, 2026 by Javed Shaikh, Posted in PCF (PowerApps Component Framework) Power Apps Dynamics 365
 Blogs
Blogs
In Dynamics 365, subgrids are commonly used to display related records, such as Opportunities under an Account. While out-of-the-box grids are useful, they often lack flexibility when it comes to customizing the user interface.
Power Apps Component Framework (PCF) enables developers to build custom UI components that can seamlessly integrate with Dataverse.
In this blog, we will create and deploy our first Dataset PCF control to display Opportunities associated with an Account using ComponentFramework.PropertyTypes.Dataset.
Instead of manually calling the Web API’s, the dataset property allows us to directly work with records provided by the framework.
To create PCF controls, ensure below tools are installed:
PCF provides two primary templates:
Note: Specify the template type when initializing your control with the --template flag.
Understanding lifecycle methods is critical before building any PCF control. PCF controls have four important lifecycle methods that manage how they work from start to finish.

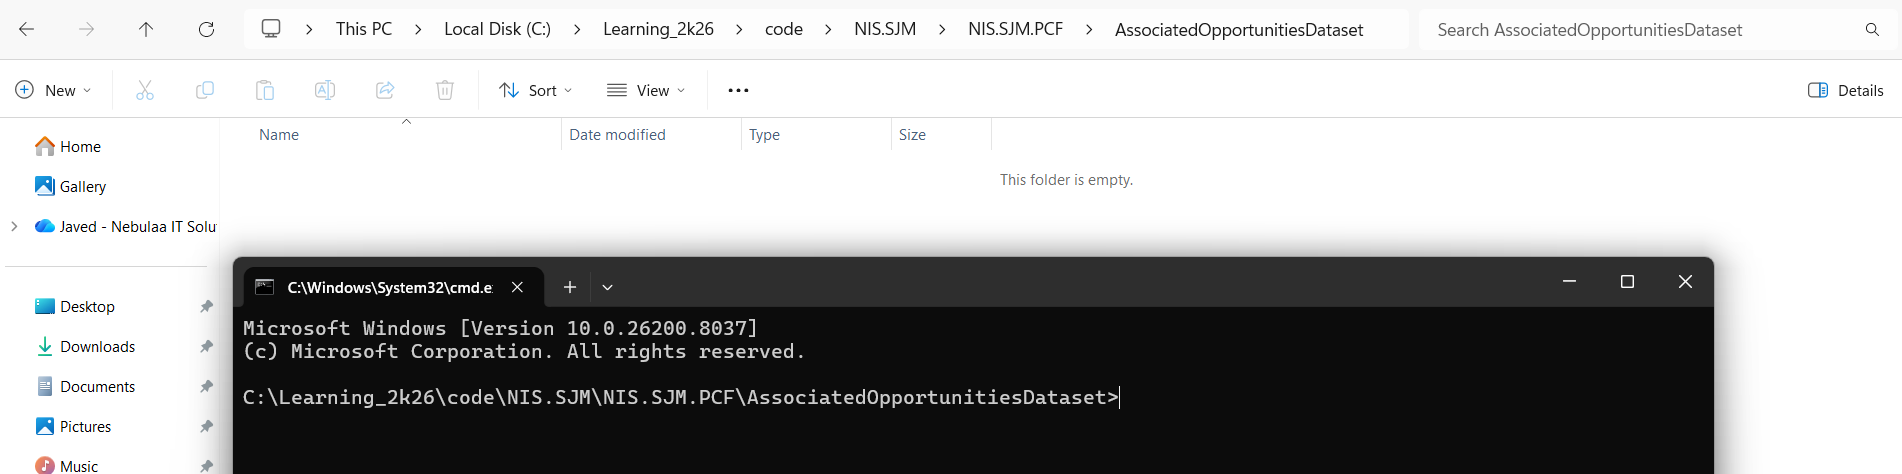
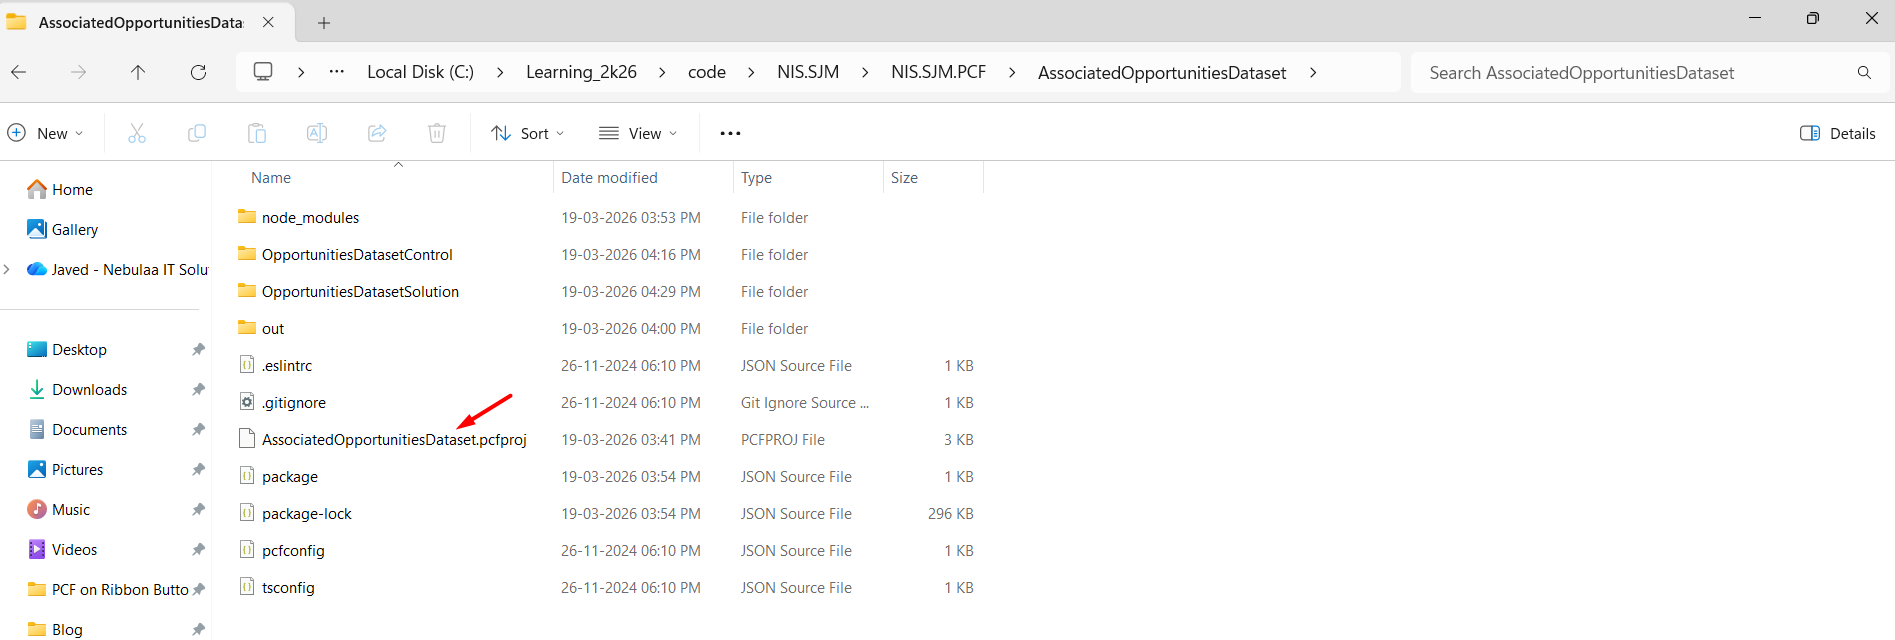
Create a folder, AssociatedOpportunitiesDataset and open the Terminal to this path.
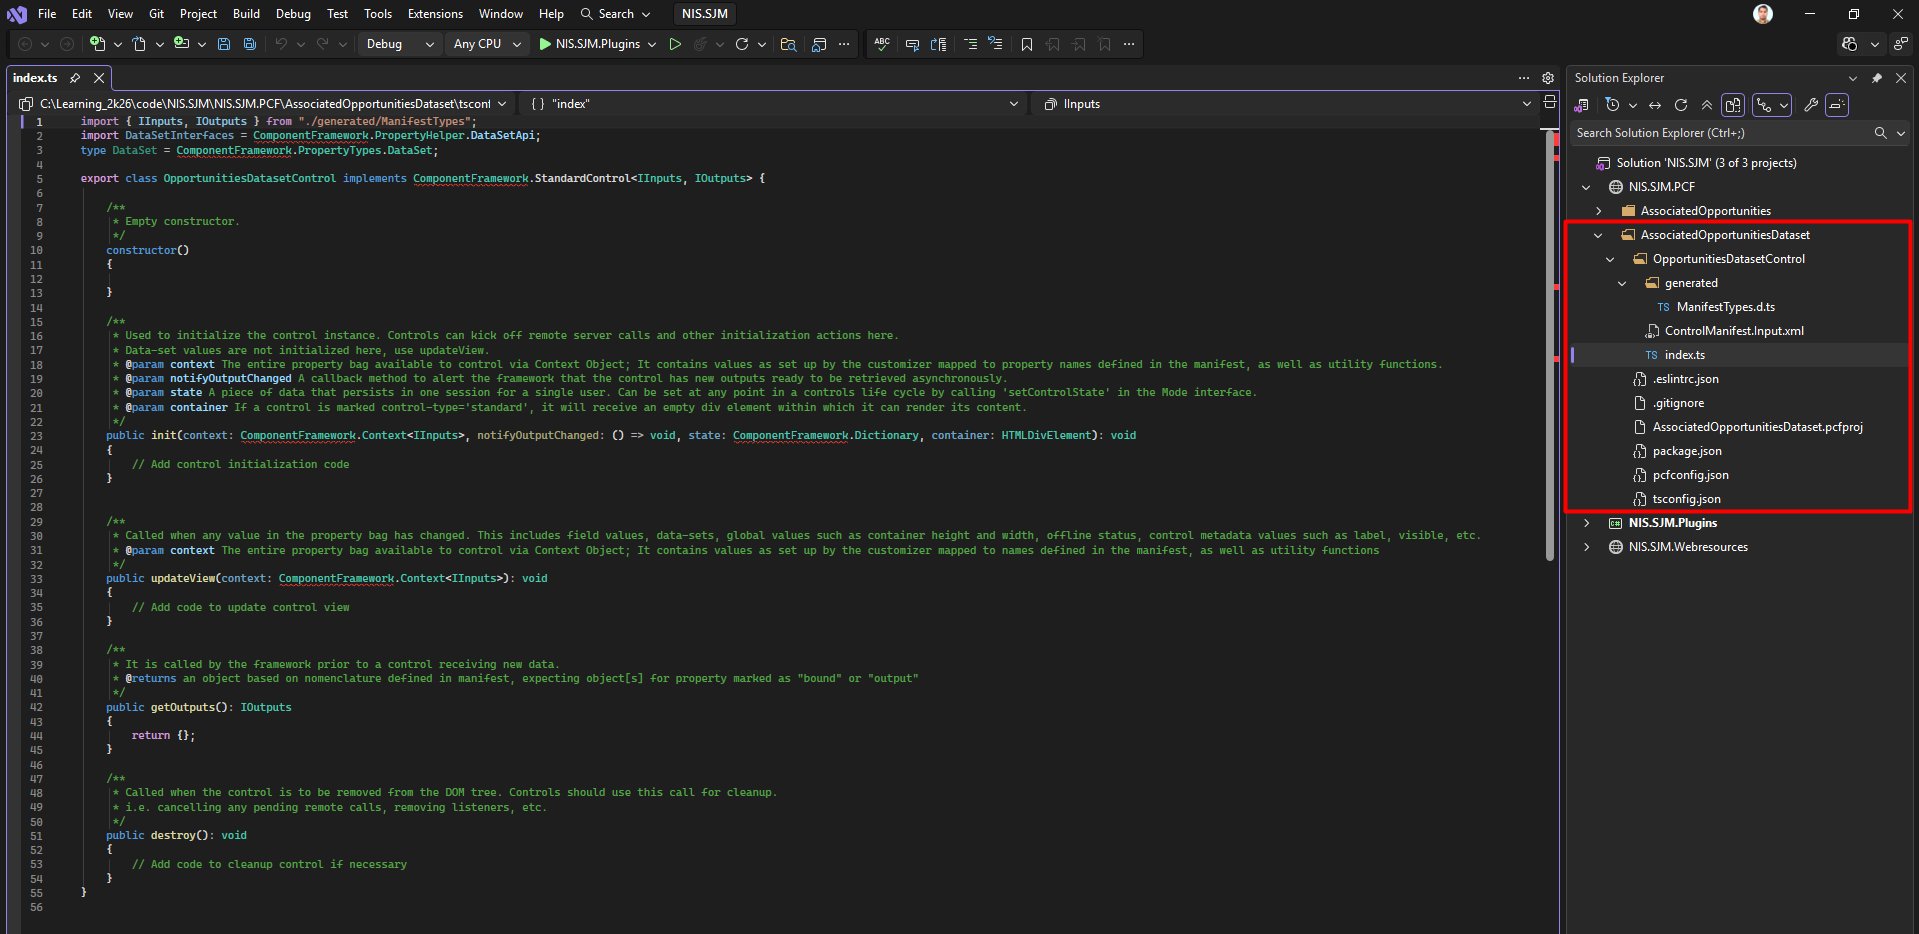
pac pcf init --namespace

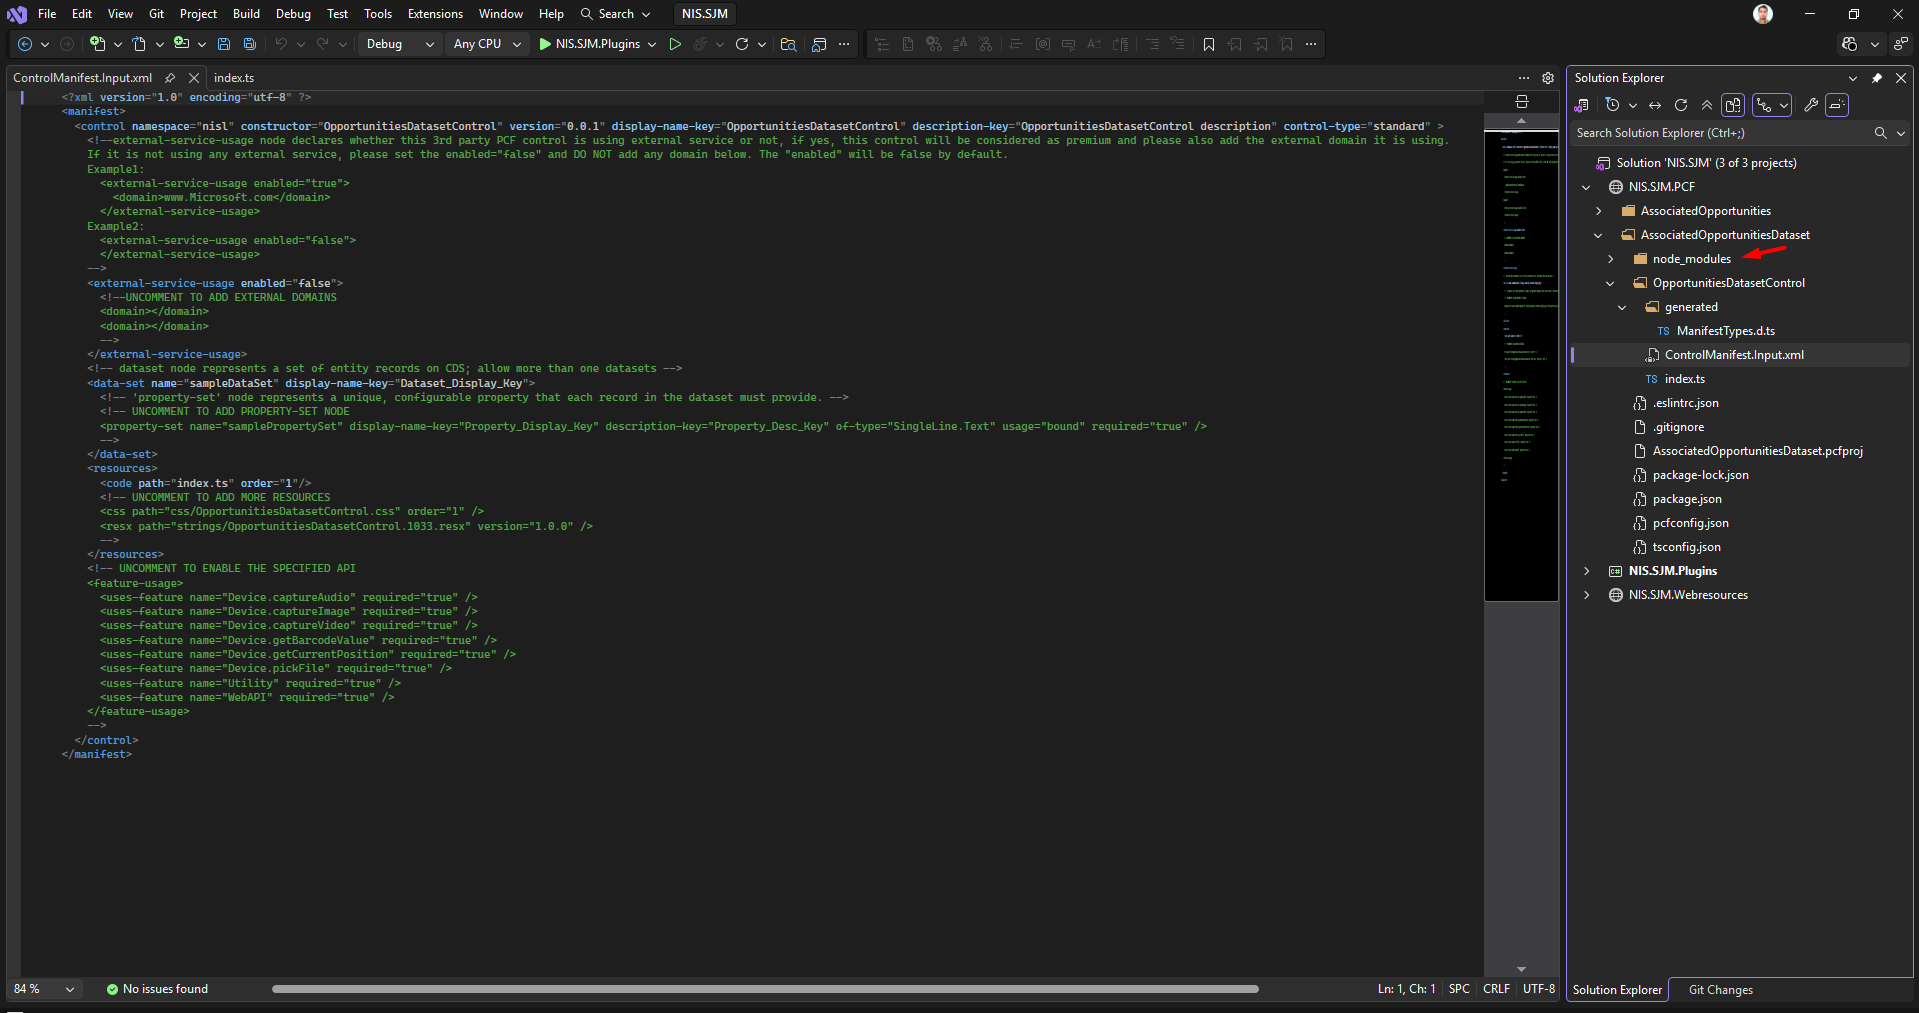
This creates a control named folder (OpportunitiesDatasetControl), and inside it creates a generated folder, index & Control Manifest files along with other files as shown below:
Run the command: npm install. This will download all the required packages, and the errors will be fixed from the index file.
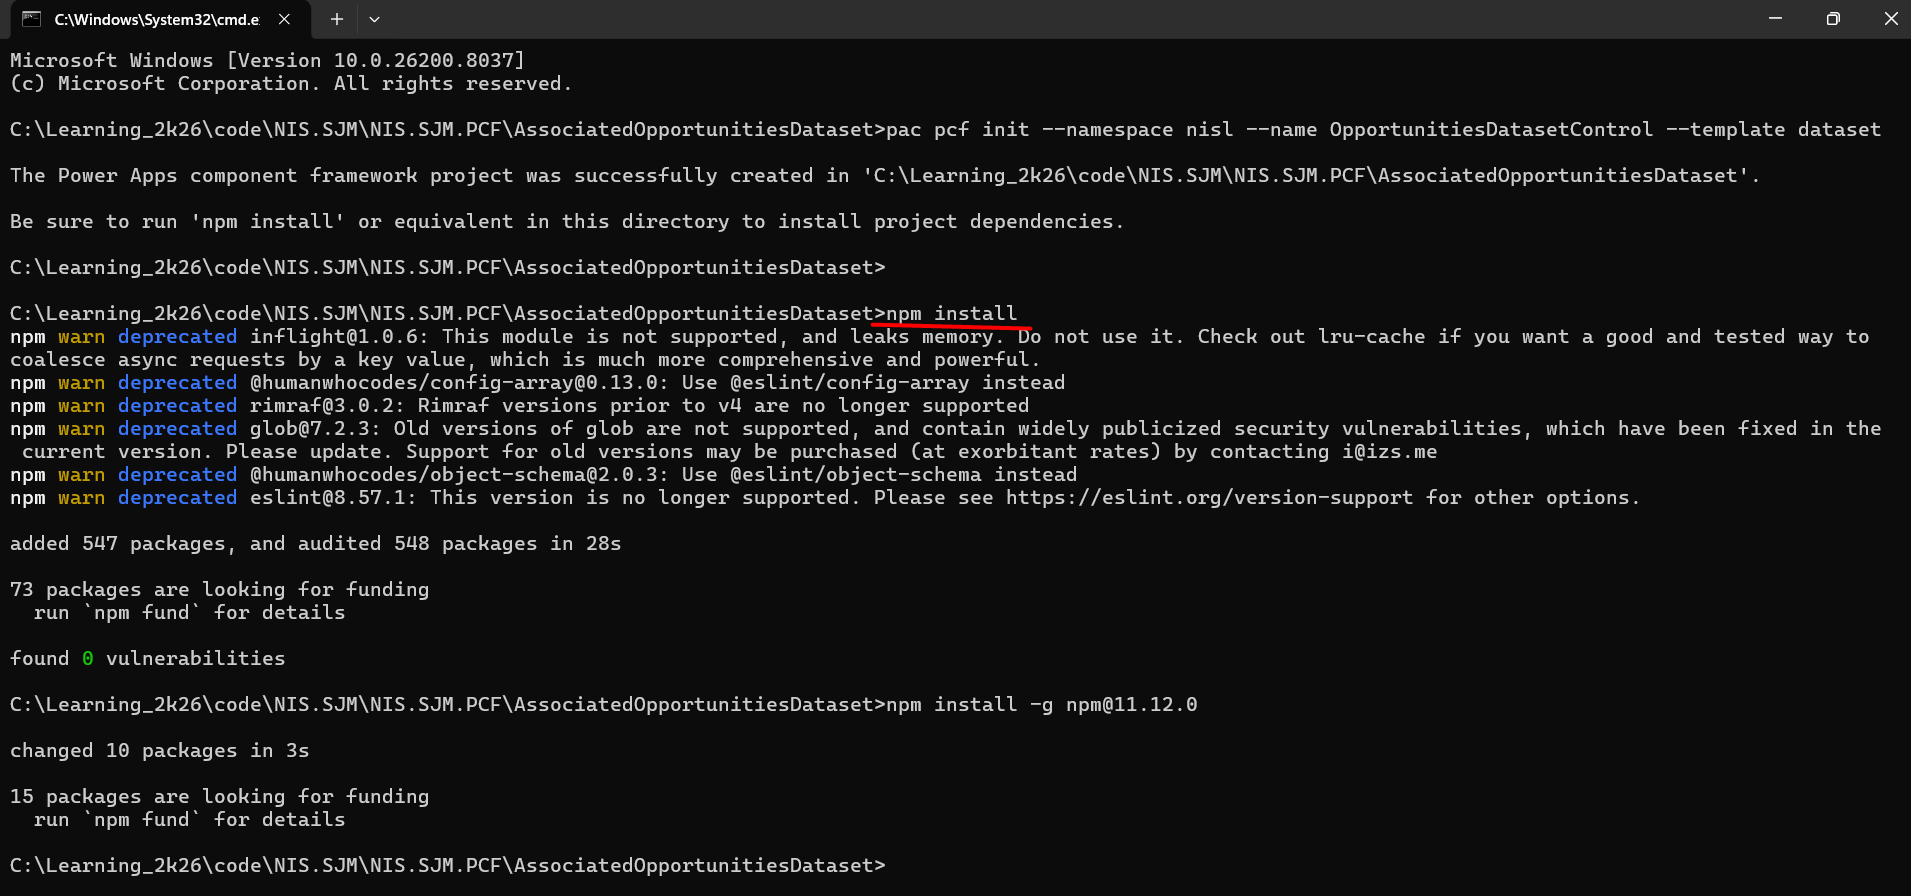
A node_modules folder is generated inside the OpportunitiesDatasetControl folder, as shown in the image below:
In the Dataset PCF, we use: ComponentFramework.PropertyTypes.DataSet
This property provides records, column metadata, Paging support, and Sorting.
Manifest Configuration:
<data-set name="opportunities" display-name-key="Opportunities_Dataset">
This binds the control to Dataverse data.
Now, to access the Dataset in Code:
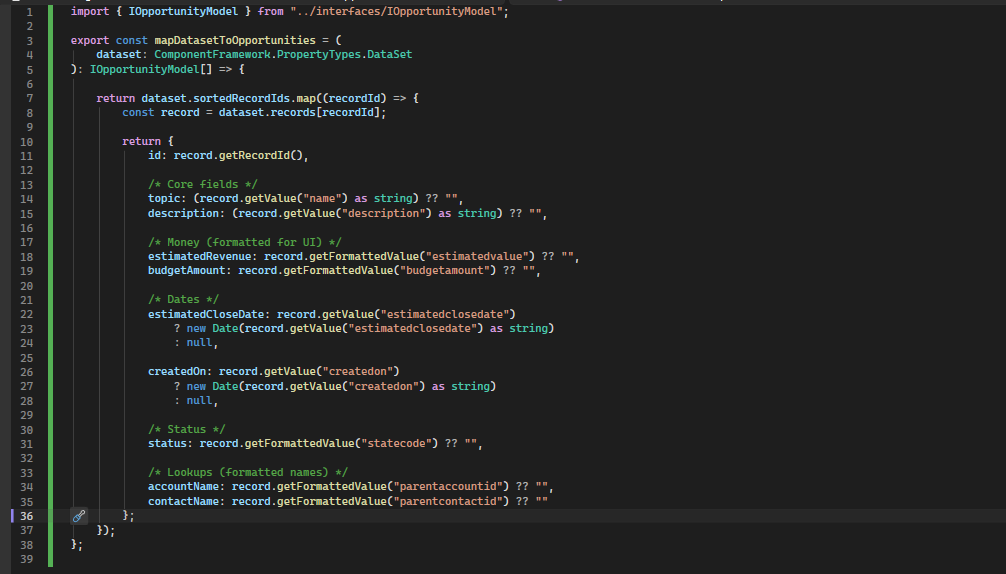
Here, we don’t require Web API; data is automatically provided.
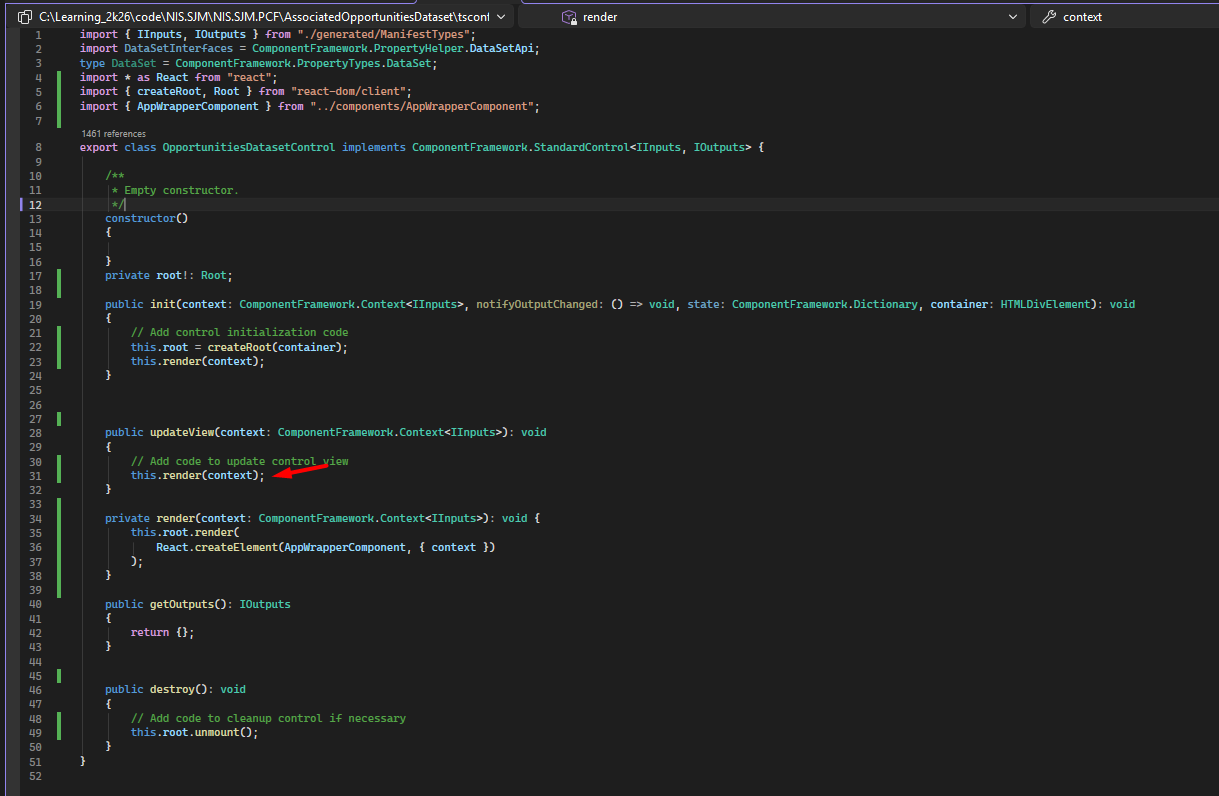
To Render UI:
We will use the updateView() as shown below:
Run the command: npm run build
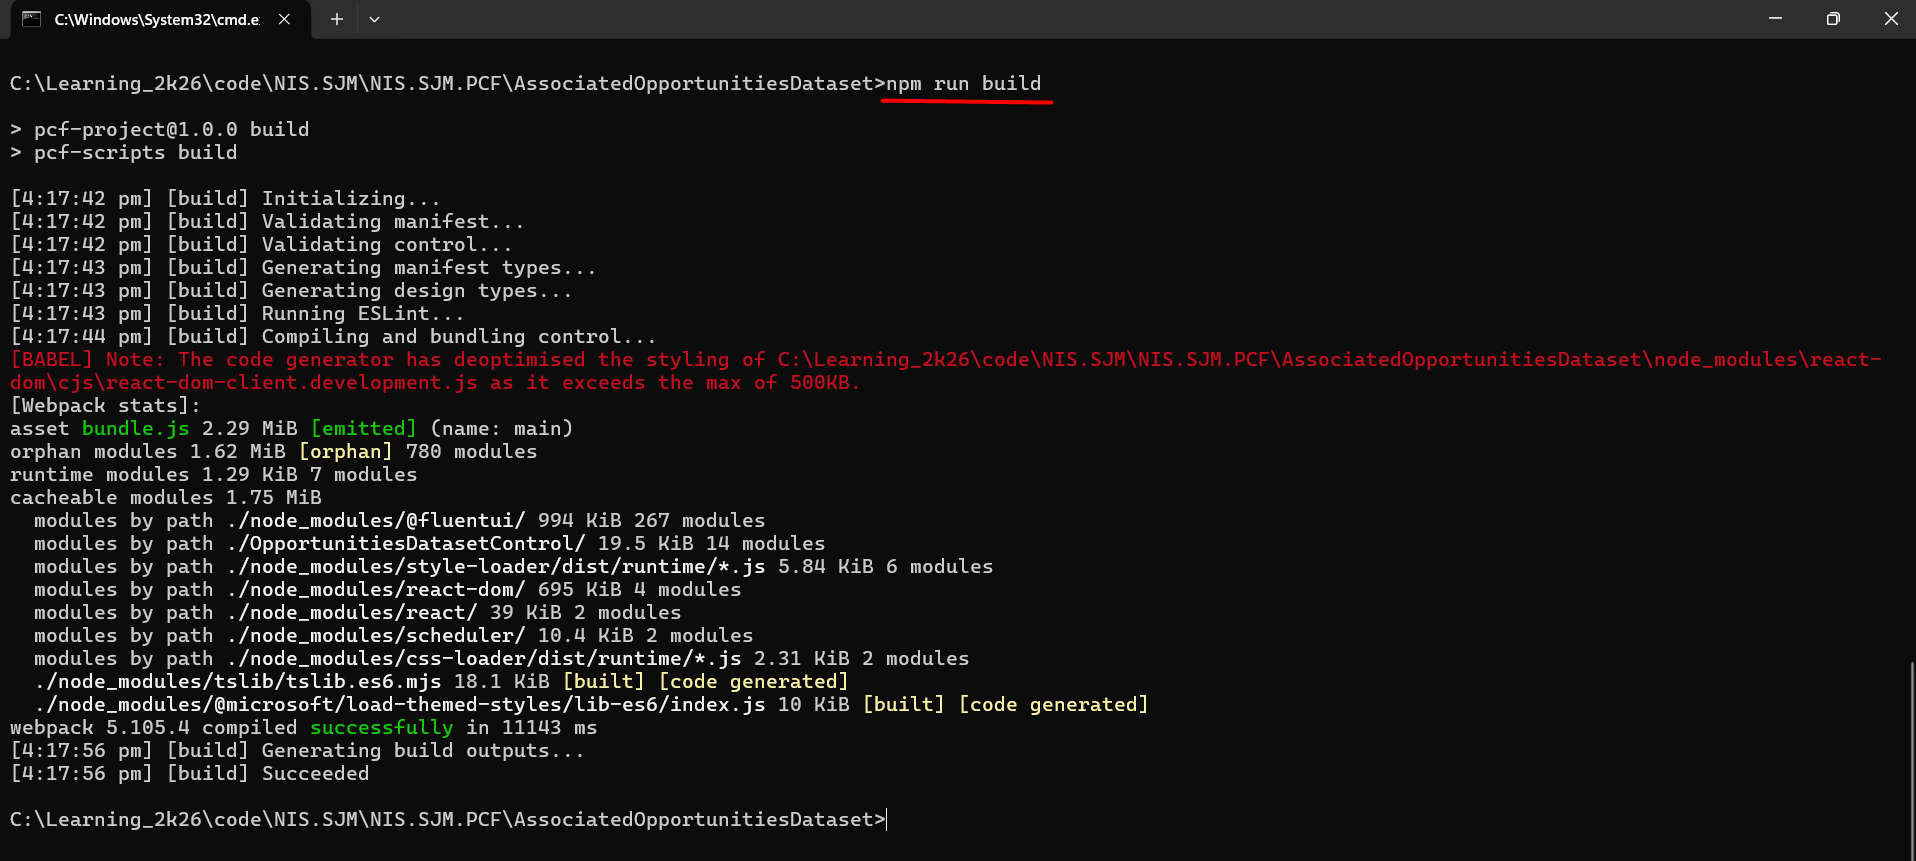
This compiles your TypeScript, HTML, and CSS into the out/ folder, getting it ready for deployment.
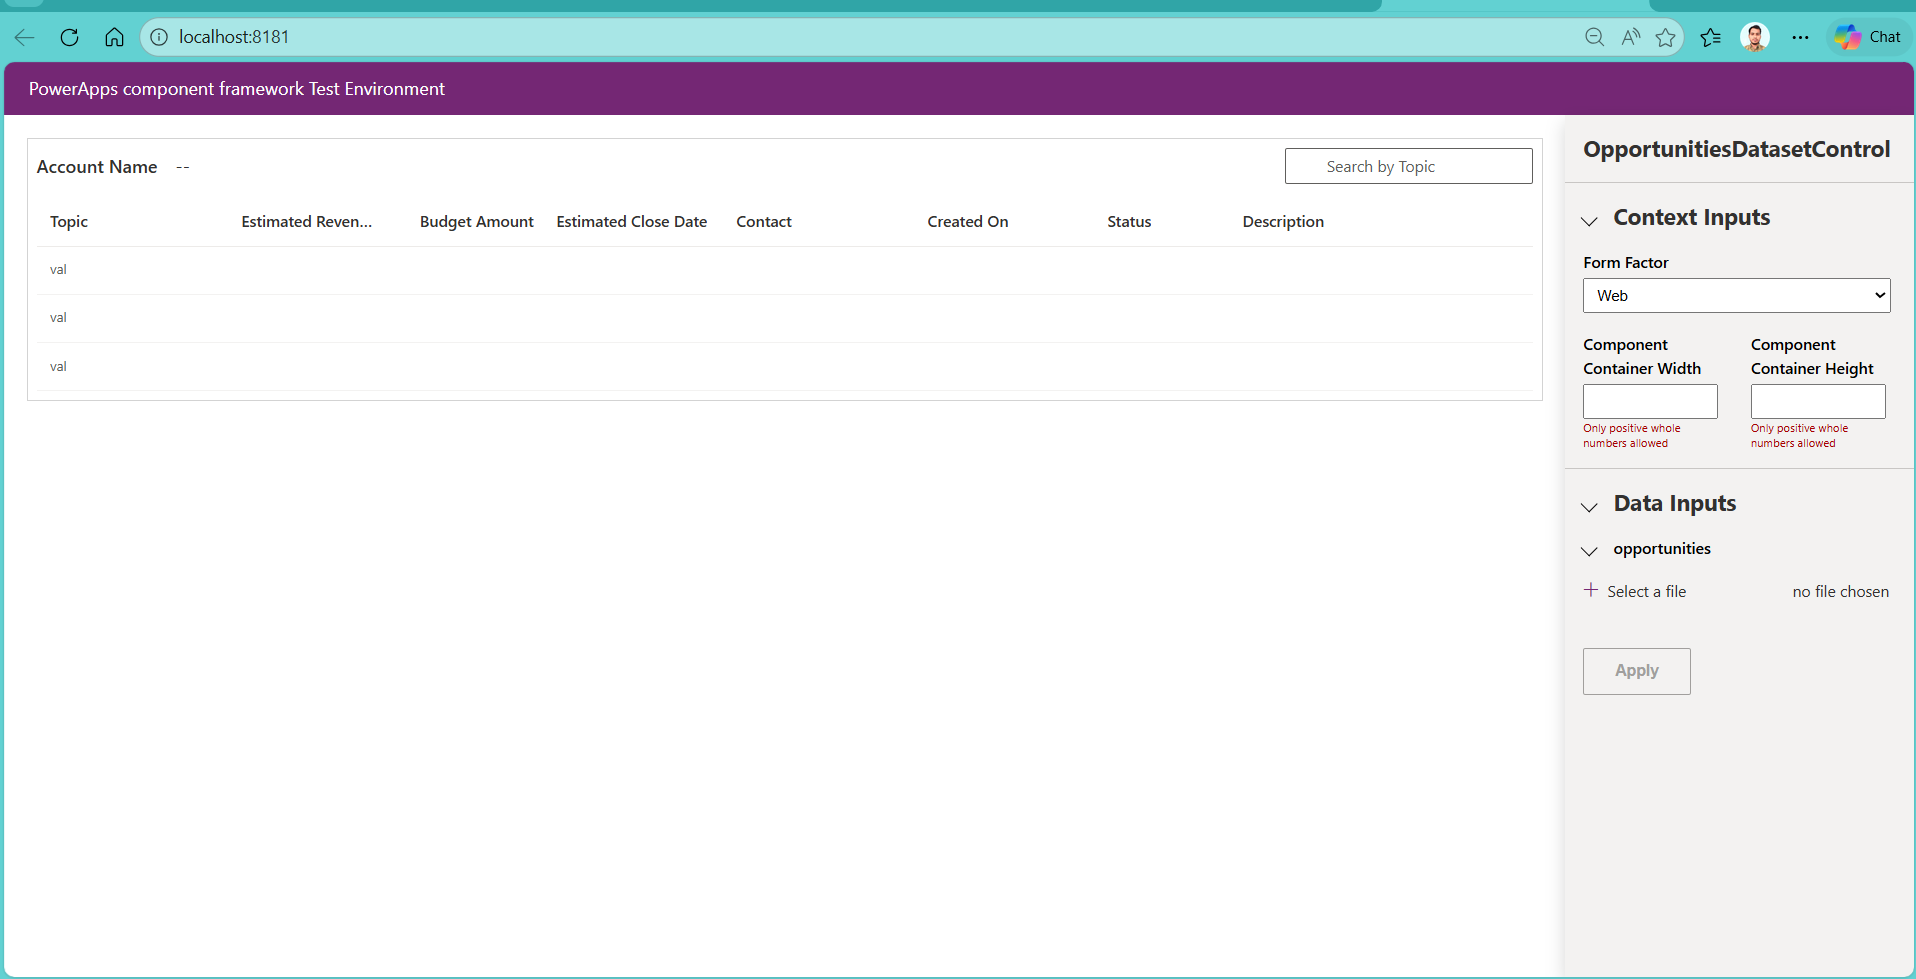
For local testing, run the command: npm start
This opens PCF Test Harness (starts a local test environment so you can see and test your control).
There are two methods to deploy the PCF to the environment:
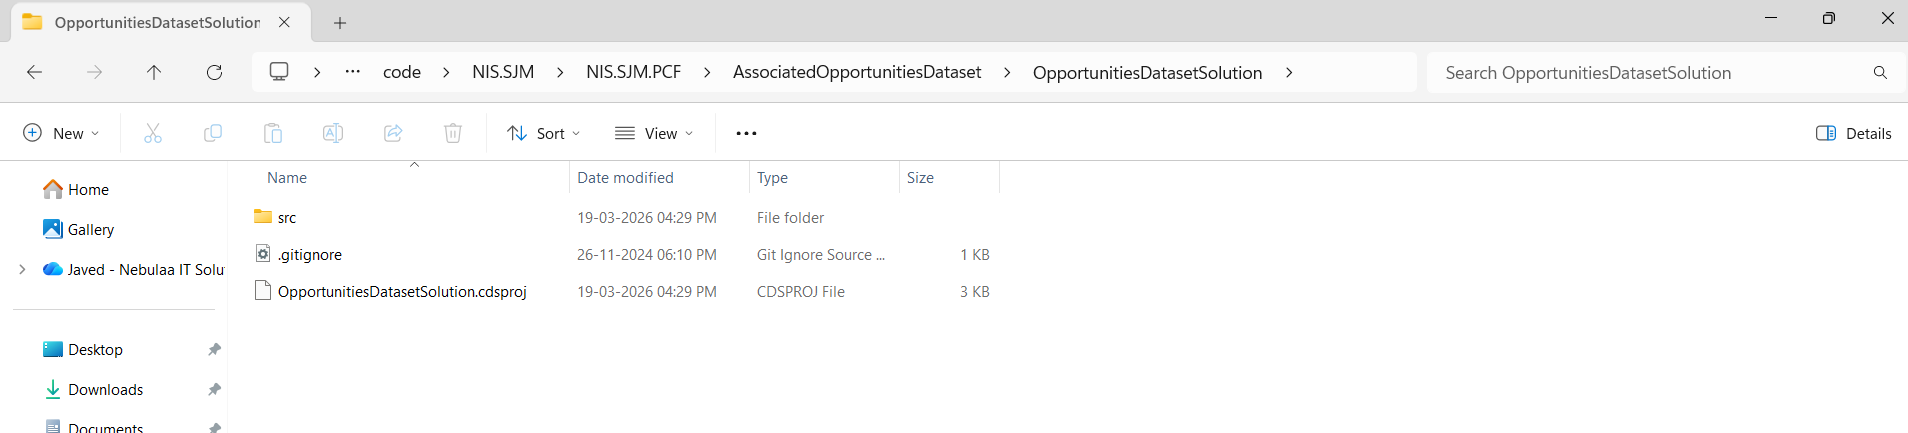
We will create the OpportunitiesDatasetSolution folder.
Run the command: mkdir OpportunitiesDatasetSolution and move inside the created folder using the command: cd OpportunitiesDatasetSolution in the Terminal, as shown below:

Run the below command:
pac solution init --publisher-name

Add reference:
We need to add the reference to the state where our component is located.
pac solution add-reference --path "

Run the command: msbuild /t:restore
This generates obj/ folder inside the Solution folder.

Then run, msbuild
This generates a bin/ folder which will hold the Debug version of the PCF Control to be deployed.
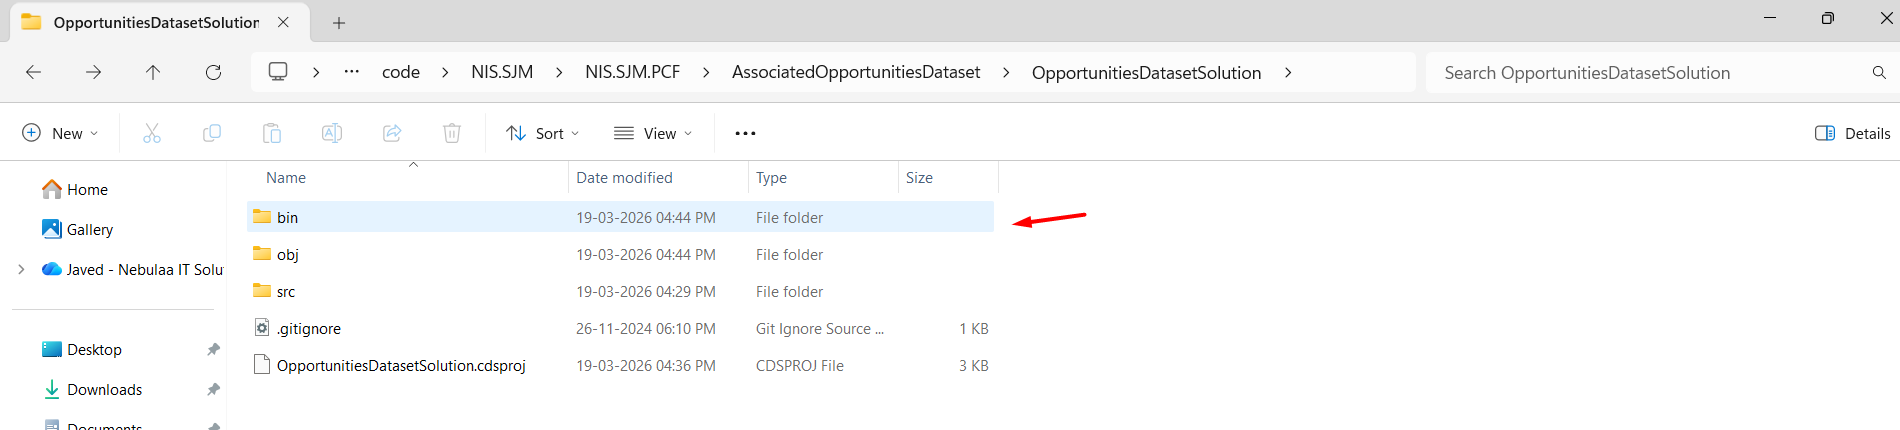
It generates an Unmanaged Debug Solution as shown below:

Note: To deploy on Production, use Release Solution.
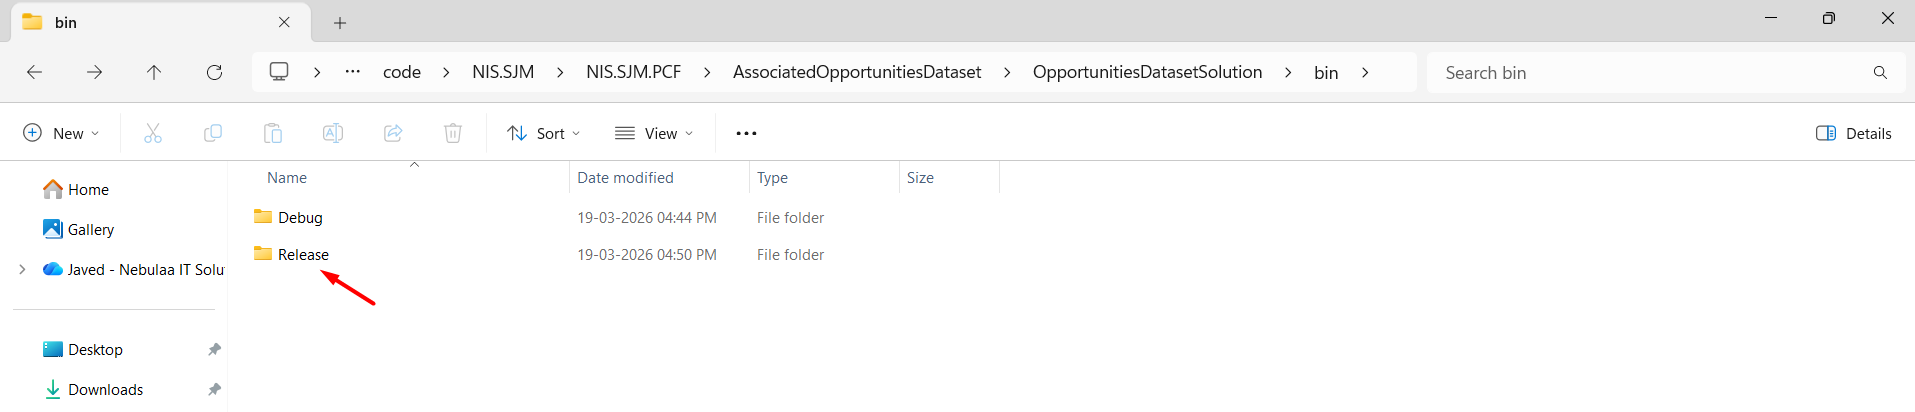
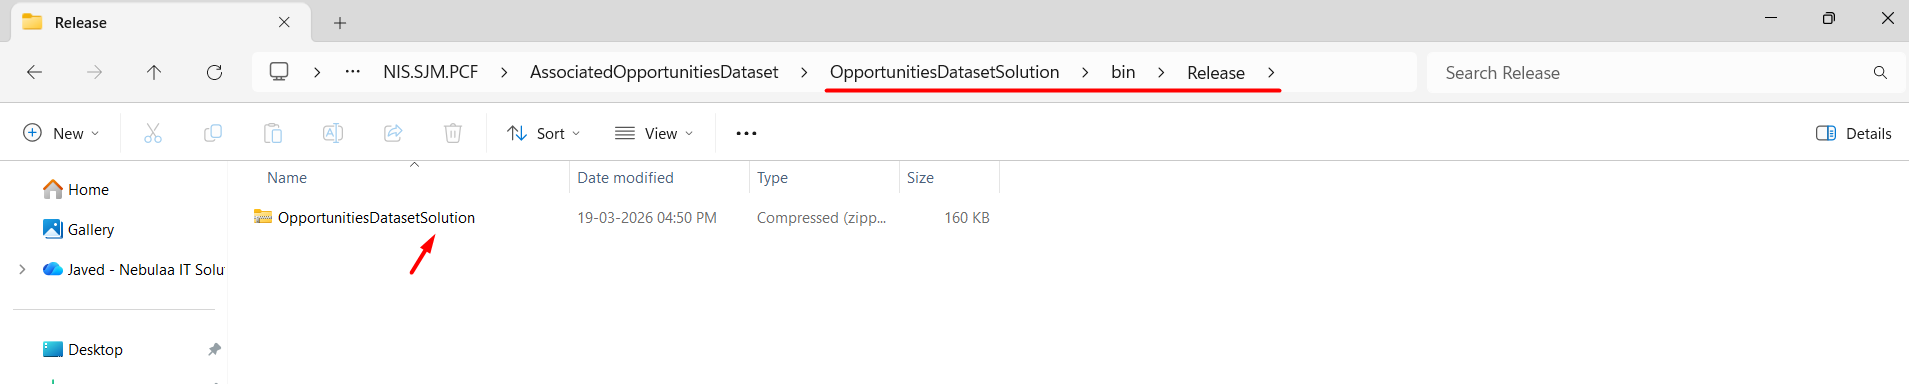
This generates an Unmanaged Release Solution.
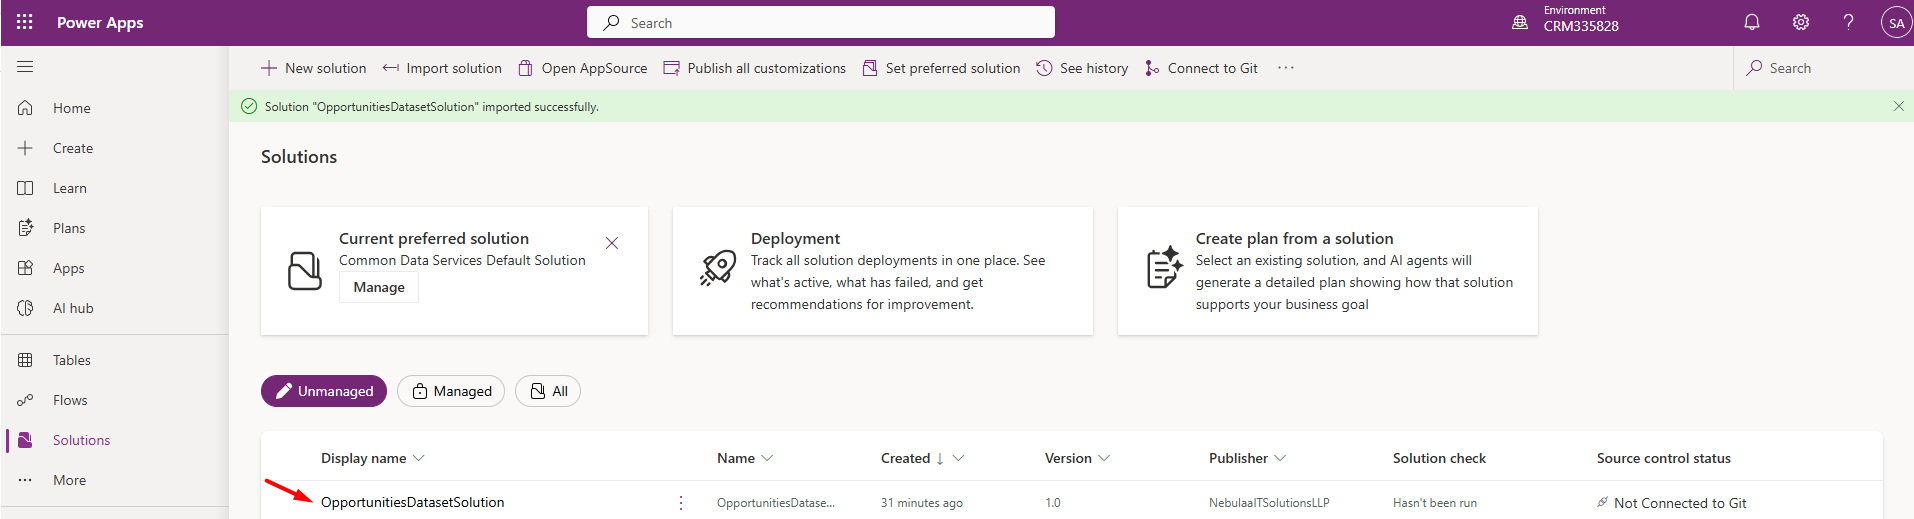
Navigate to the PowerApps à Solutions à Click on the Import Solution button from the command bar.
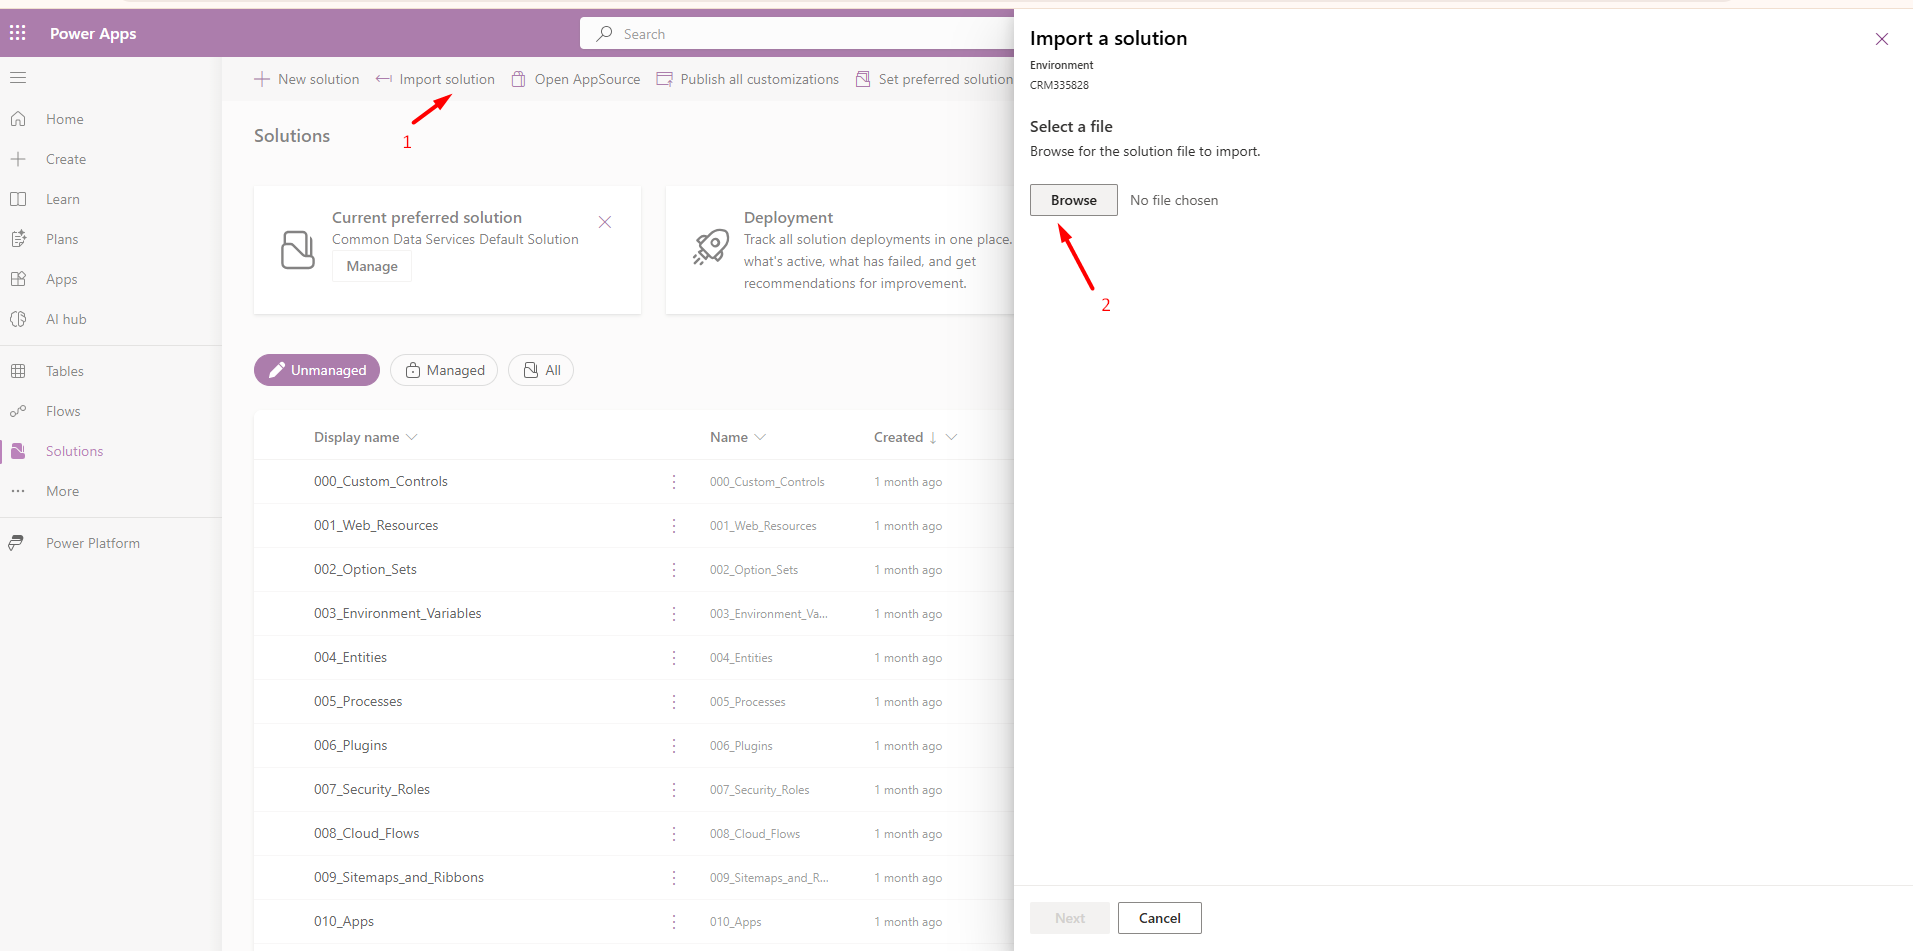
A Pop-up window will appear, click on the Browse button and select the OpportunitiesDatasetSolution from the bin/Debug or Release/ folder à Click on the Import button.
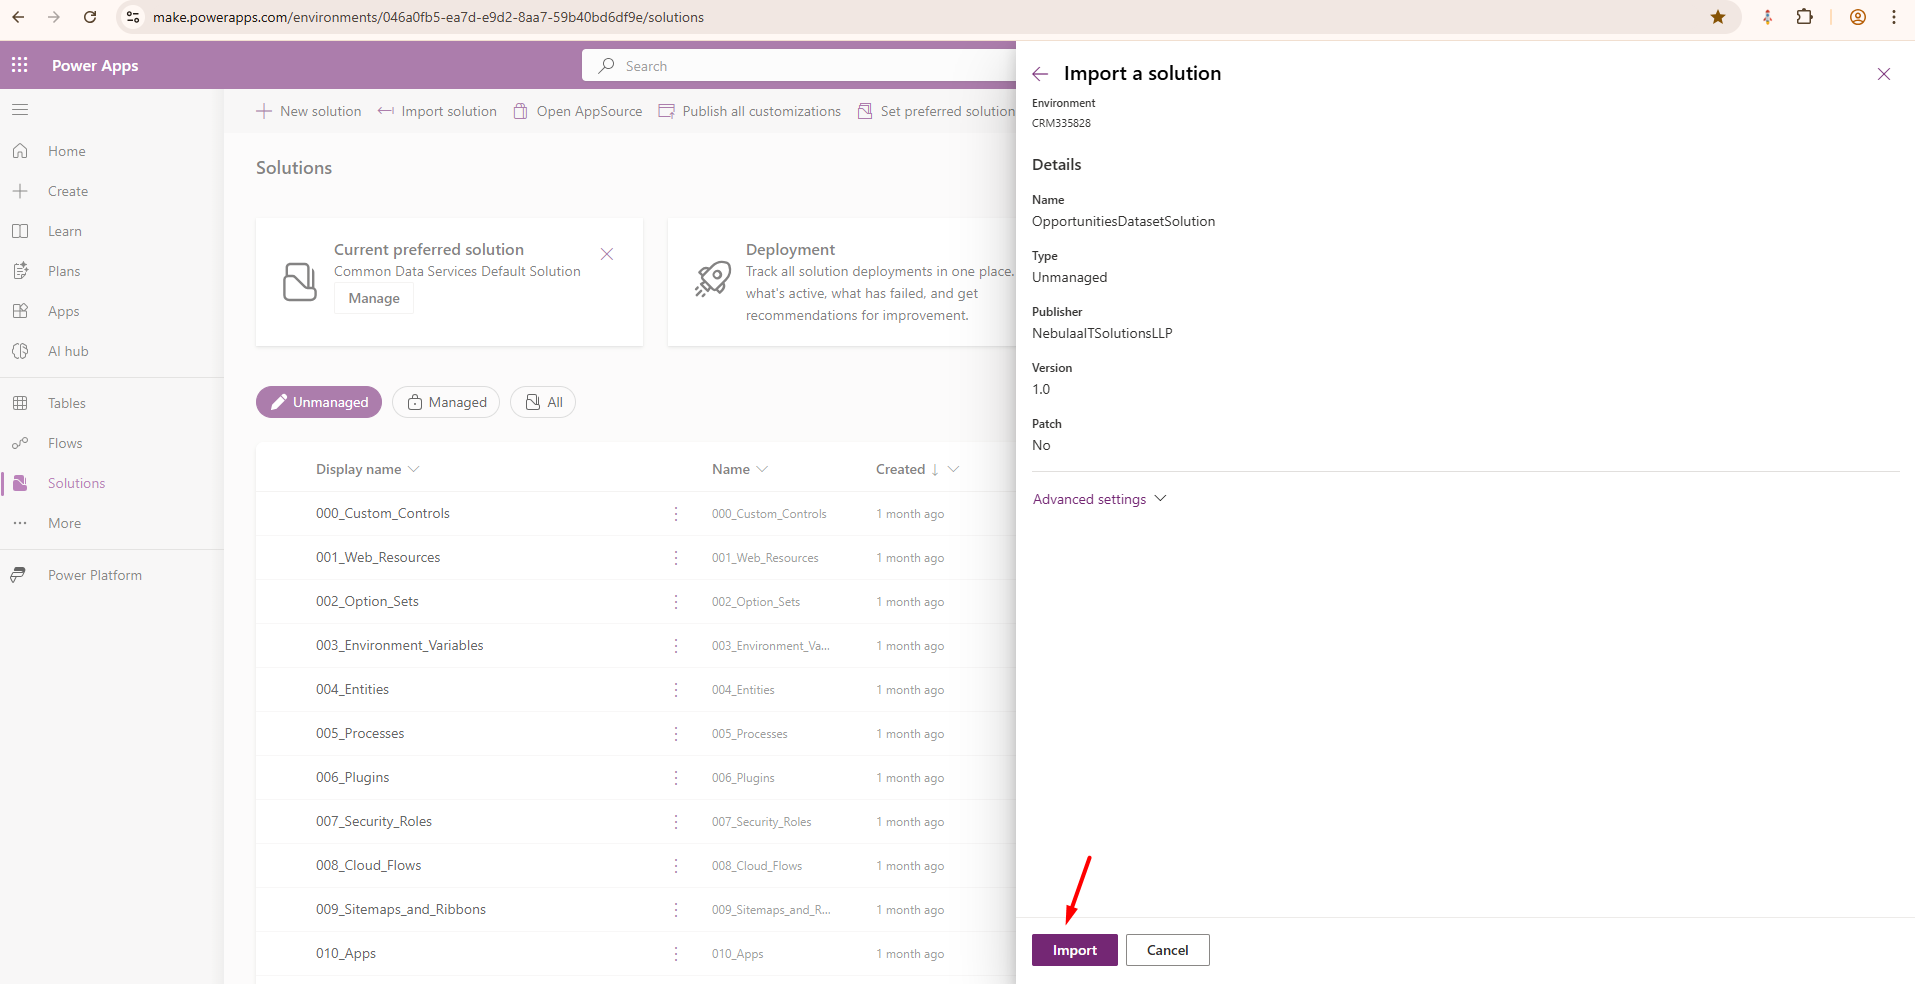
After importing, a separate solution will be created as shown below:
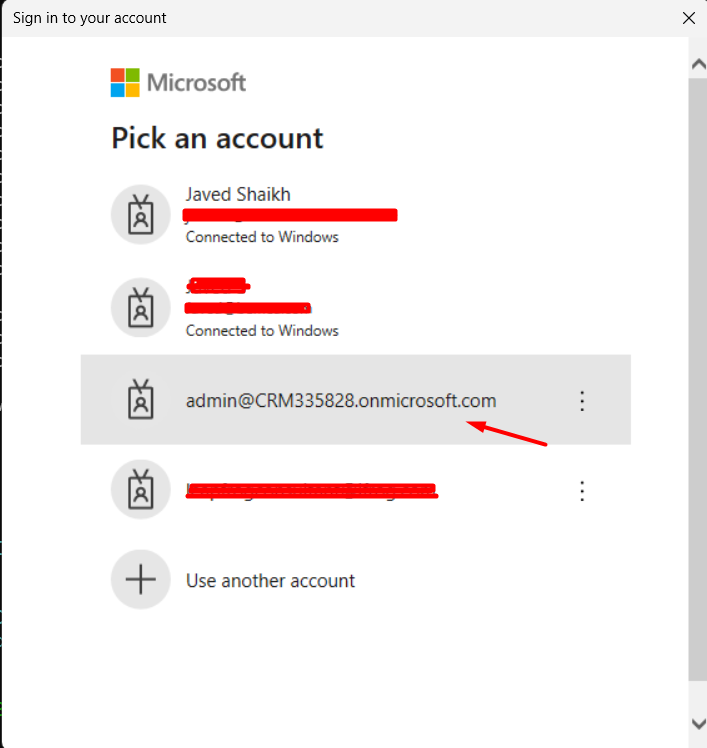
Run the command: pac auth create --environment
Microsoft Login window will open à Login with your credentials to the environment.

Note: To Get Your Environment ID:
Navigate to PowerApps Maker portal à Click on Settings from the Command bar à Select the Session details à Power Apps session details pop-up window will open à Copy the Environment ID as shown in the image below:

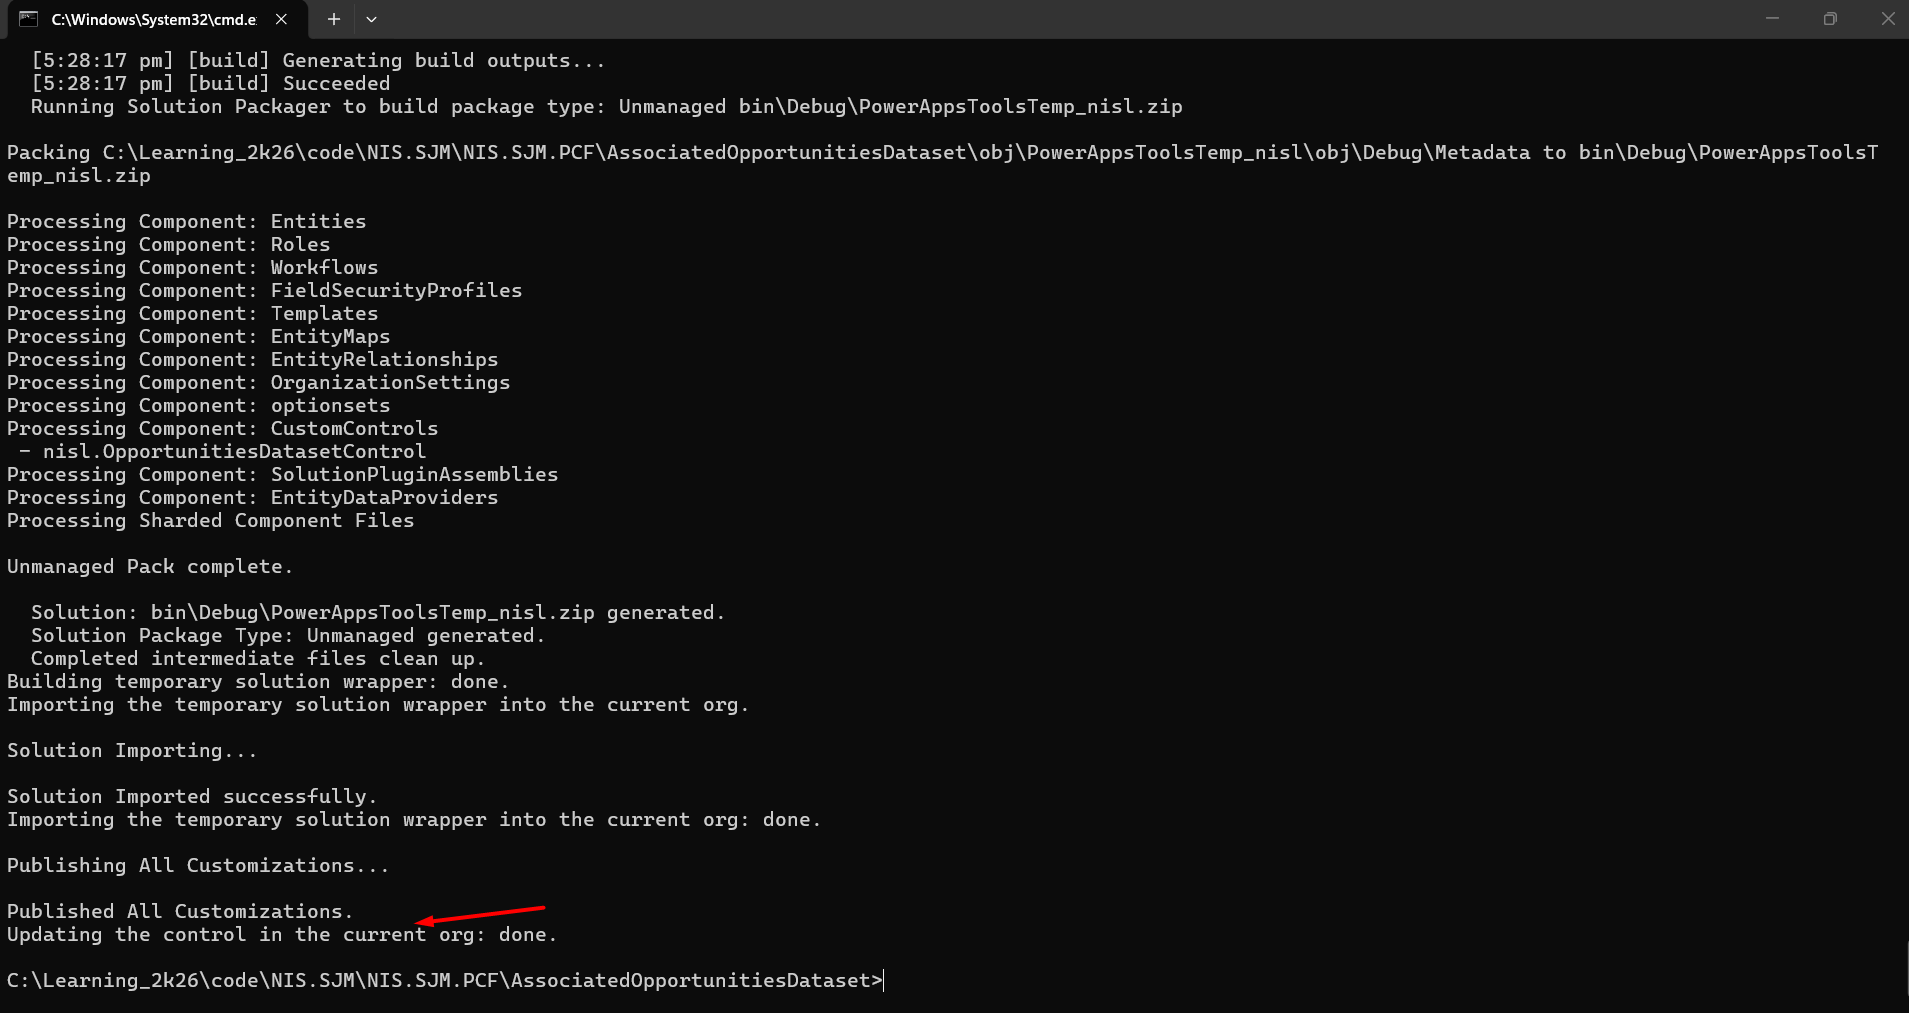
Run the command: pac pcf push --publisher-prefix
For my control, it will be:
pac pcf push --publisher-prefix nisl
This command automatically builds the control and creates a temporary Solution and deploys to the connected environment.
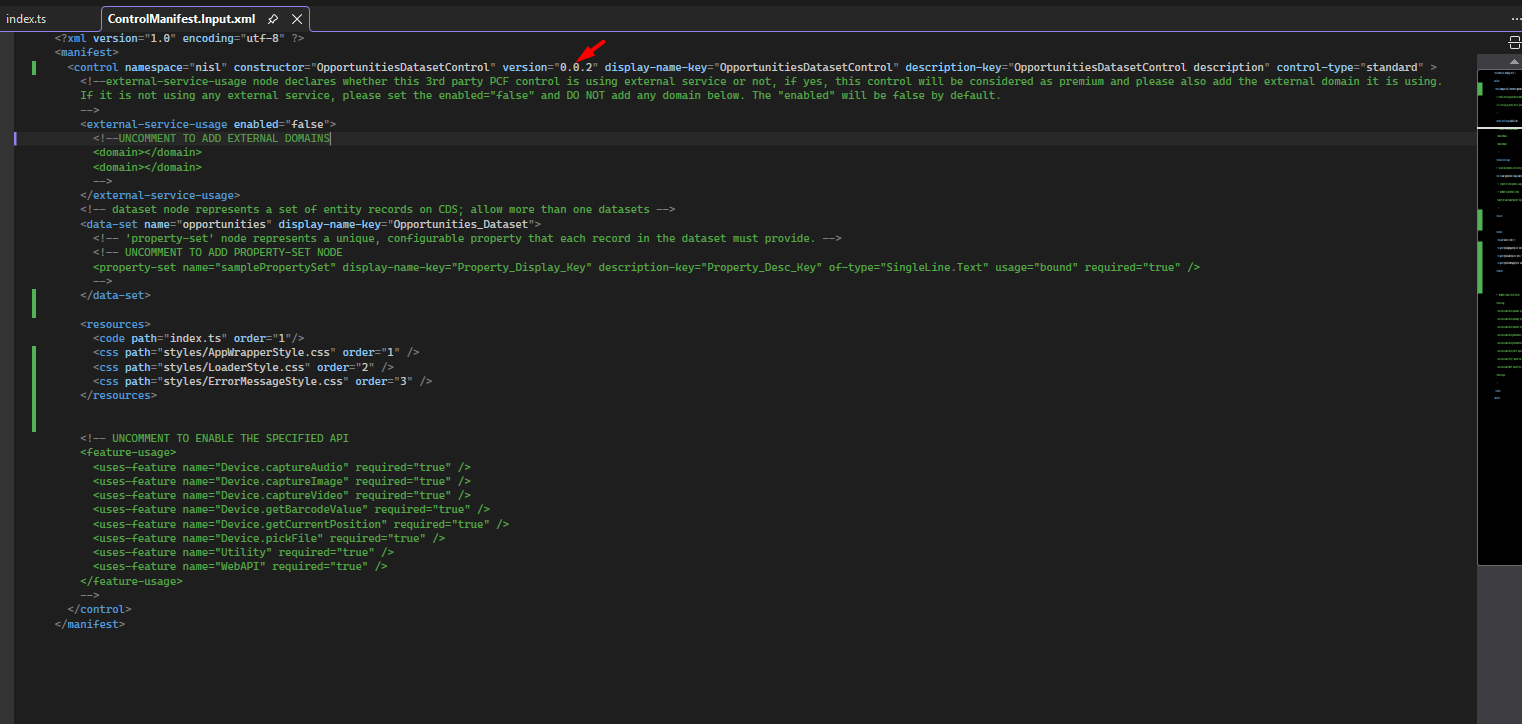
Important Note:
Always increase the version of the control before deploying to the environment, otherwise the latest changes won’t reflect.
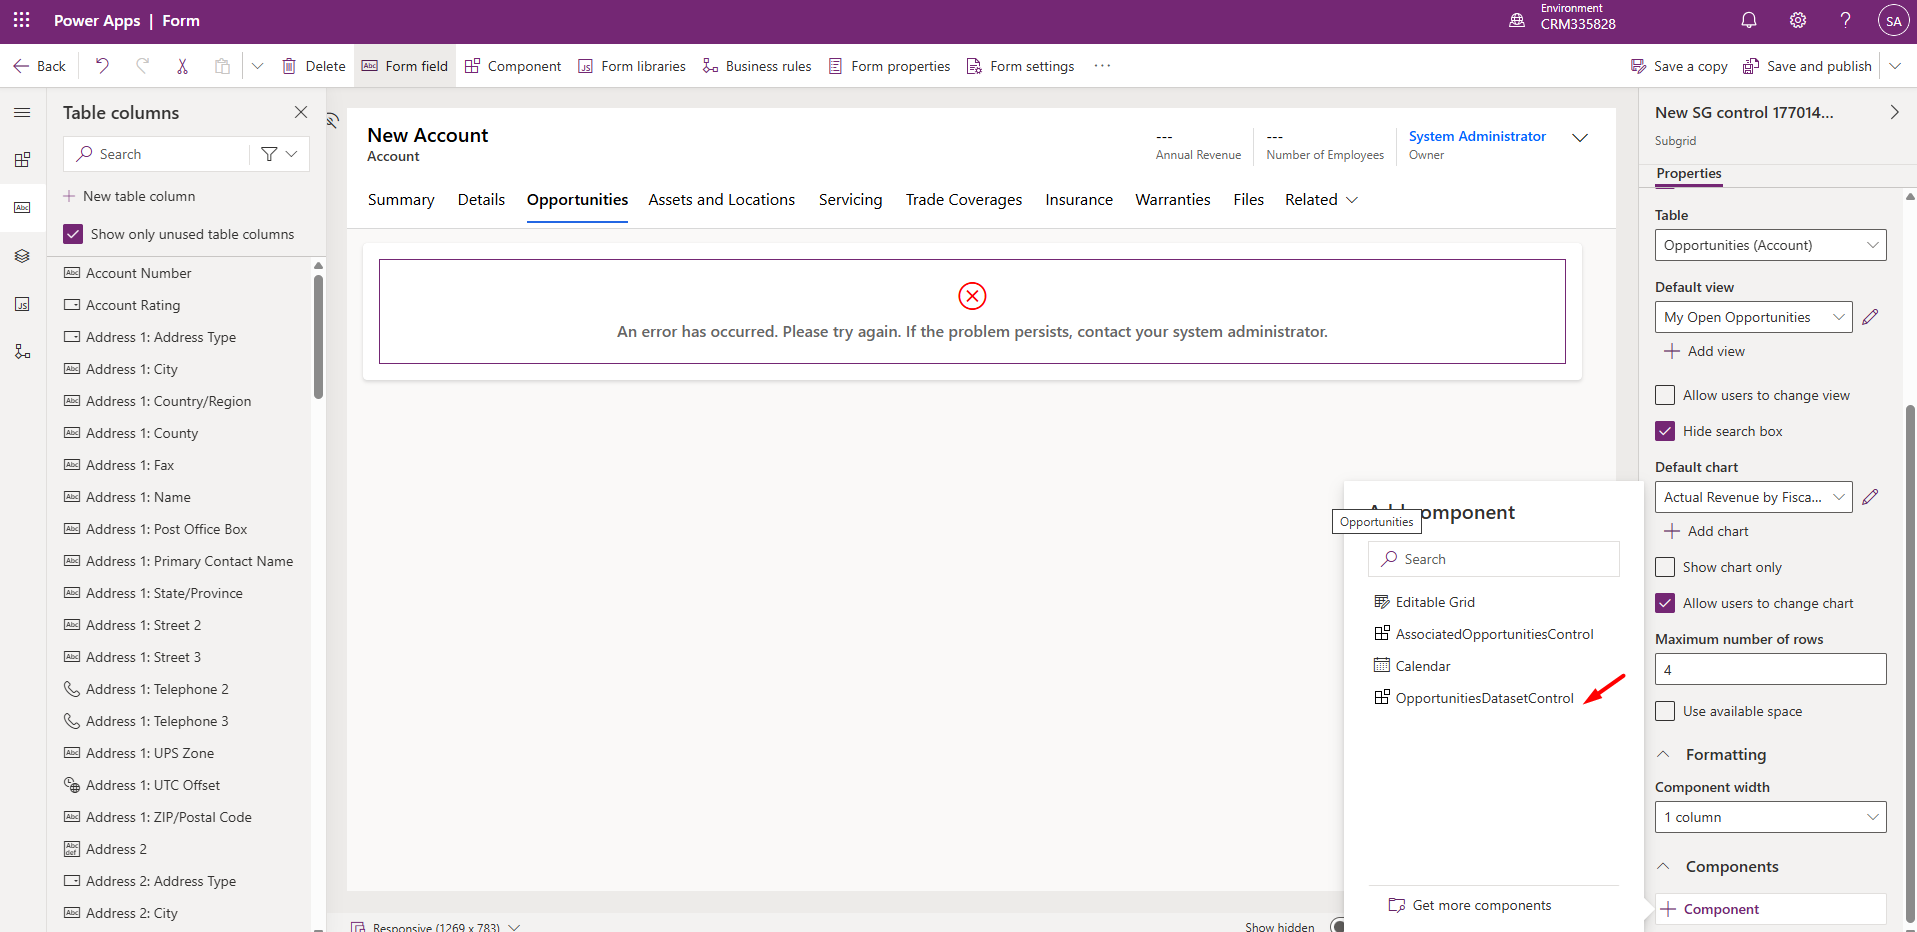
Navigate to the Power Apps Maker Portal à Select the Accounts table à Open the Main form àSelect the Subgrid à Click on + Component and select our PCF Control.
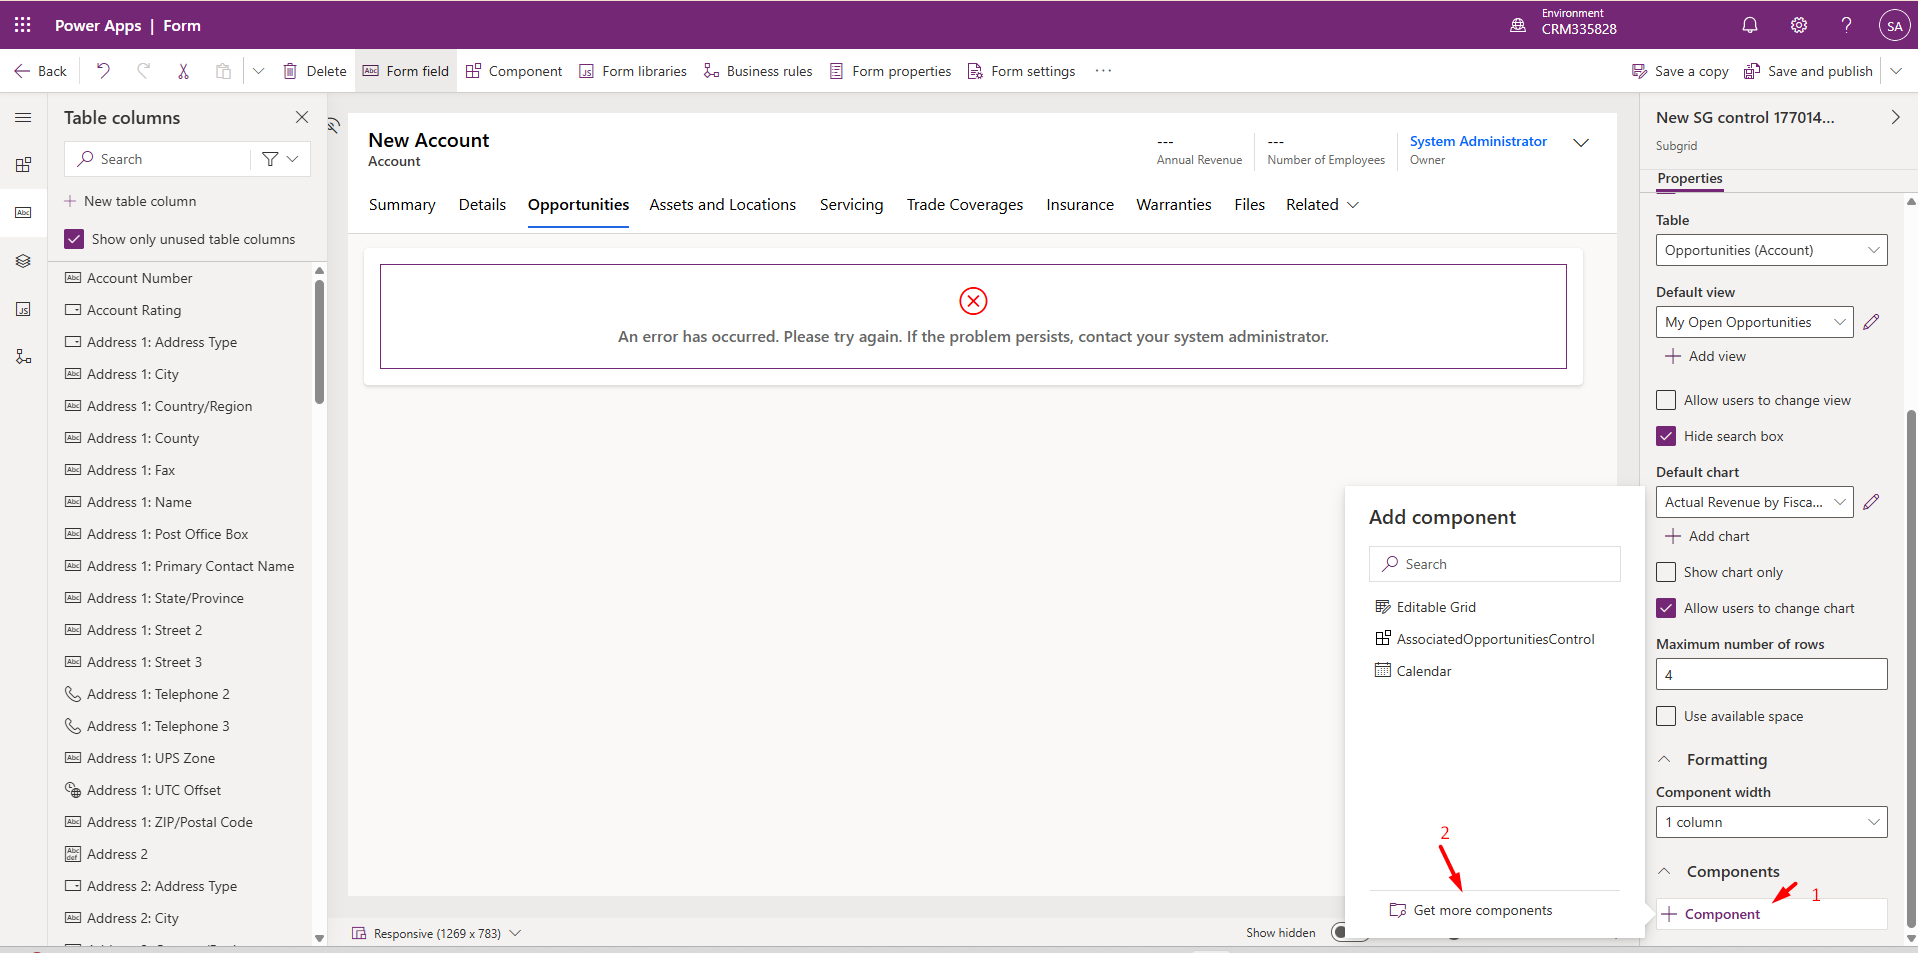
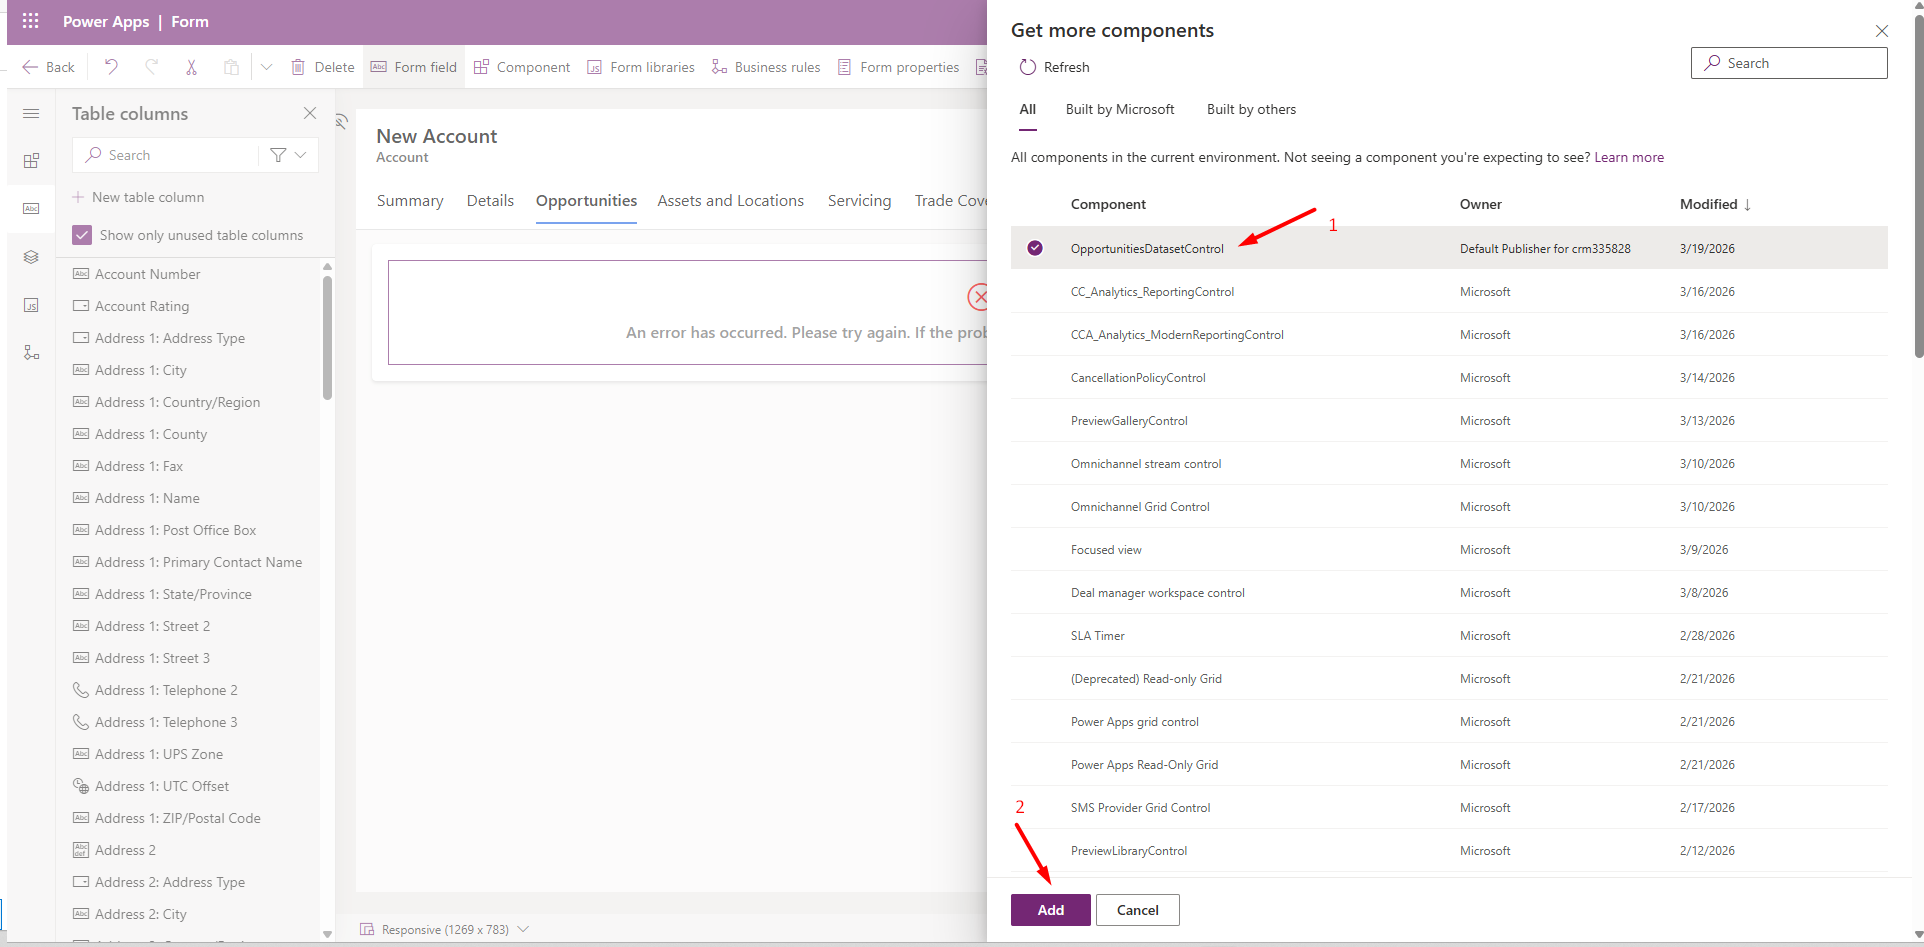
If the PCF Control is unavailable, then we need to add it by clicking on the Get more components button and then selecting our PCF Control from the Get more components navigation pane, as shown below:
After adding the PCF Control, click on the Save and Publish button on the command bar.
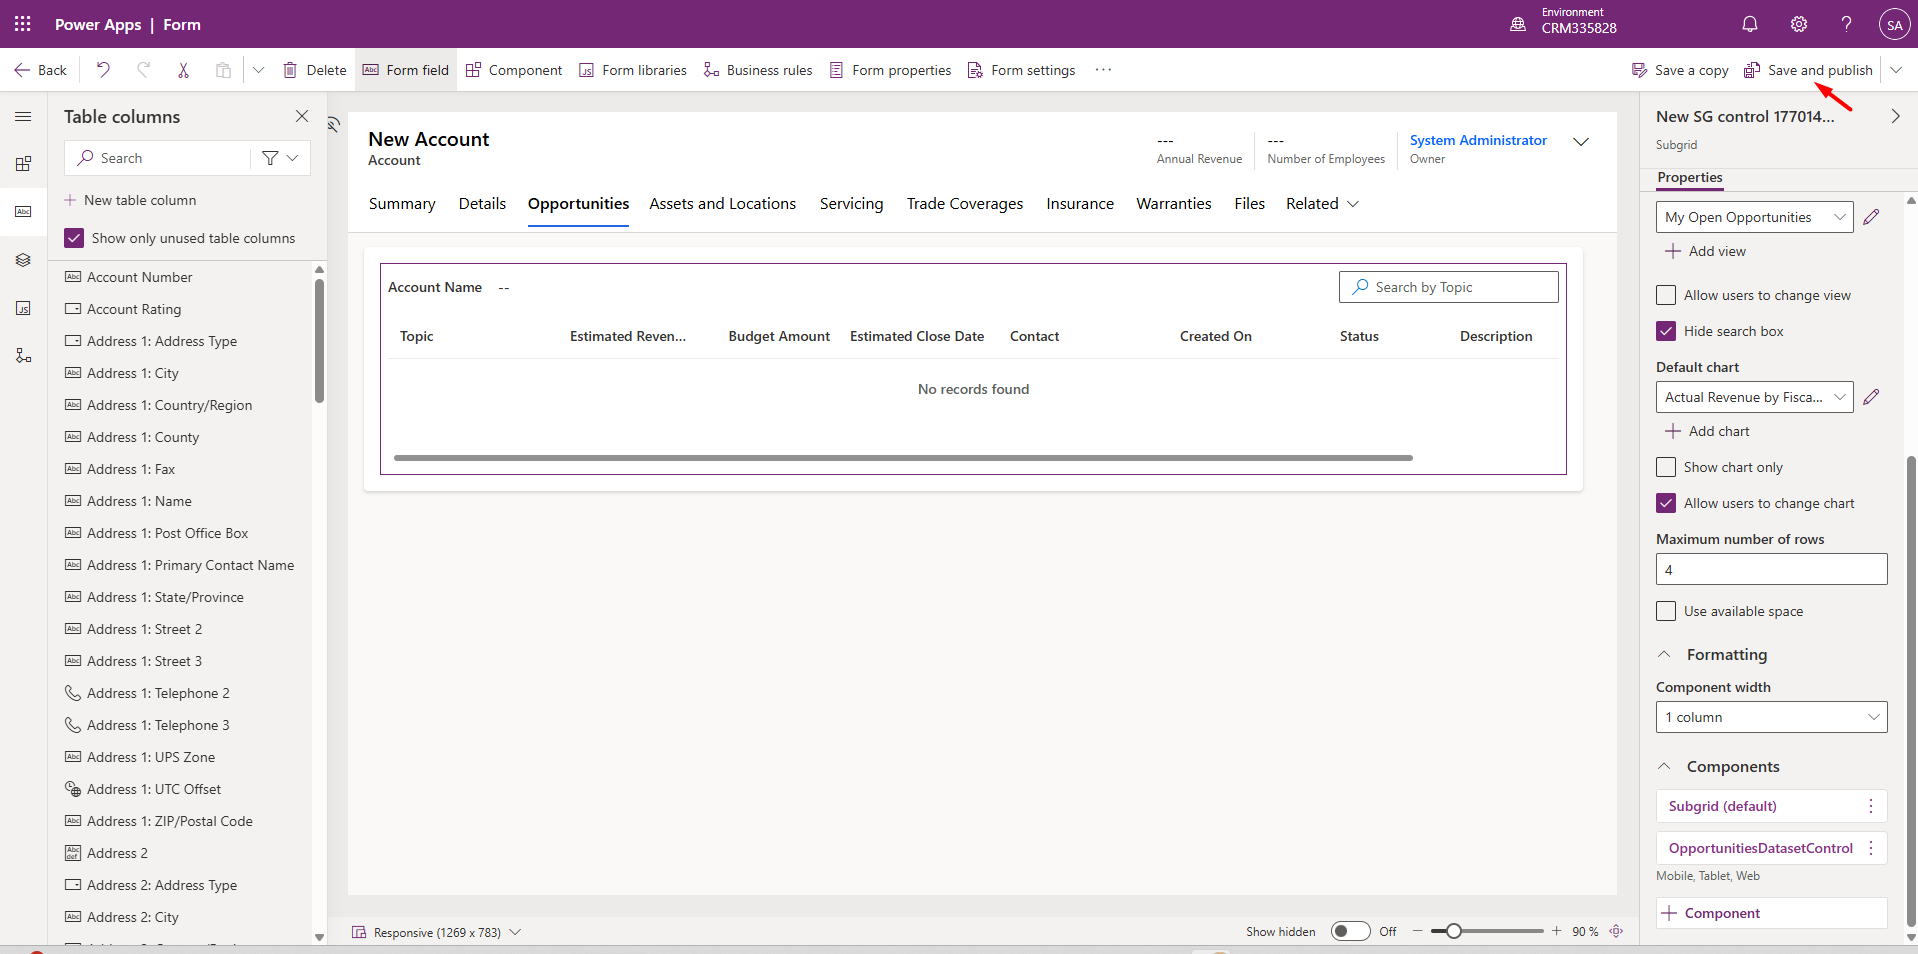
Navigate to CRM à Select Accounts from the Sitemap à Open any Account record à Opportunities tab.
We should be able to view the PCF control as shown below:

In this blog post, we built and deployed a Dataset PCF control without any Web API using ComponentFramework.PropertyTypes.DataSet property in Dynamics 365.
Dataset PCF controls are ideal when replacing standard subgrids with interactive and customized UI components. Once you understand this concept, you can extend it further to build advanced components such as dashboards and visual data representations.
Comment
Building a Power Apps Code App is just the beginning. In real-world business applications, users often need to send emails,…
READ MORE
Power Pages Server Logic allows developers to execute secure backend JavaScript directly within Power Pages. It is commonly used for…
READ MORE
In this blog, we’ll build and deploy a Single Page Application (SPA) using React + Vite and host it on…
READ MORE