
16 Jul, 2024
Posted on 16 Jul, 2024 by Dadasaheb Deole, Posted in Dynamics 365 PowerApps Portal Power Platform
 Blogs
Blogs
What is Solution in power Pages?
A solution is a container for components such as Website Configuration and Dataverse Components.
Website Configuration includes all settings and configurations for the Power Pages site, such as page layouts, templates, themes, and other design elements.
Dataverse Components contain tables, forms, views, and business logic (such as workflows and business rules).
By combining all website and Dataverse components into a single solution artifact, you can take advantage of advanced application lifecycle management (ALM) capabilities to deploy websites to destination environments using managed solutions
Enable enhanced data model to use solutions with Power Pages.
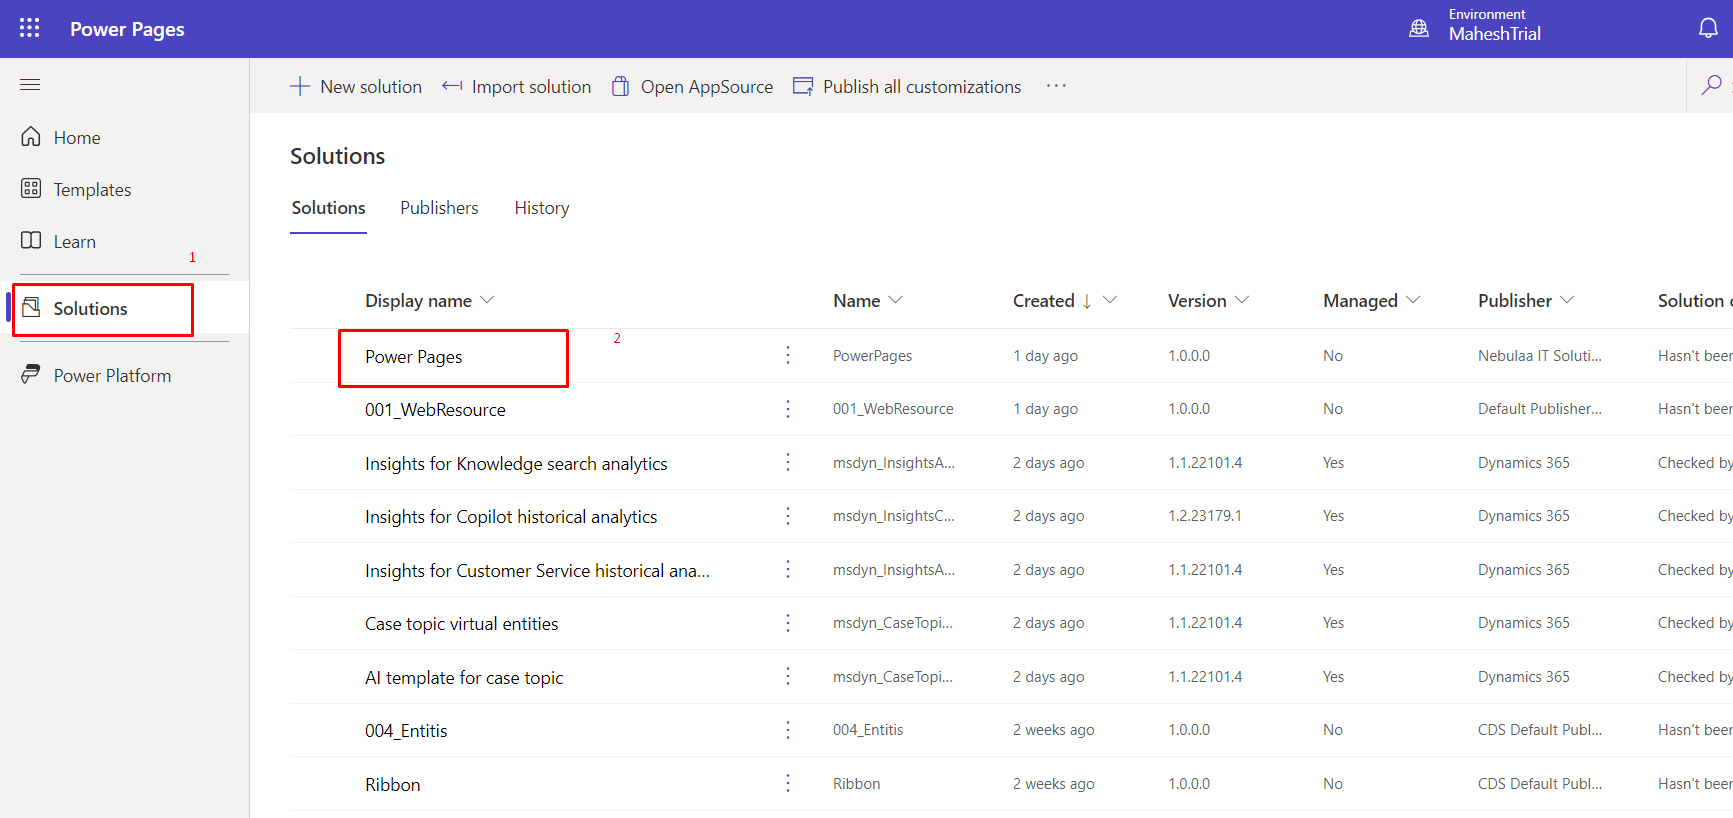
Go to the Solutions section.
Select an existing solution or create a new solution based on your requirements.
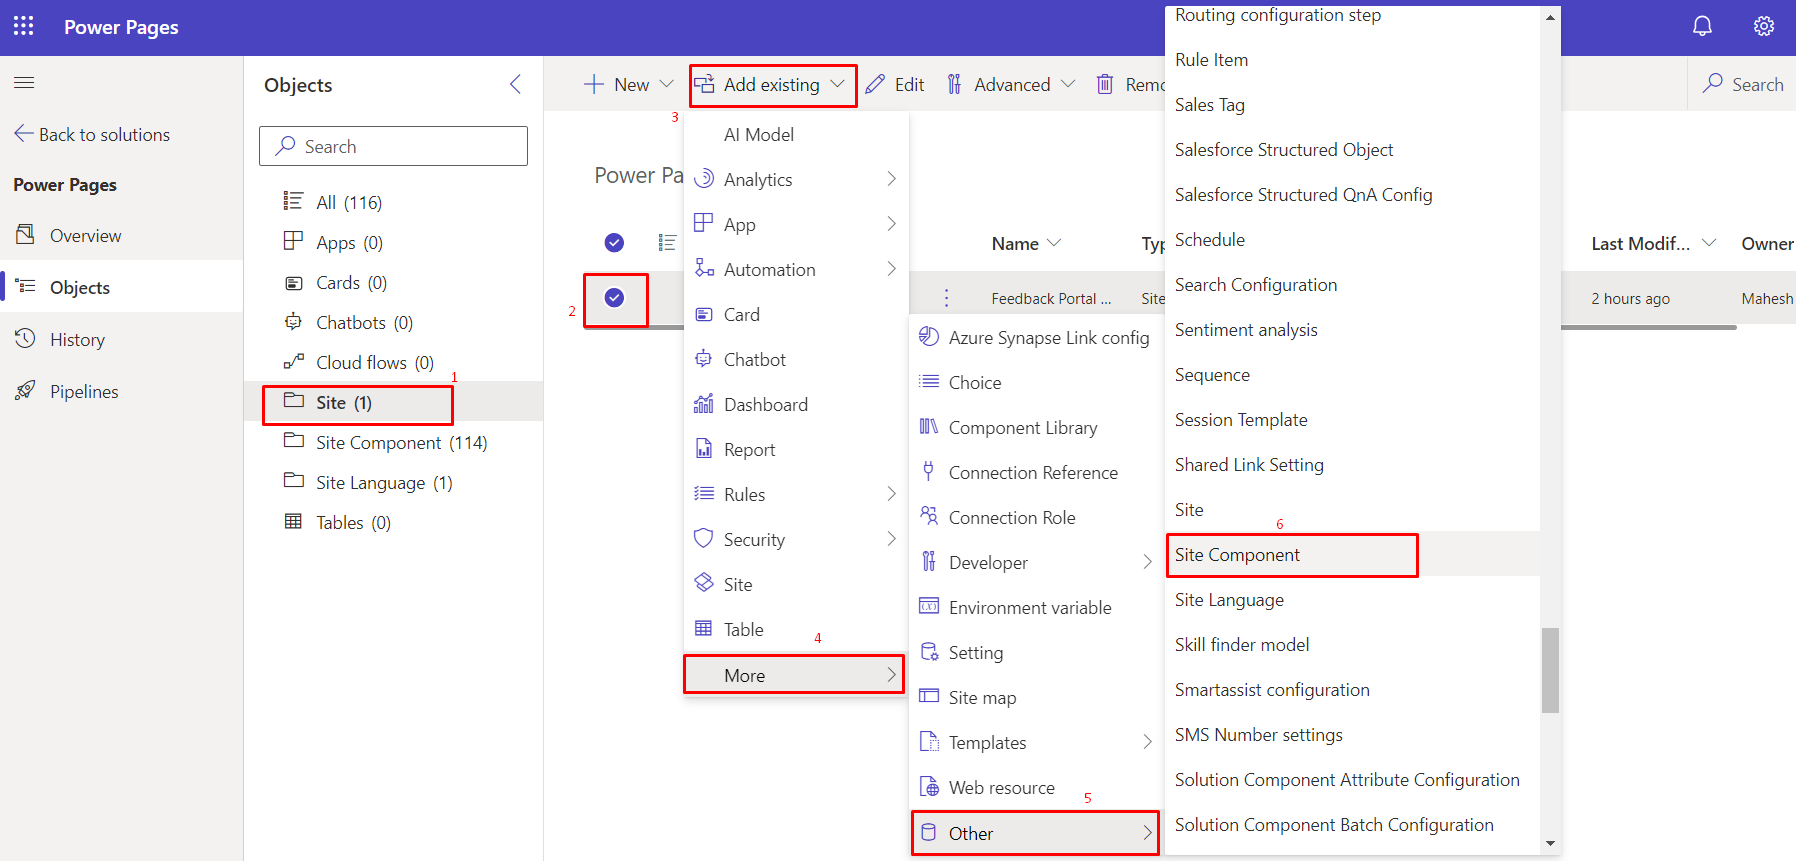
Click on Add existing menu, select Site.
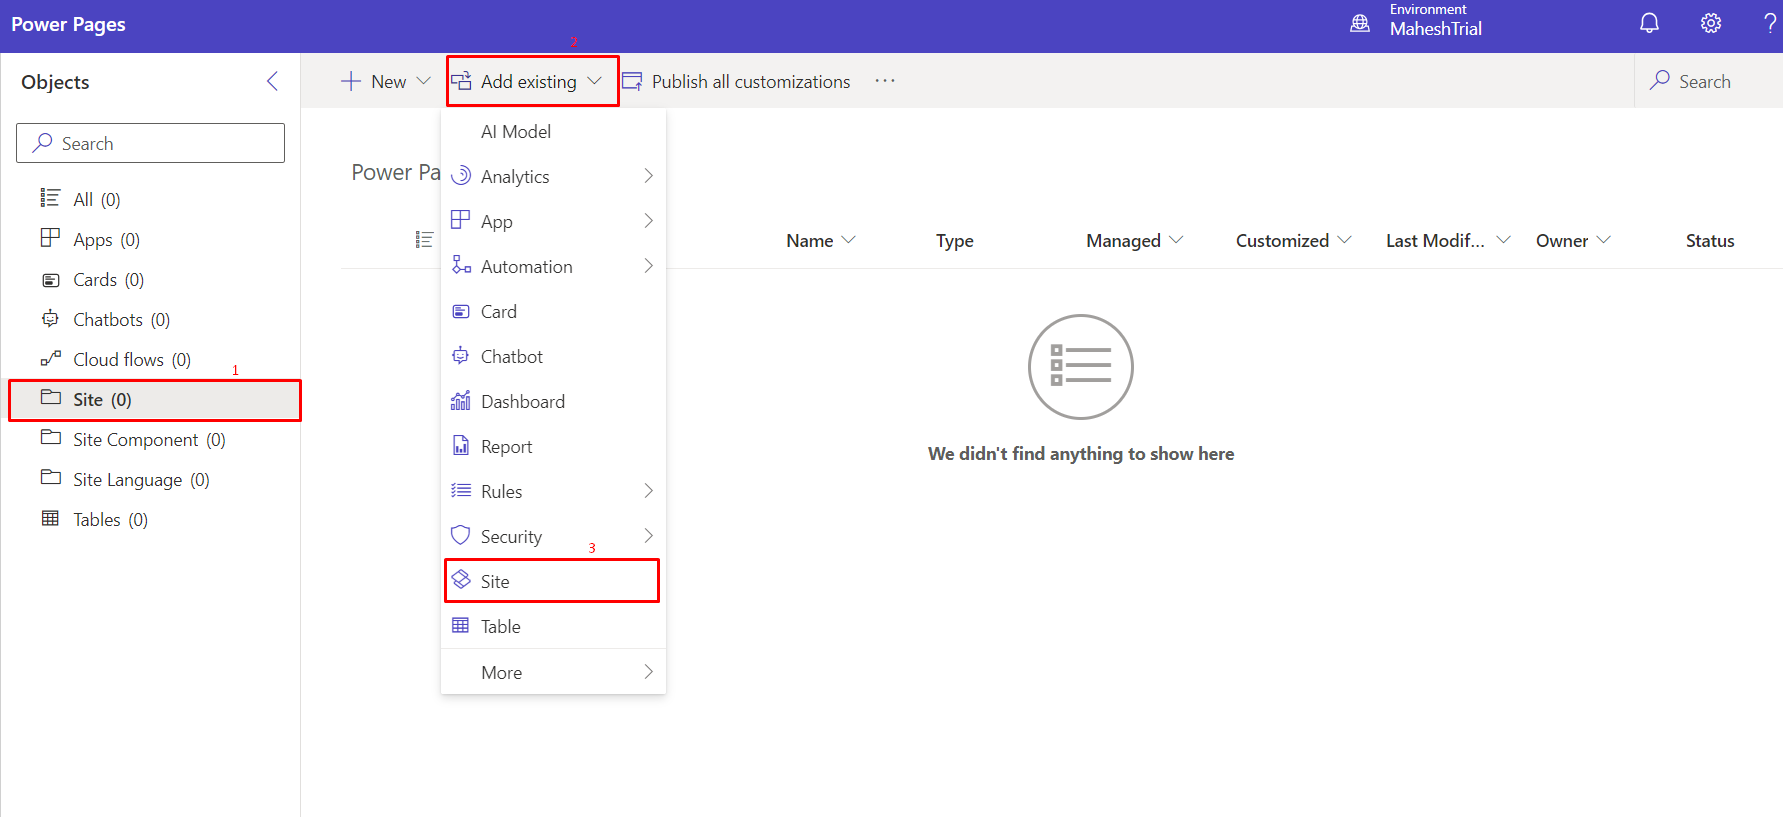
Select the site you want to add and click on 'Add.'

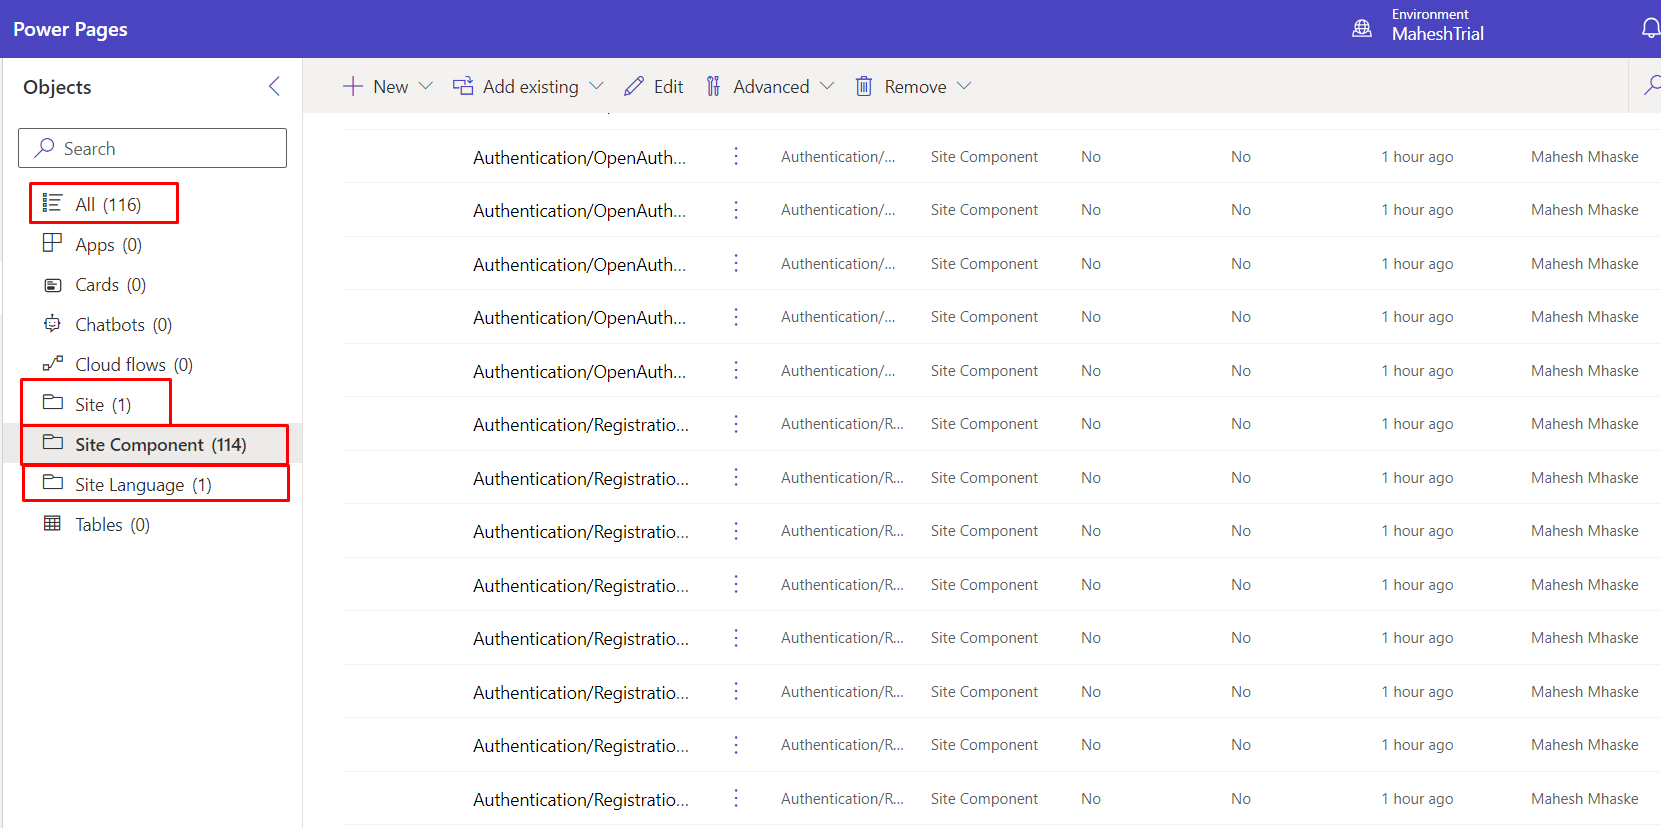
We can see the site and its components added in the solutions.
Create new page in website.
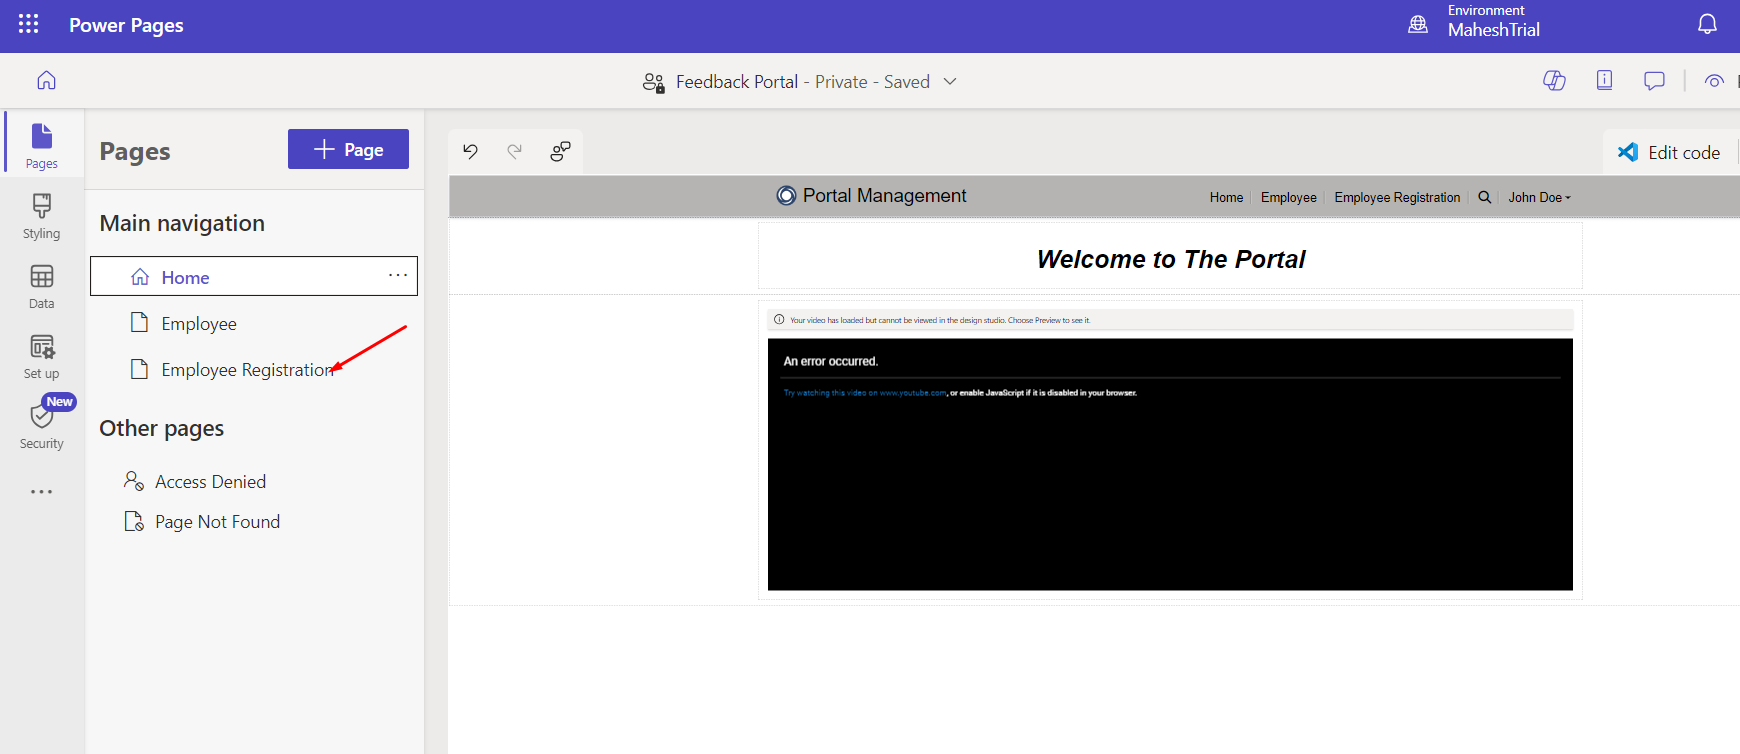
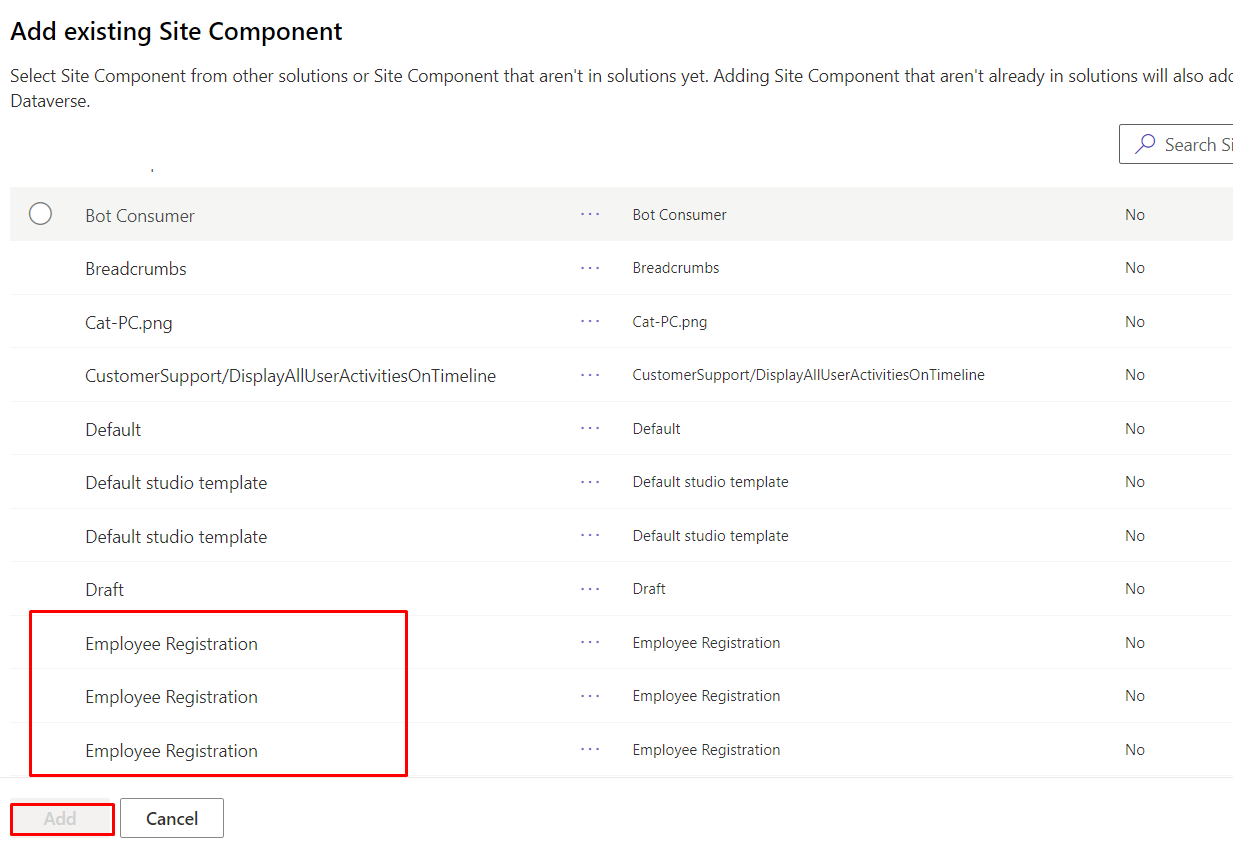
We need to add this newly created page (site component) to the solution.
Select the component and click on Add.
After adding all the required components, export the solution as Managed.
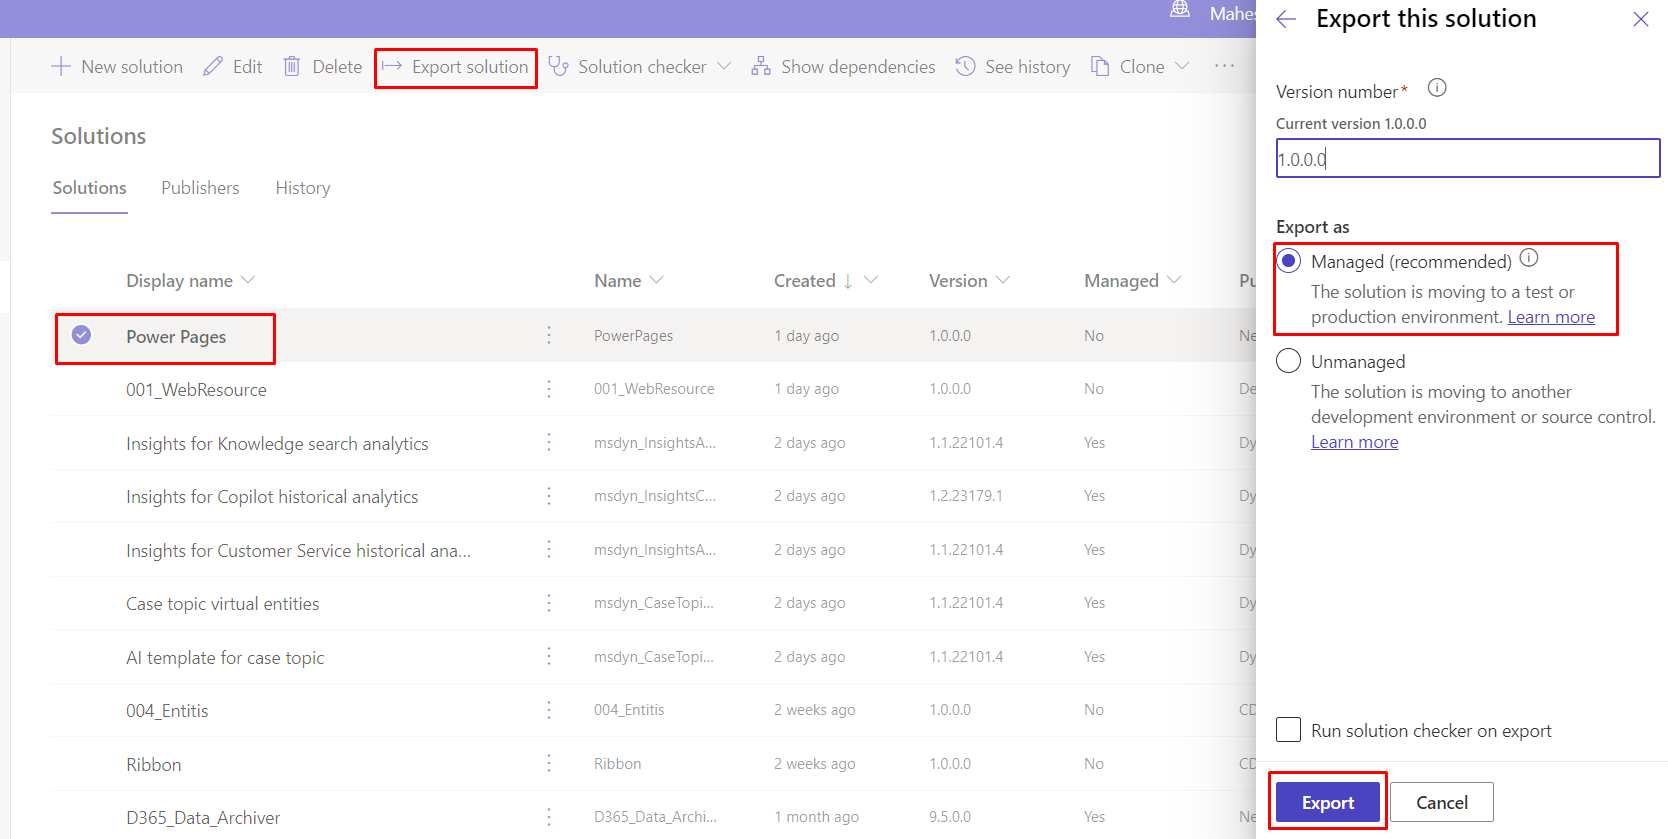
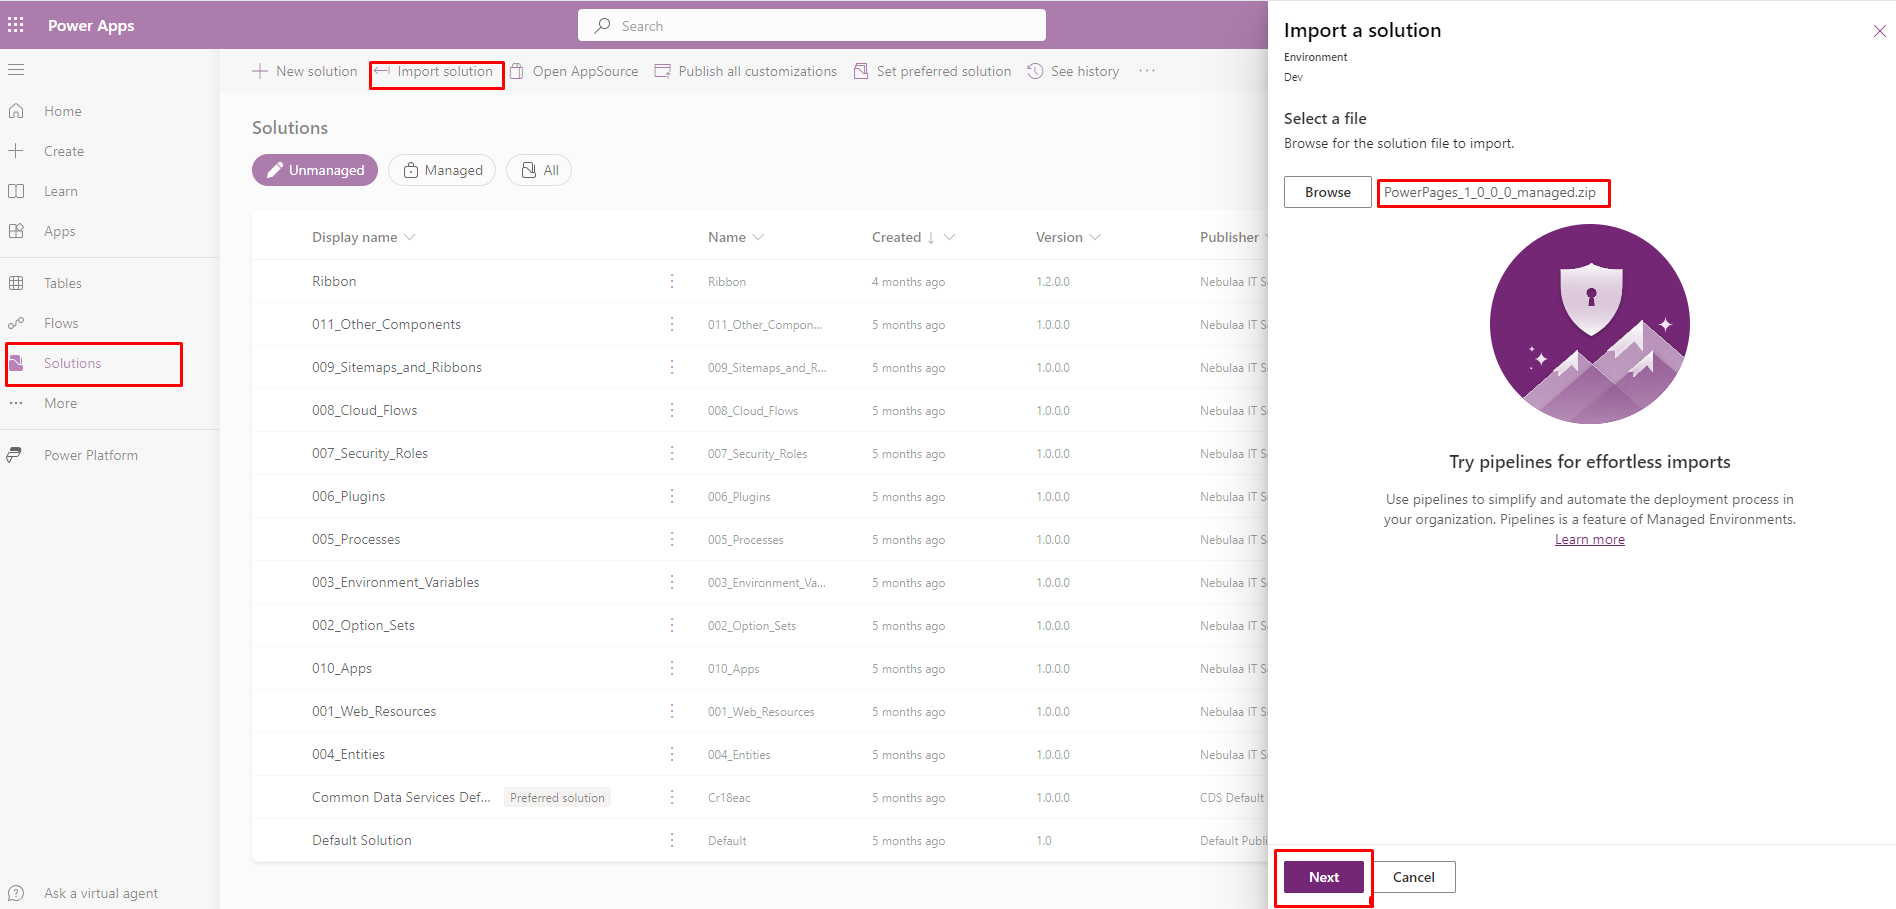
After successfully exporting the solution, you can import it into your target environment.
After importing your solution into the target environment, perform the following steps:
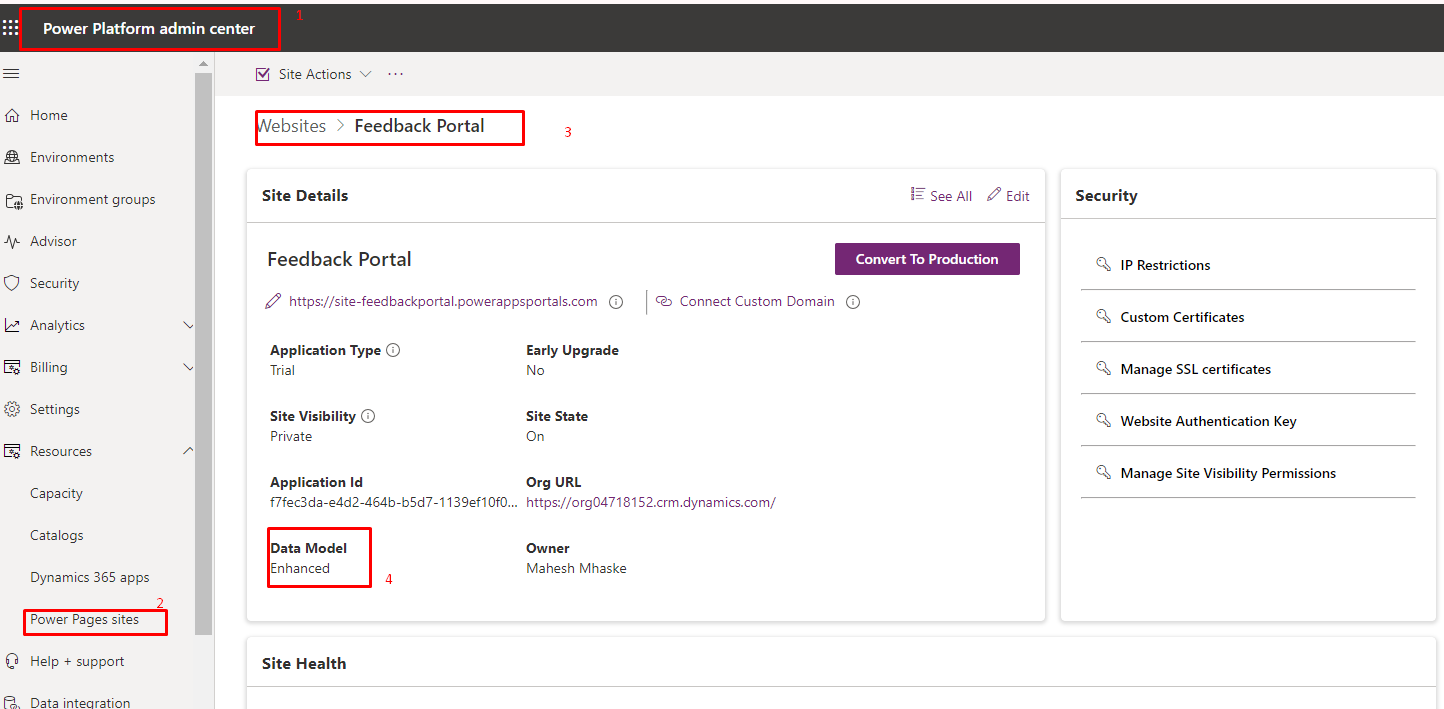
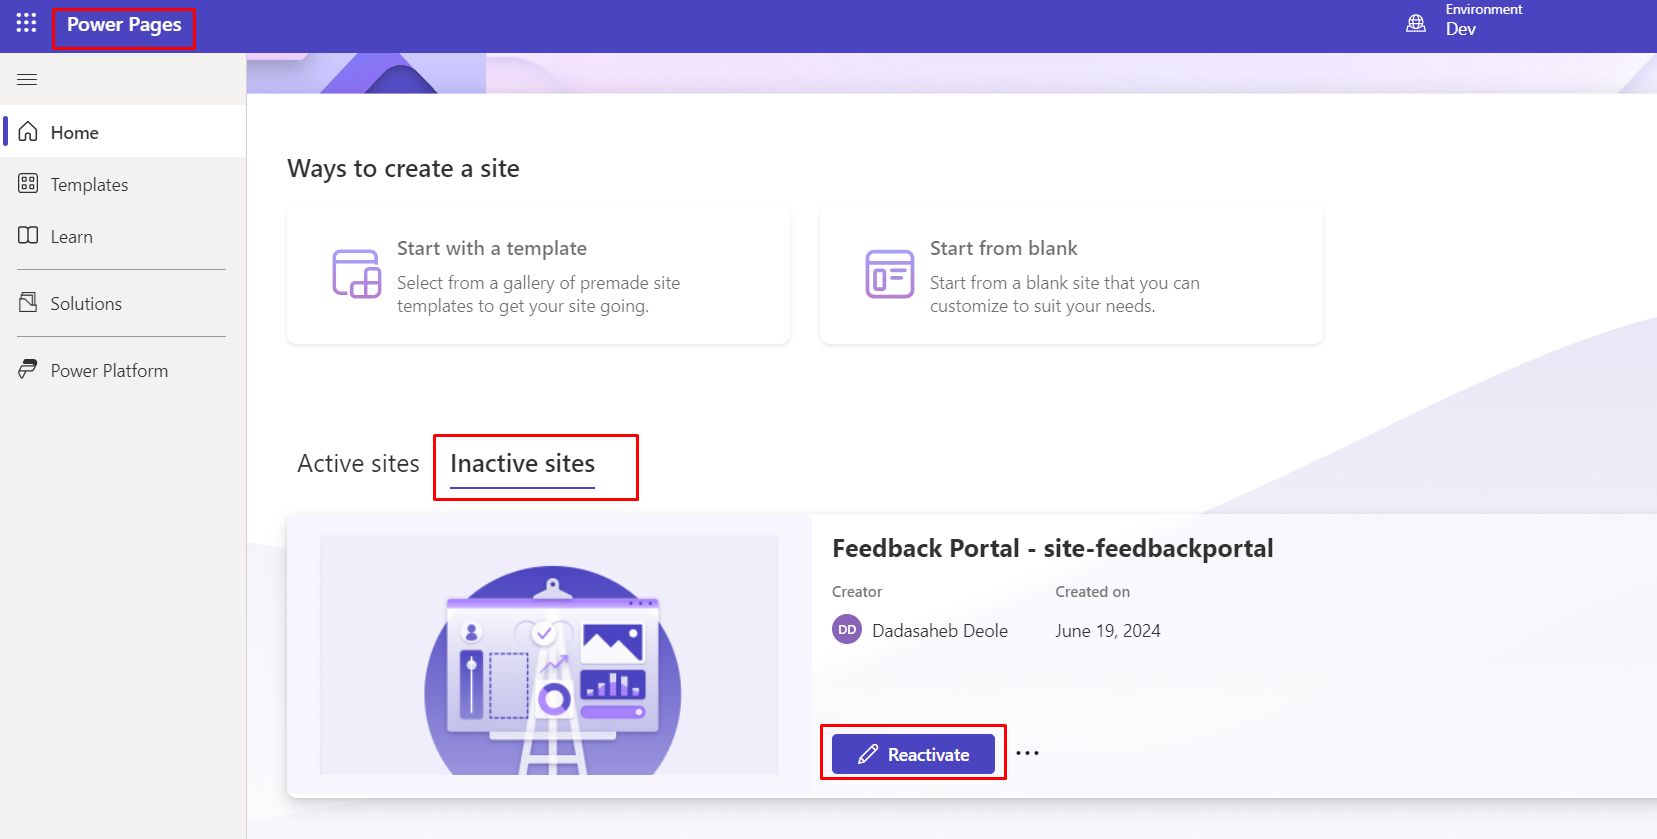
Important note: Activate the site in the target environment.
Go to the admin center
Select the target environment
Resources --> Power Pages sites.
Select the destination site, select the ellipsis (…), and then select Manage to open the site details page.
In the Site Details section, select Edit. Select the imported site record in the Website Record dropdown list, and then select Save.
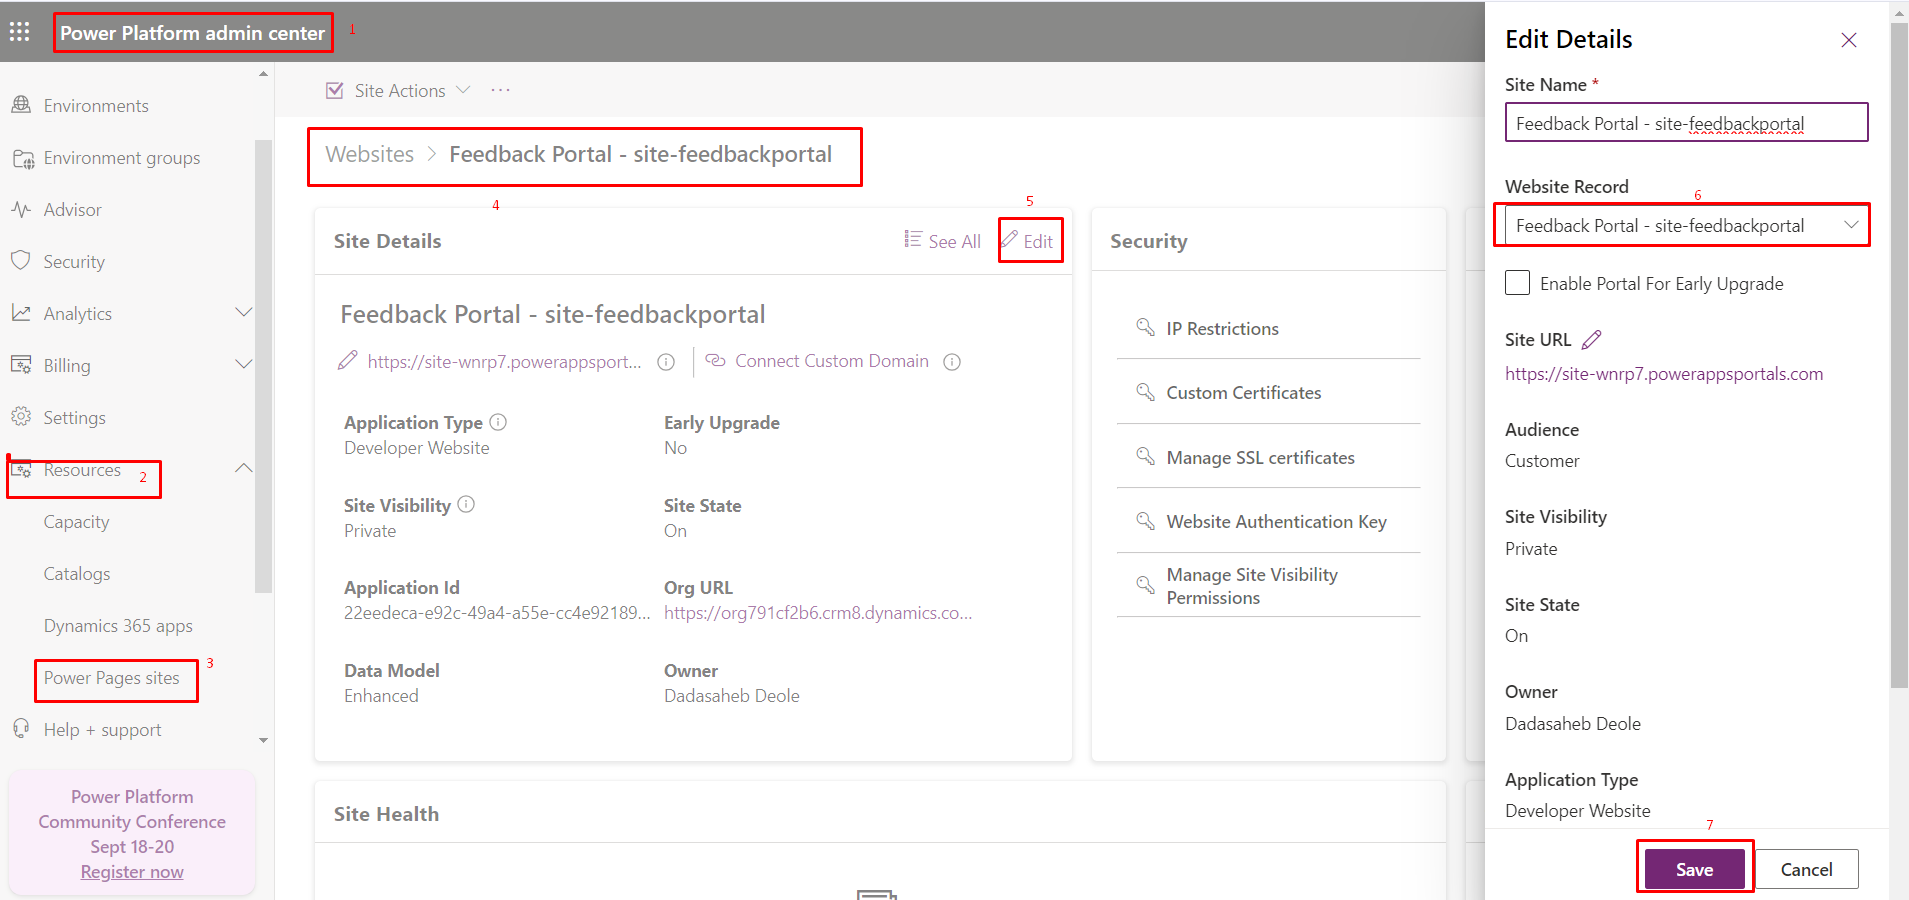
6. Select Site Actions, and then select Restart site.

Now you can see the website working in the target environment.
Hope this blog is helpful!!
Comment

Introduction: Organizations frequently generate documents like invoices, certificates, quotations, transcripts, inspection reports etc. While single-value fields such as Name, Email,…
READ MORE
The Problem Recently, we faced an interesting issue while working with the Status Reason (statuscode) field on the Contact table.…
READ MORE
There are certain things in a CRM project that a QA must validate or verify before any solutions gets deploy…
READ MORE