
03 Apr, 2023
Posted on 03 Apr, 2023 by Admin, Posted in Dynamics 365 Power Automate Dataverse
 Blogs
Blogs
In-app notifications provide real-time updates within the D365 platform, keeping you informed about important events and changes as they happen. Whether it’s a new case assigned to you, a customer inquiry that needs a response, or a critical deadline approaching, in-app notifications ensure that you’re always in the loop.
Today, we’ll see how to create an in-app notification which appears when an event occurs. In this instance, we will show an in-app notification when a new lead is created.
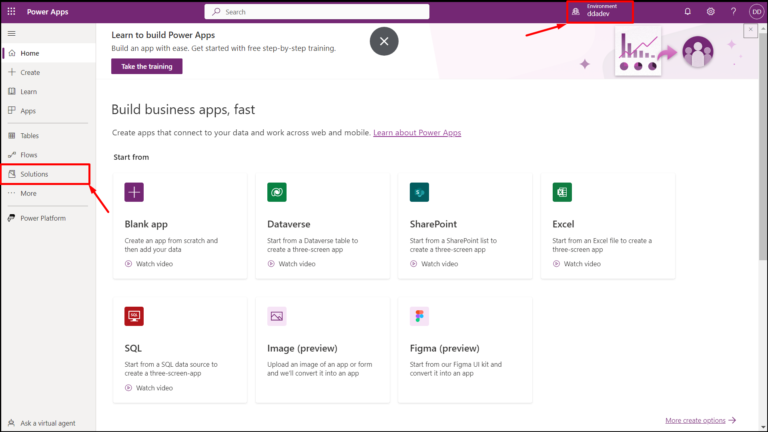
Firstly, navigate to PowerApps and sign in with your credentials. Then select your desired environment and navigate to Solutions.
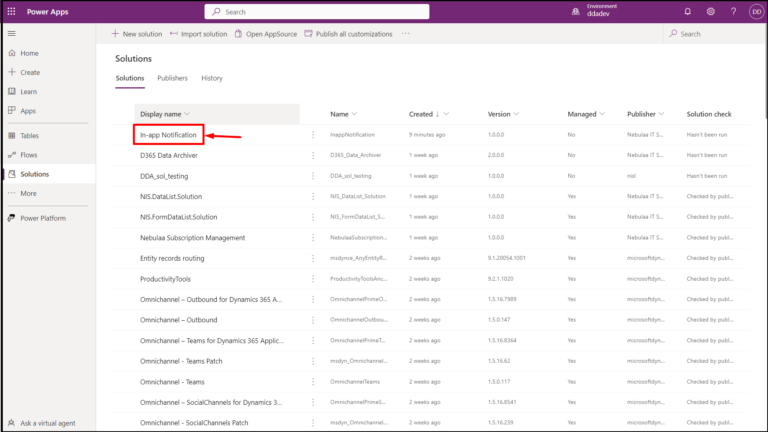
Open your desired solution, in this case I’ve a solution named ‘In-app Notification’.
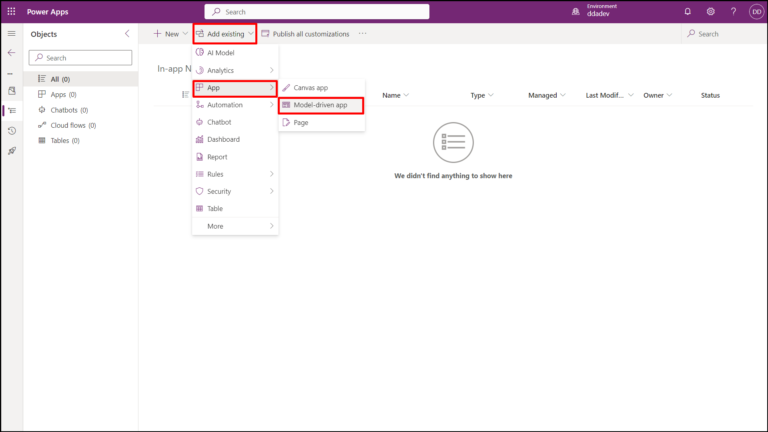
Then navigate to Add Existing –> App –> Model-driven app.
Then select your desired app, in this case I’ve select ‘Customer Service Hub’ app.

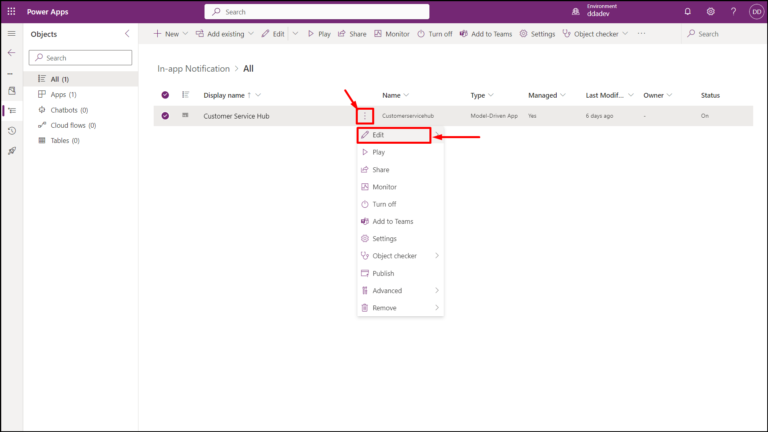
Now your app is added into your solution, edit the app by clicking on ellipses icon and then clicking on ‘Edit’.
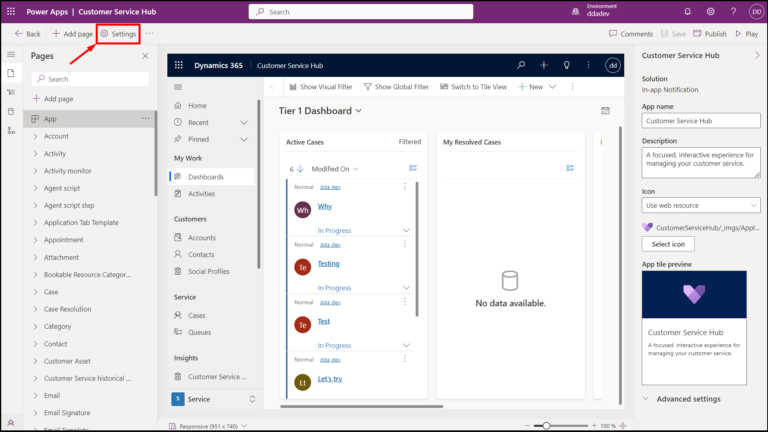
Now you are in app editor, click on ‘Settings’.
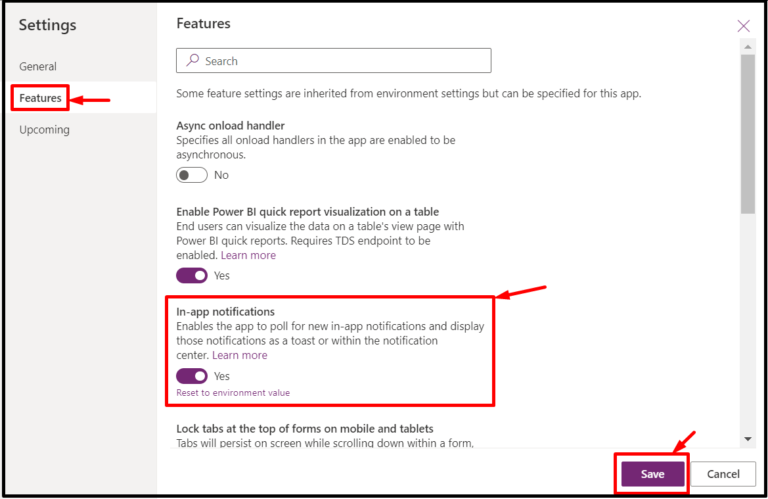
A dialog box appears, navigate to ‘Features’ and then enable ‘In-app notifications’ if not enabled and click on ‘Save’.
Then ‘Save’ and ‘Publish’ the app.
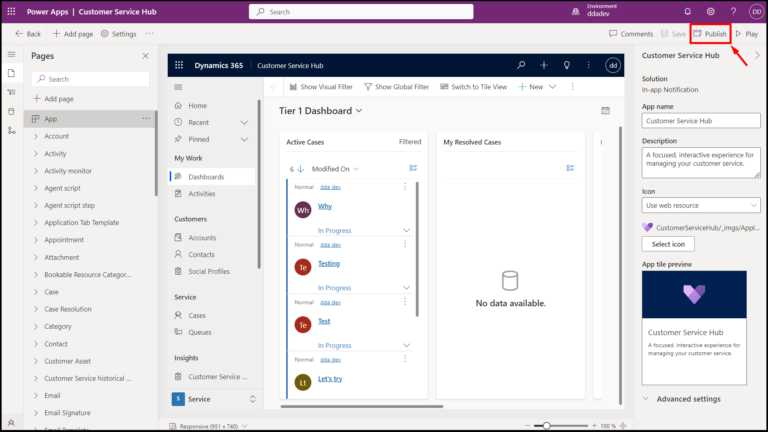
Now in-app notifications are enabled for your app.
Let’s create a simple in-app notification whenever a new lead is created using Power Automate.
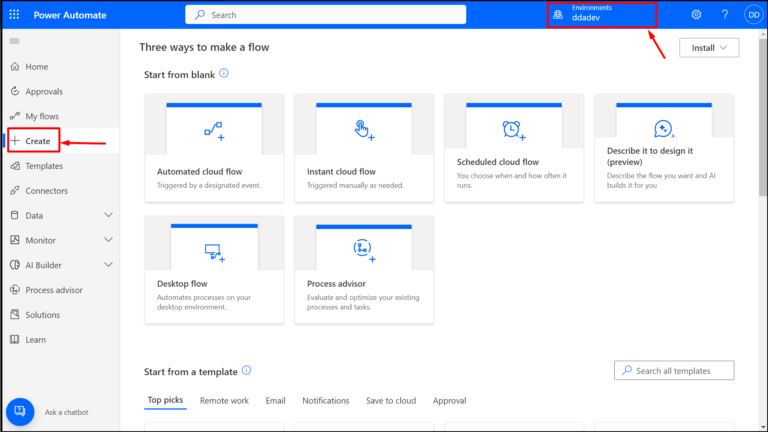
Navigate to Power Automate and sign in with your credentials. Then select your desired environment and click on ‘Create’.
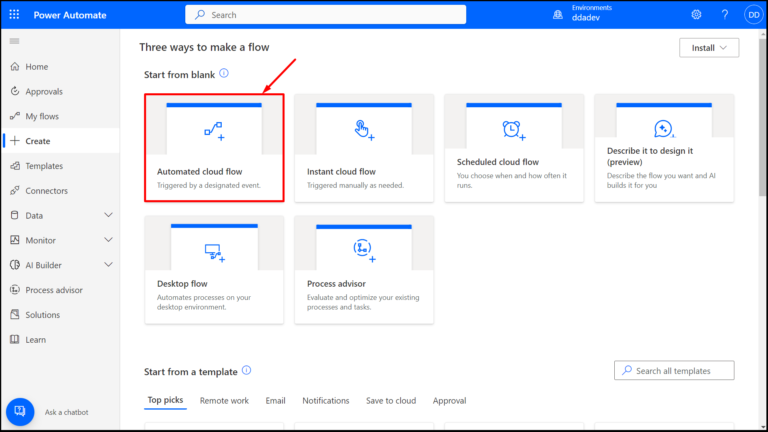
Then select ‘Automated Cloud Flow’.
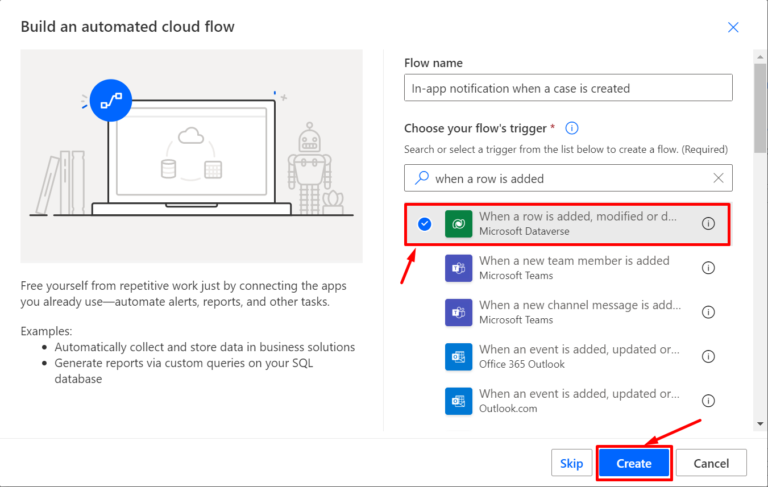
Then give a name to your flow and select the flow trigger as shown below.
Now the flow editor appears, in the first step of the flow add the values as shown below.
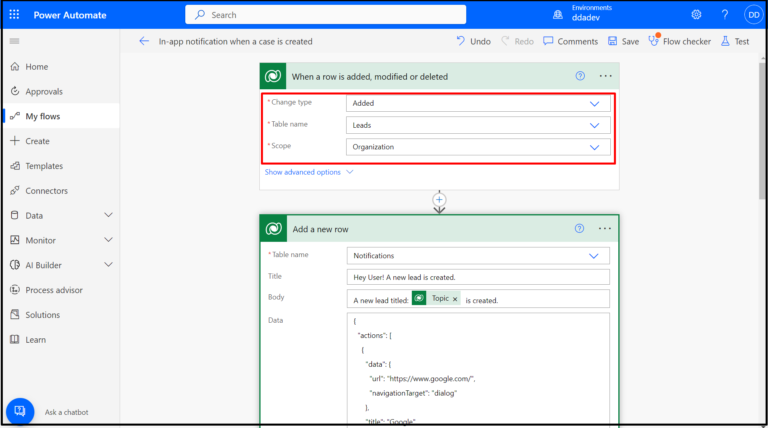
Then click on ‘+New Step’ and select ‘Add a new row’ action.
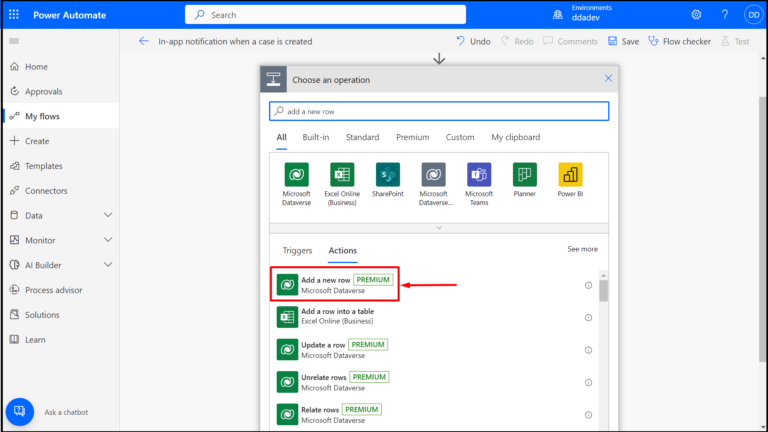
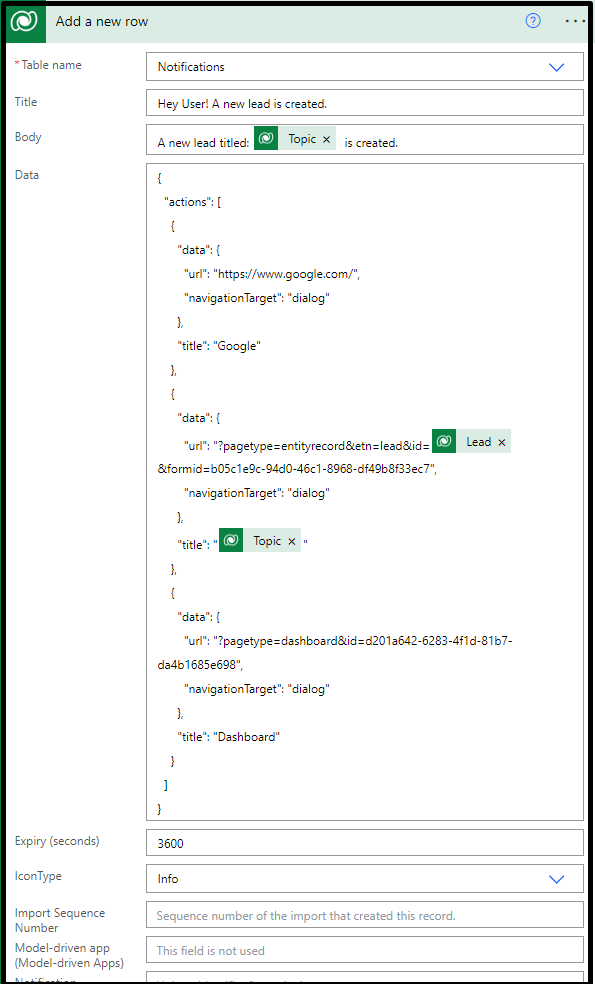
Now select ‘Notifications’ as the table name and fill the below information.
Title: The title of the notification.
Body: Details about the notification.
Data: To add JSON for parsing richer data into the notification. In this example, I ‘ve added a JSON that shows three actions for navigating to a website, navigating to the newly created lead and navigating to a dashboard respectively.
Expiry (seconds): Specifies after how many seconds the notification should be deleted if not dismissed.
IconType: Specifies the icon to be shown on the notification.
Toast Type: It specifies the behavior of the notification whether it is shown as a Timed or Hidden.
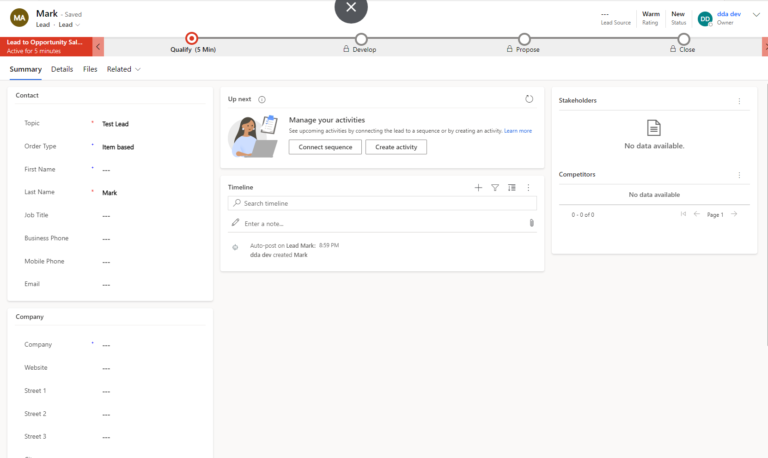
Let’s test our flow by creating a lead.
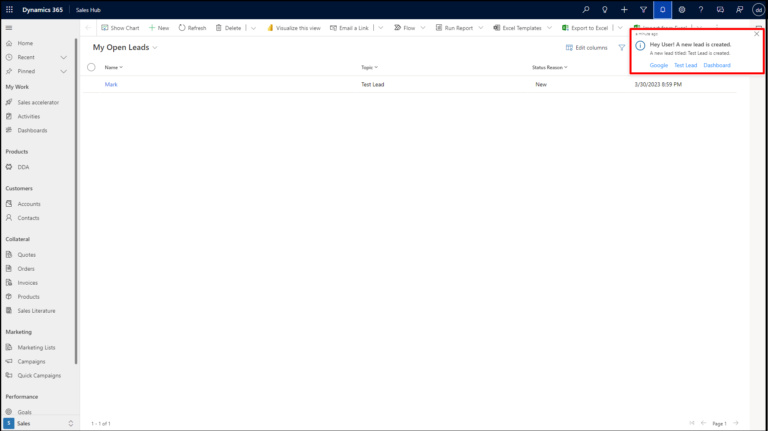
Once the lead is created, after a few seconds a notification appears in the top-right corner of the screen which contains links to navigate.
Important Links
Send in-app notifications within model-driven apps – Power Apps | Microsoft Learn
Previous PostNext Post
Comment

Introduction: Organizations frequently generate documents like invoices, certificates, quotations, transcripts, inspection reports etc. While single-value fields such as Name, Email,…
READ MORE
The Problem Recently, we faced an interesting issue while working with the Status Reason (statuscode) field on the Contact table.…
READ MORE
There are certain things in a CRM project that a QA must validate or verify before any solutions gets deploy…
READ MORE