
09 Jul, 2020
Posted on 09 Jul, 2020 by Admin, Posted in Power Platform
 Blogs
Blogs
PCF stands for power apps component framework. This allow developers to create reusable component that can be used in Model Driven App and Canvas App.
The PCF control is of two types as below:
For e.g. Consider an account entity, On Account Form, we have Boolean field and we want to show PCF control on it then we can the Field type.
For e.g. Consider an account entity, On All Account view, if we want to show some custom PCF control then we must use the Dataset field type.
In this blog, we will see the steps required to create the PCF control and few important details about the PCF control.
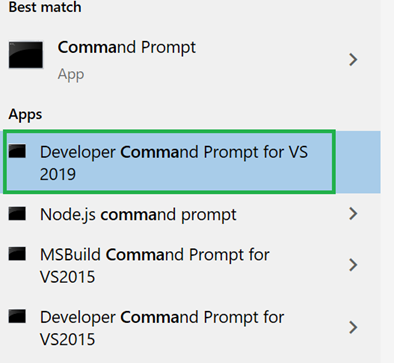
Note: In this article, we have used VS2019 and VS2019 command prompt
For e.g. “D:\Training\PCF\FirstPCFControl”.
After this please run below command:
pac pcf init –namespace
Here we must replace below attributes from above command:
For e.g.
pac pcf init –namespace CRM –name FieldPCFControl –template field
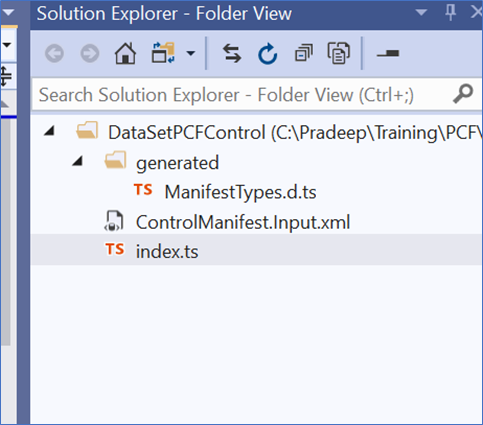
pac pcf init –namespace CRM –name DataSetPCFControl –template dataset

Here, we have run the dataset command and above folders is gets created.
npm install
https://docs.microsoft.com/en-us/powerapps/developer/component-framework/manifest-schema-reference/
In the next blog, we will see how we can configure the PCF control using fluent UI.
Comment

Introduction: Organizations frequently generate documents like invoices, certificates, quotations, transcripts, inspection reports etc. While single-value fields such as Name, Email,…
READ MORE
The Problem Recently, we faced an interesting issue while working with the Status Reason (statuscode) field on the Contact table.…
READ MORE
There are certain things in a CRM project that a QA must validate or verify before any solutions gets deploy…
READ MORE