
09 Oct, 2019
Posted on 09 Oct, 2019 by Admin, Posted in Dynamics 365 Power Automate
 Blogs
Blogs
This is second part of blog, which I published few days back. Second part explains how we can use SharePoint integration to create folder structure and move the attachments to SharePoint using MS Flow.
Note:I have removed basic steps in this blog as I have explained the steps in details in first part of the blog.
Let’s assume we have below requirements to be achieved using Microsoft Flow.
I have not explained how SharePoint integration is enabled. I am assuming that, we have enabled SharePoint integration on Account entity & document library with name account exists in SharePoint.
1. Create a blank flow.
2. Add Dynamics 365 – When Record is updated trigger for Account entity.
3. Add Condition and check if Move Attachments is equal to True.
4. If true branch of condition, add Dynamics 365 – List Records action.
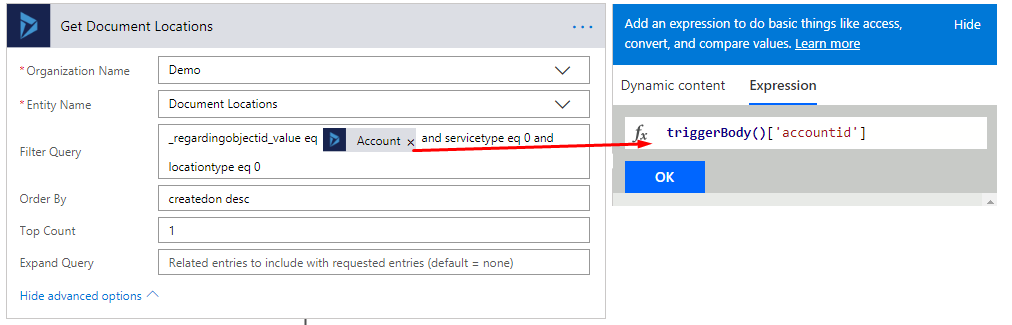
5. Add Dynamics 365 – List Records action as per below.
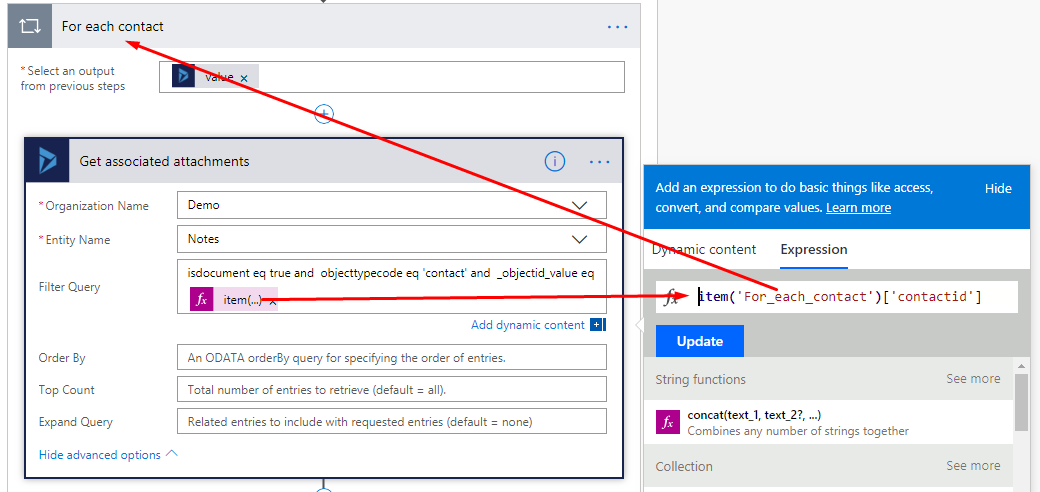
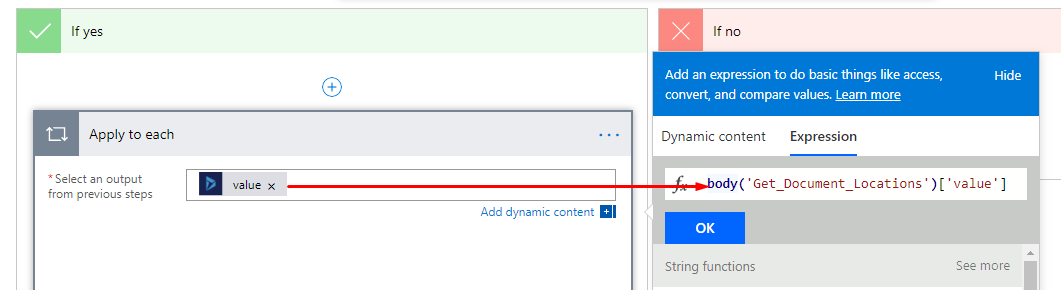
6. Add Apply to Each control as shown below.

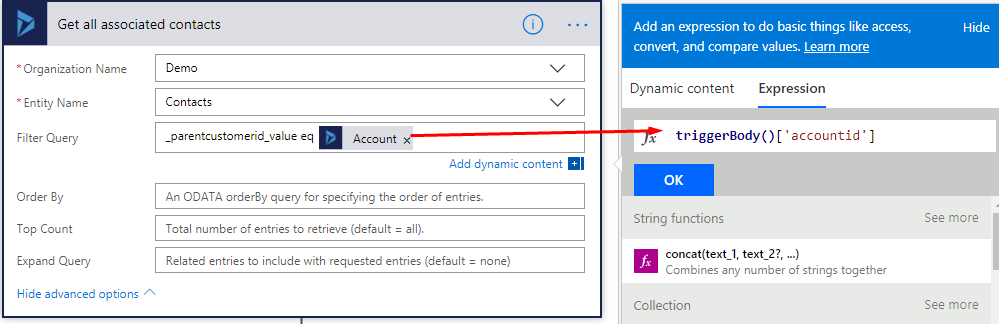
7. Add Dynamics 365 – List Records action as per below.
8. Add Apply to Each control as shown below.
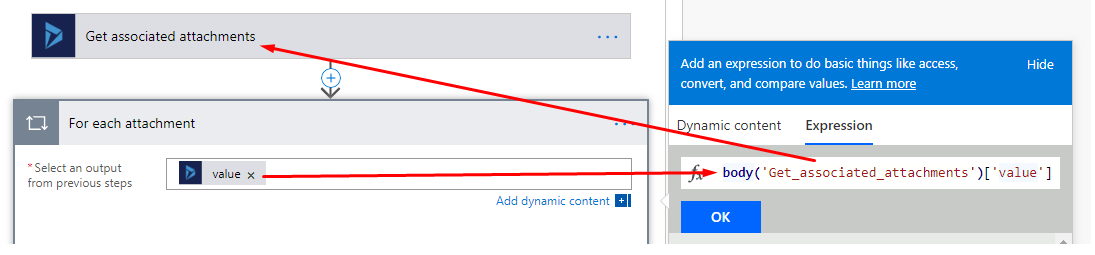
9. Add Condition control inside the For Each attachment component. Refer below screenshot.

10. In TRUE branch of condition, add Apply to Each control. Refer below screenshot.
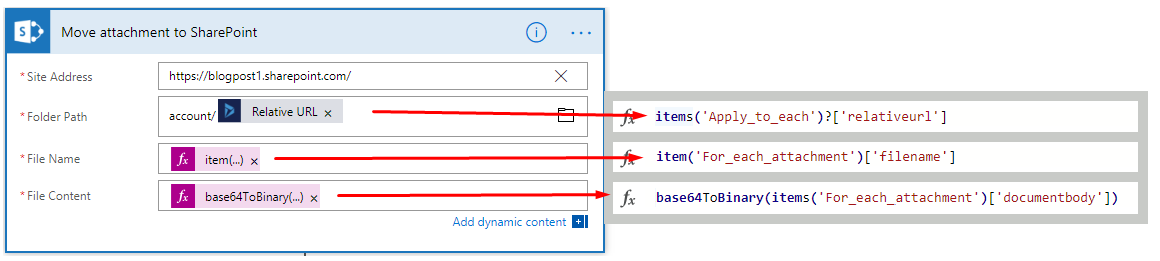
a. Add SharePoint - Create File action.
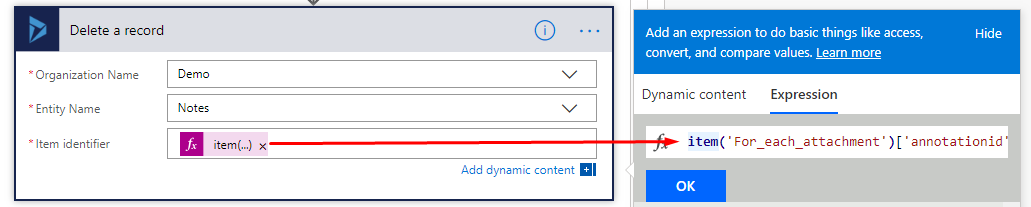
b. Add an action as Dynamics 365 - Delete a record.

11. In FALSE branch of condition, add below components.
a. Add SharePoint - Create File action.

b. Add an action as Dynamics 365 - Delete a record.
12. Save the Flow & see the working demo by creating accounts, their contacts & attachments on the contacts. You can also see the attachments from CRM record itself.
Comment

Introduction: Organizations frequently generate documents like invoices, certificates, quotations, transcripts, inspection reports etc. While single-value fields such as Name, Email,…
READ MORE
The Problem Recently, we faced an interesting issue while working with the Status Reason (statuscode) field on the Contact table.…
READ MORE
There are certain things in a CRM project that a QA must validate or verify before any solutions gets deploy…
READ MORE