05 Sep, 2023
How to create real-time customer journeys in Dynamics 365 Marketing
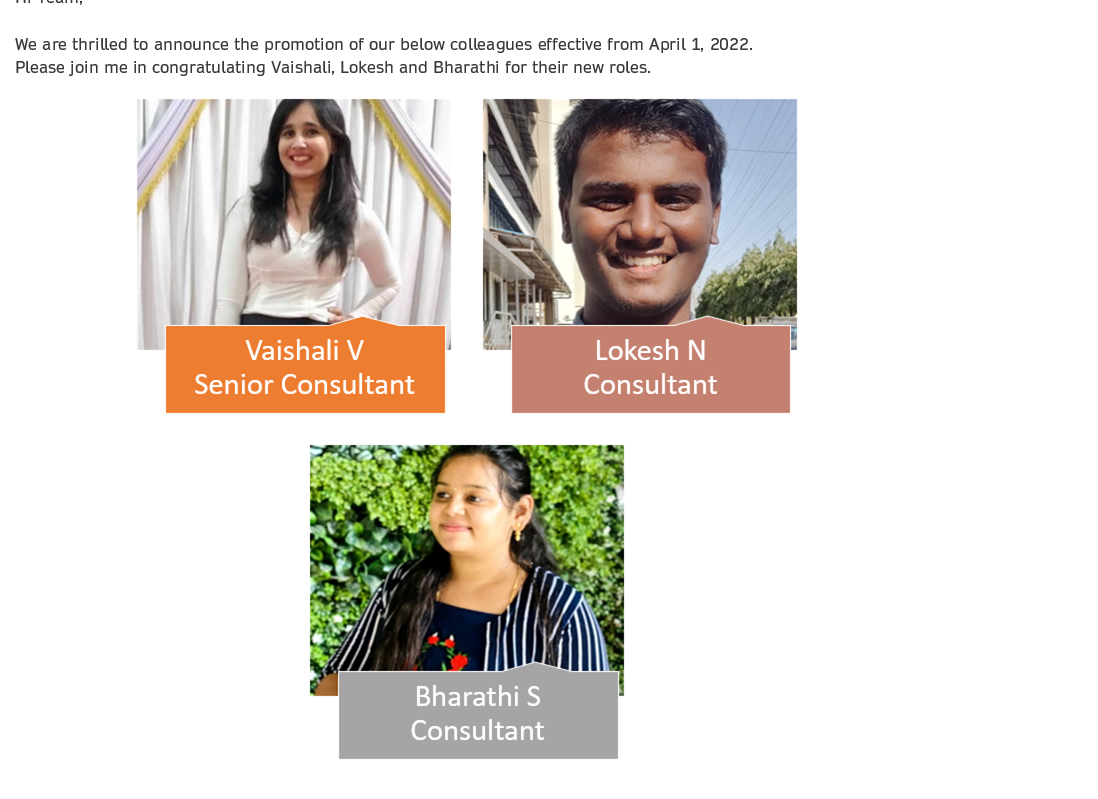
Posted on 05 Sep, 2023 by Bharathi Siripuram, Posted in
Dynamics 365 Marketing
Dynamics 365
 Blogs
Blogs
Introduction:
This blog will show how to create real-time customer journeys in Dynamics 365 Marketing. Customer journeys can be either trigger-based or segment-based. Before creating customer journeys, if you want to create a trigger-based customer journey then you need to create a trigger that will be used in the trigger-based journey, or to create a segment-based customer journey, you need to create a segment that will be used in the segment-based journey.
Before starting this I assume you already have a marketing license to proceed further. Now, We will see both trigger-based and segment-based journeys.
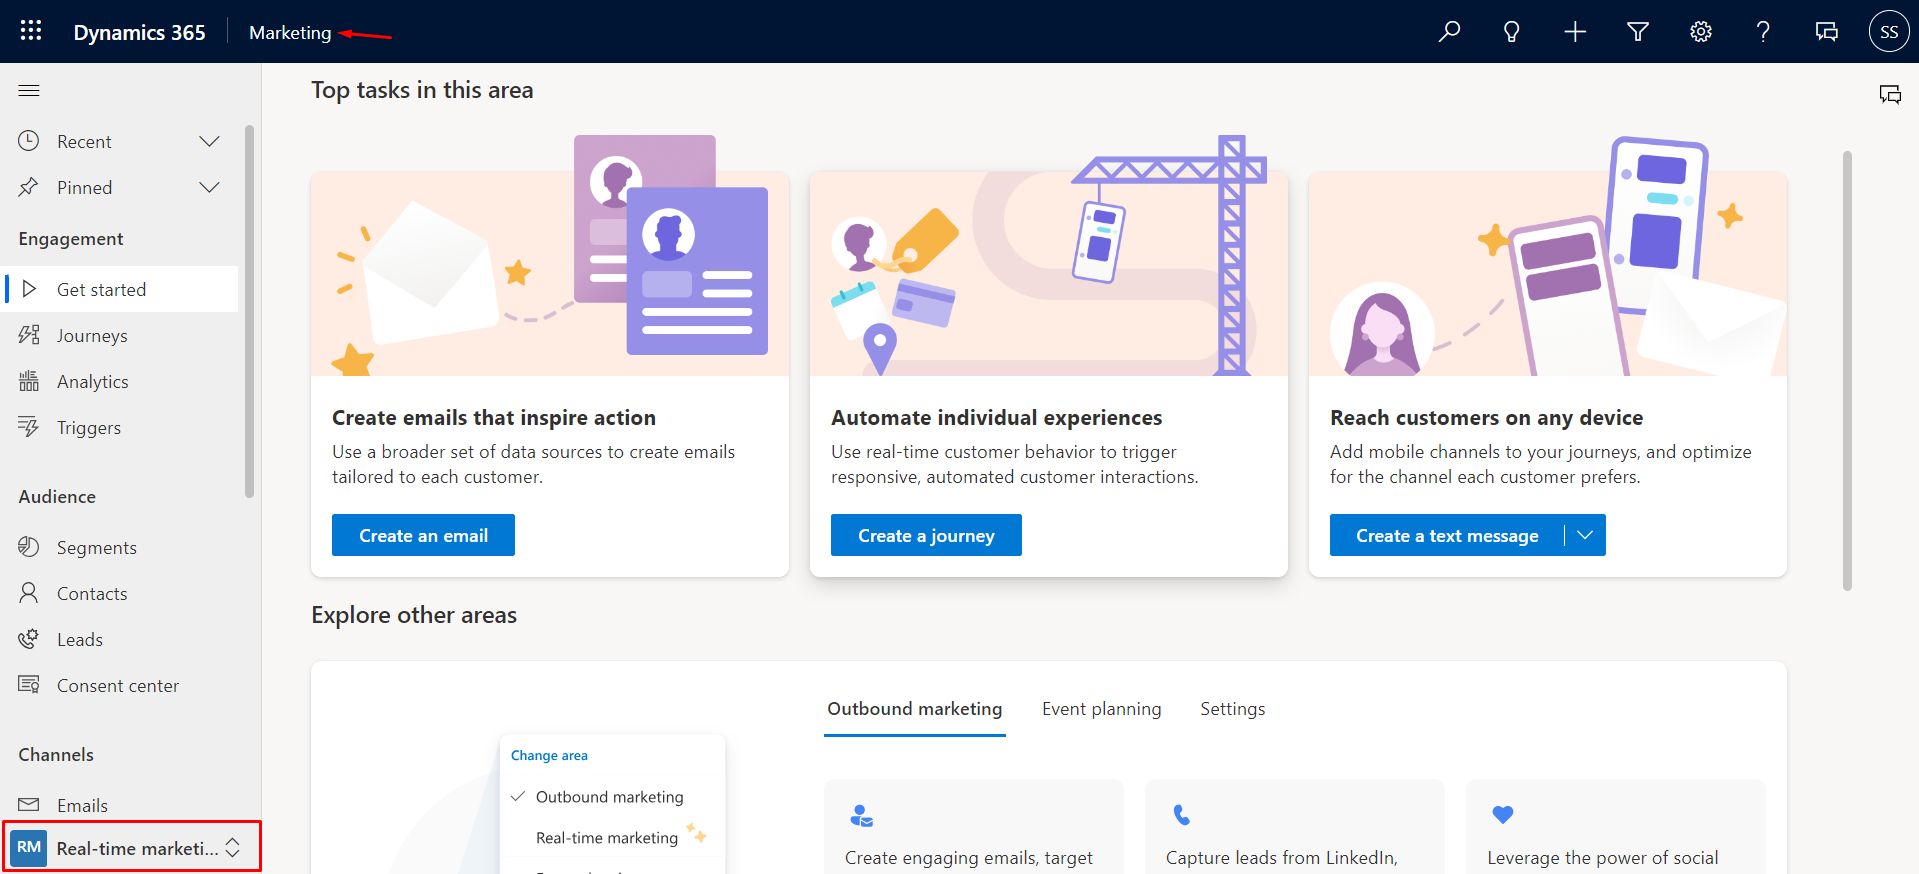
Firstly, log in to the marketing environment using your credentials. You will see the below screen once you log in to the environment.
1. Trigger-based journey:
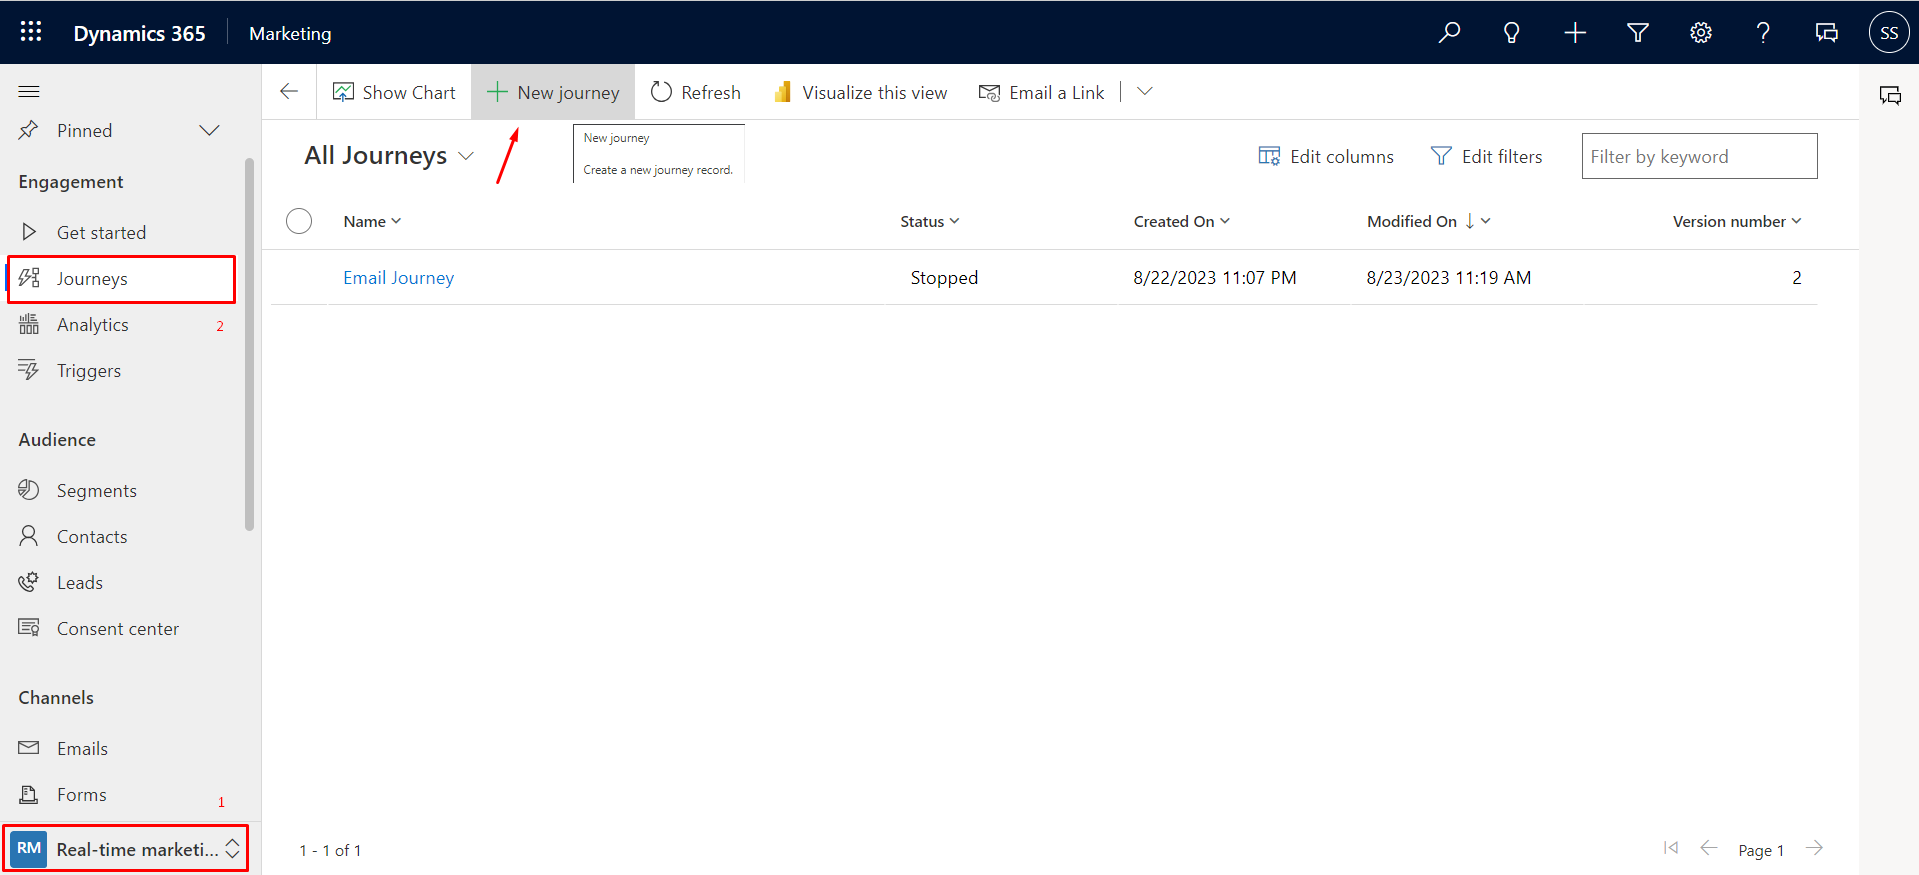
- Click on the Real-time marketing change area on the bottom-left and click on Journeys and then select '+New Journey' as shown in the figure below.
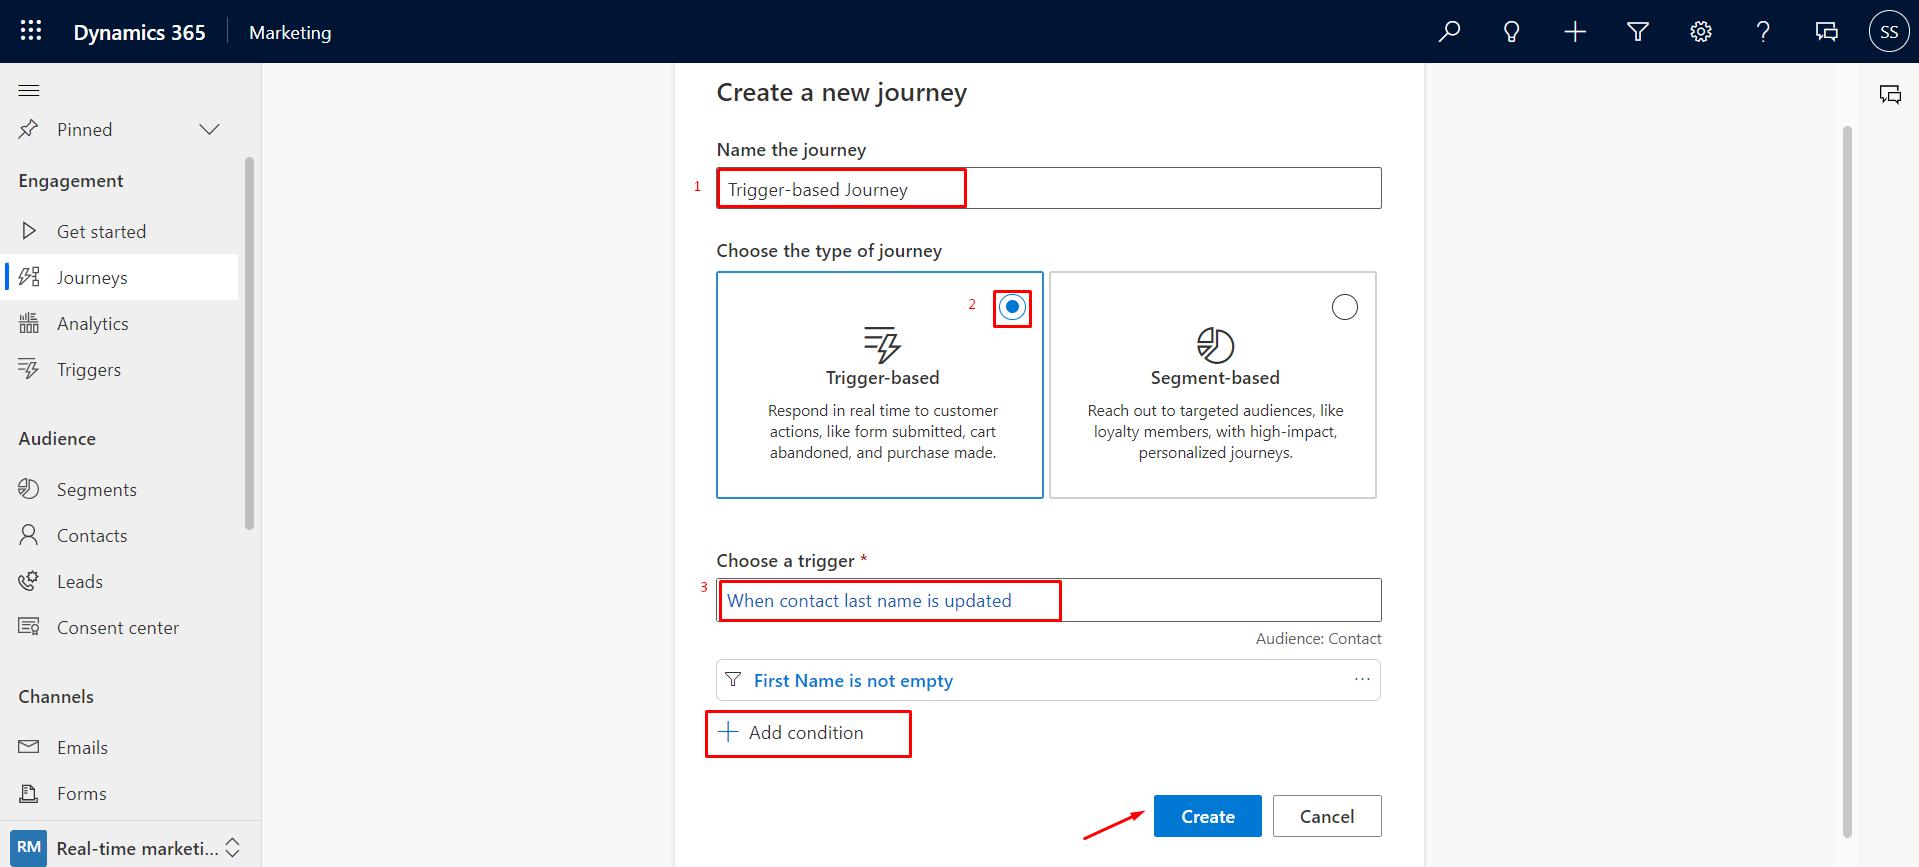
- On click of '+New Journey' you can choose the type of journey. Now, name your journey and then select Trigger-based type and choose your trigger or you can create a trigger by clicking on '+New Trigger' by clicking on magnifying icon.
- You can click on '+Add condition' to add additional conditions and then click on '+Create' to create a Trigger-based journey.
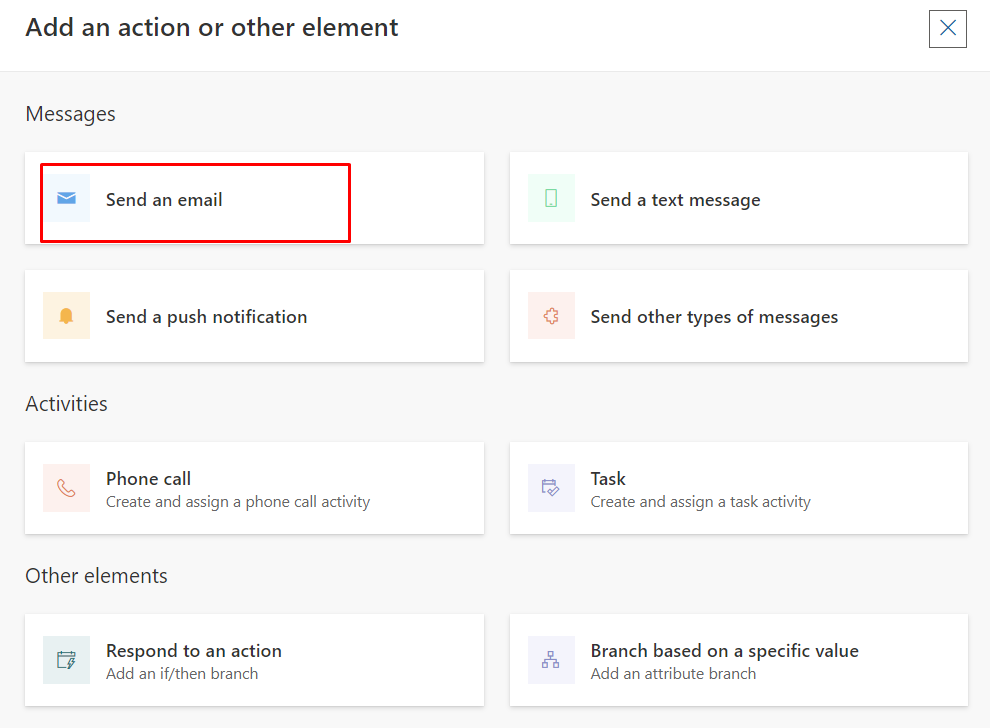
- Click on '+' to add an action or elements i.e., to send an email/text message/create a task activity/custom trigger, etc. In this blog, we will use Send an email so select 'Send an email' as shown below.
- Select the email to be sent when this journey gets triggered by clicking on 'Select email'.
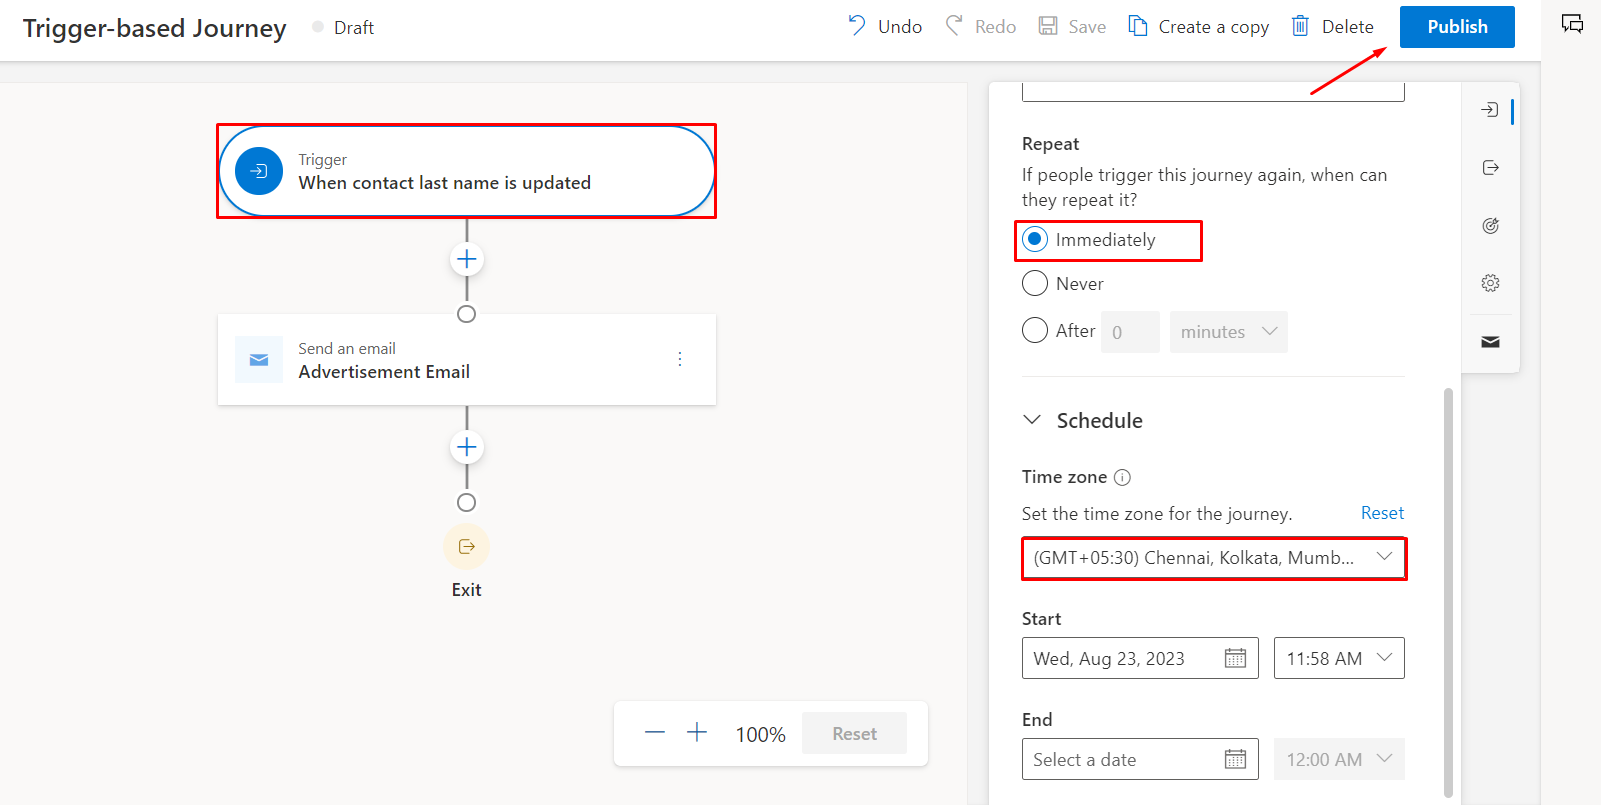
- Now click on the trigger and from the right pane you can select how to trigger a journey. Select your time zone and then you can set the start and end date and time for this journey. Setting the start and end date is optional and if you do not select the journey start immediately after publishing the journey.
- After adding all the details click on 'Save' and then click on 'Publish' to publish your journey.
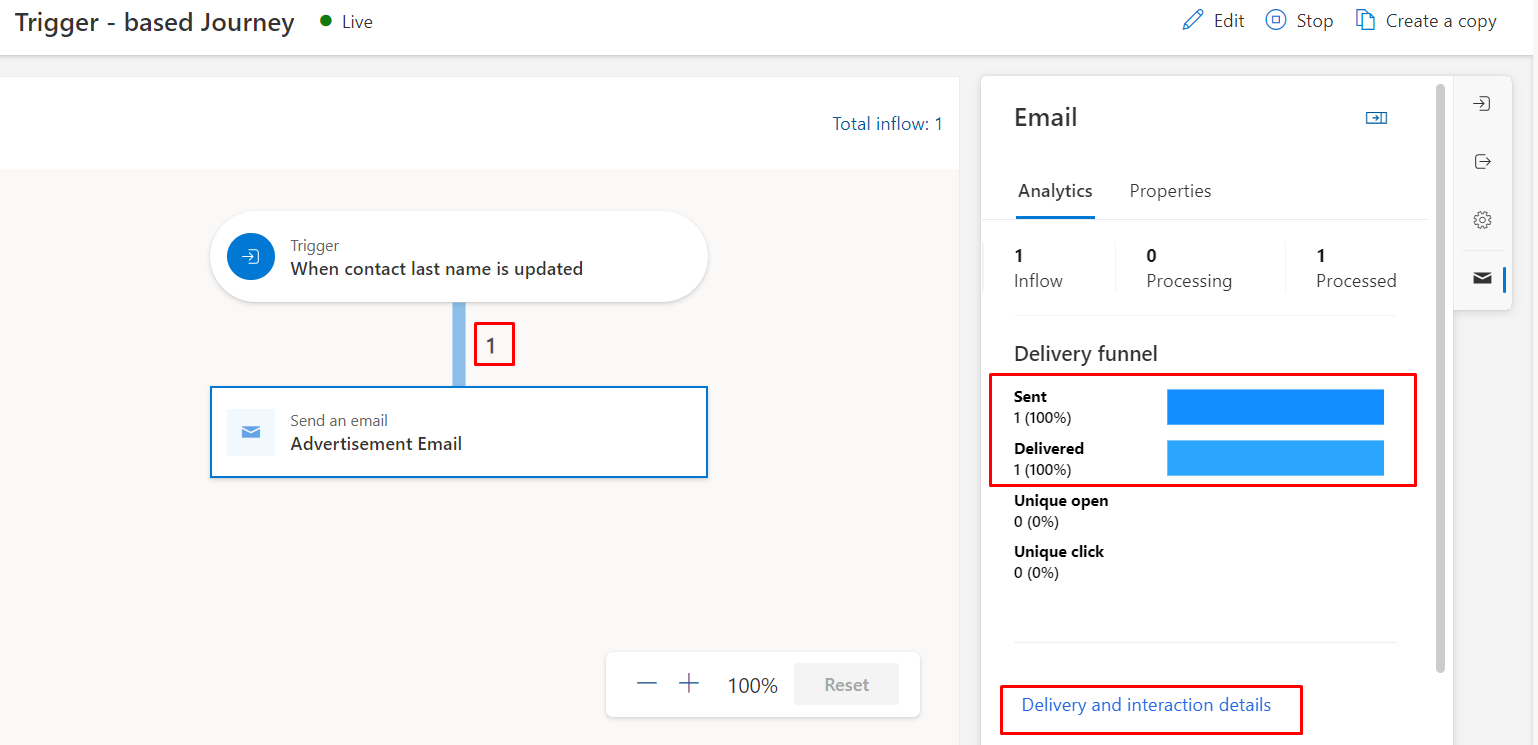
- This journey triggers whenever the contact's last name gets updated and the first name of the contact is not empty. I have updated the contact's last name and I received an email as specified in the trigger.
2. Segment-based Journey:
- Click on the Real-time marketing change area on the bottom-left and click on Journeys and then select '+New Journey' as shown in the figure below.
- On click of '+New Journey' you can choose the type of journey. Name your journey and then select Segment-based type and select your segment or you can create new segment by clicking on '+New Segment' by clicking on magnifying icon.
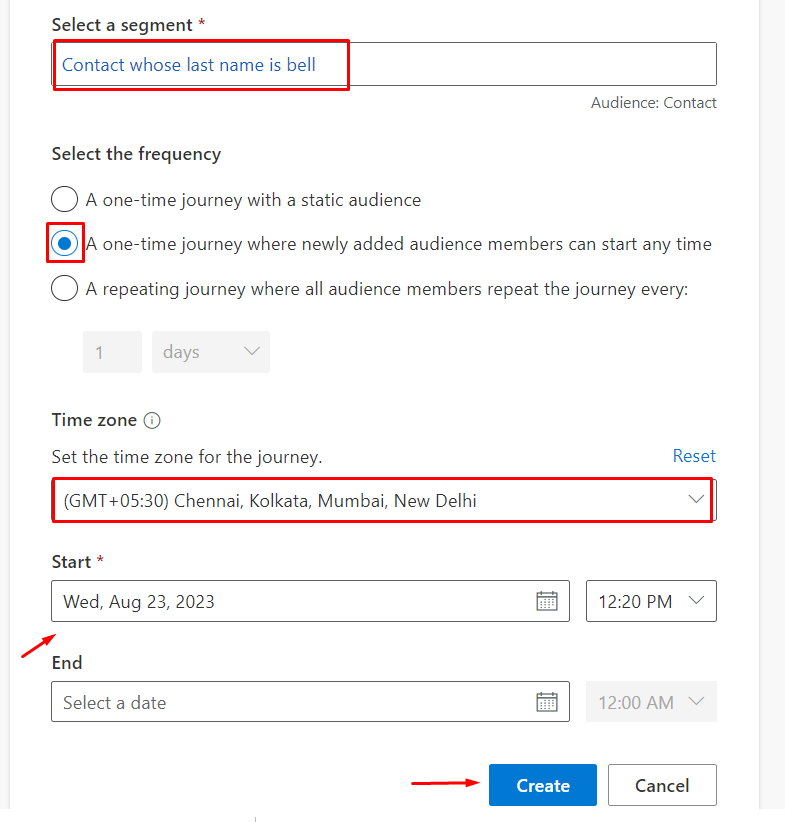
- Now you can select the frequency of the segment.
- If you select static audience then even if the segment members get updated, the changes will not get updated.
- If you select dynamic audience i.e., the newly added audience will get automatically updated on segment update.
- If you select recurrence journey, then the journey gets triggered every day at the specified time.
- After adding details click on 'Create' as shown in the figure.
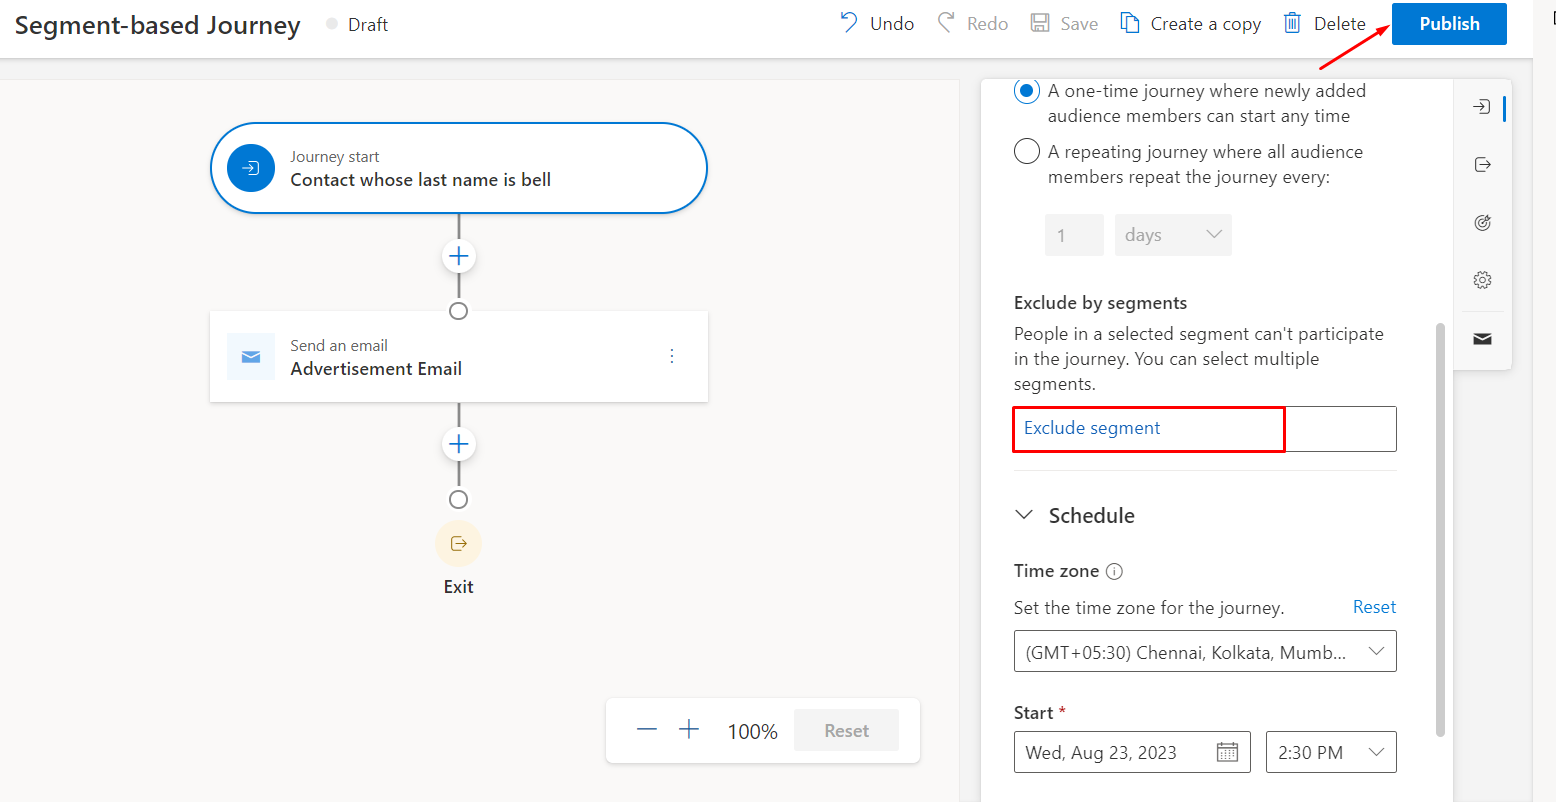
- After creating a Segment-based journey from the right pane, you can exclude active segments. If you select a segment that needs to be excluded, then members of that segment if present in the segment selected while creating the journey get excluded from this journey.
- Click on '+' to add an action or elements. In this blog, we will send an email, so select 'Send an email' as shown below.
- Click on 'Publish'. Once published the journey will go live on the specified start date and time.
- Email was successfully sent when the customer journey for the segment is live. You can see that the email was sent to the segment members present in the selected segment.

Hope this blog is helpful.


