
08 May, 2024
Posted on 08 May, 2024 by Javed Shaikh, Posted in Dynamics-365 Sales
 Blogs
Blogs
This is the second part of the blog. In this blog, we will cover the 3 components of the Product Catalog:
Please go through part 1 to understand other components related to the product catalog.
Currency: Currency determines the prices for products in the product catalog and the cost of transactions, such as Sales orders.
If our customers are spread across different geographies, we can add their respective currencies to manage transactions.
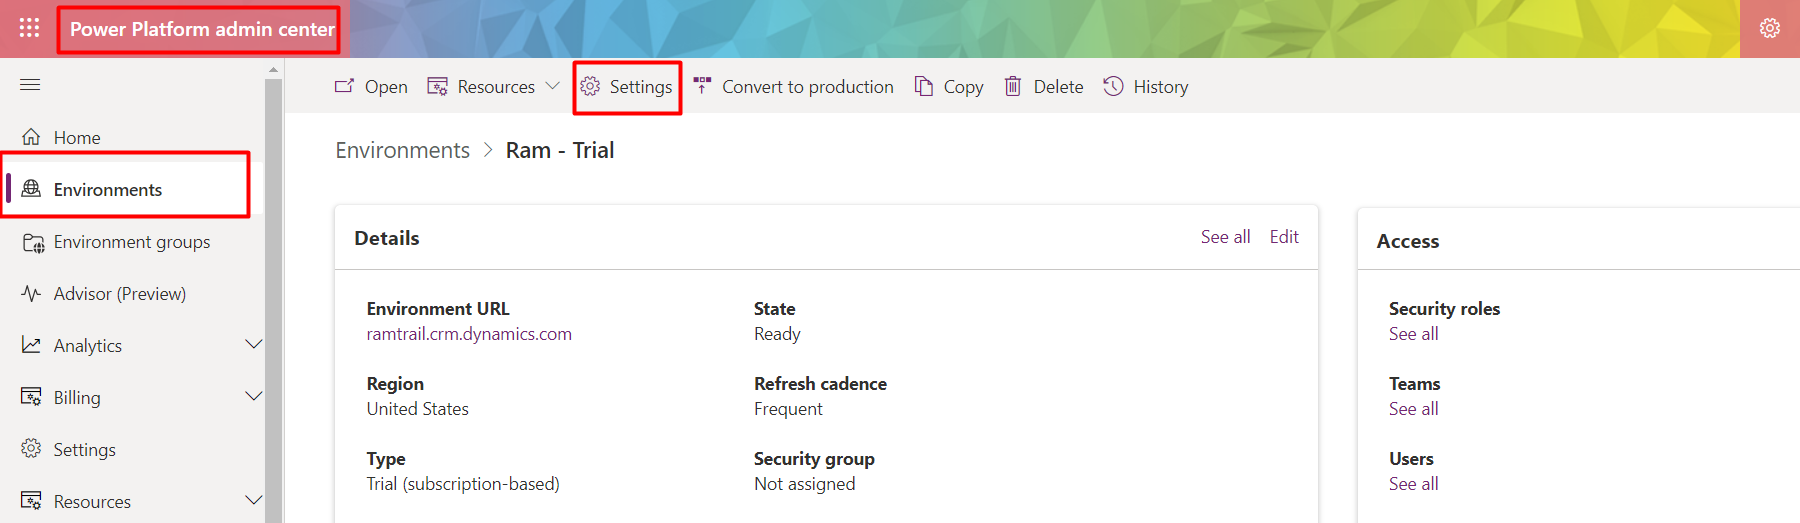
Step 1: Go to your Power Platform Admin Center --> Select Environments from the sitemap --> Select your Environment --> Click on Settings from the Navigation menu.
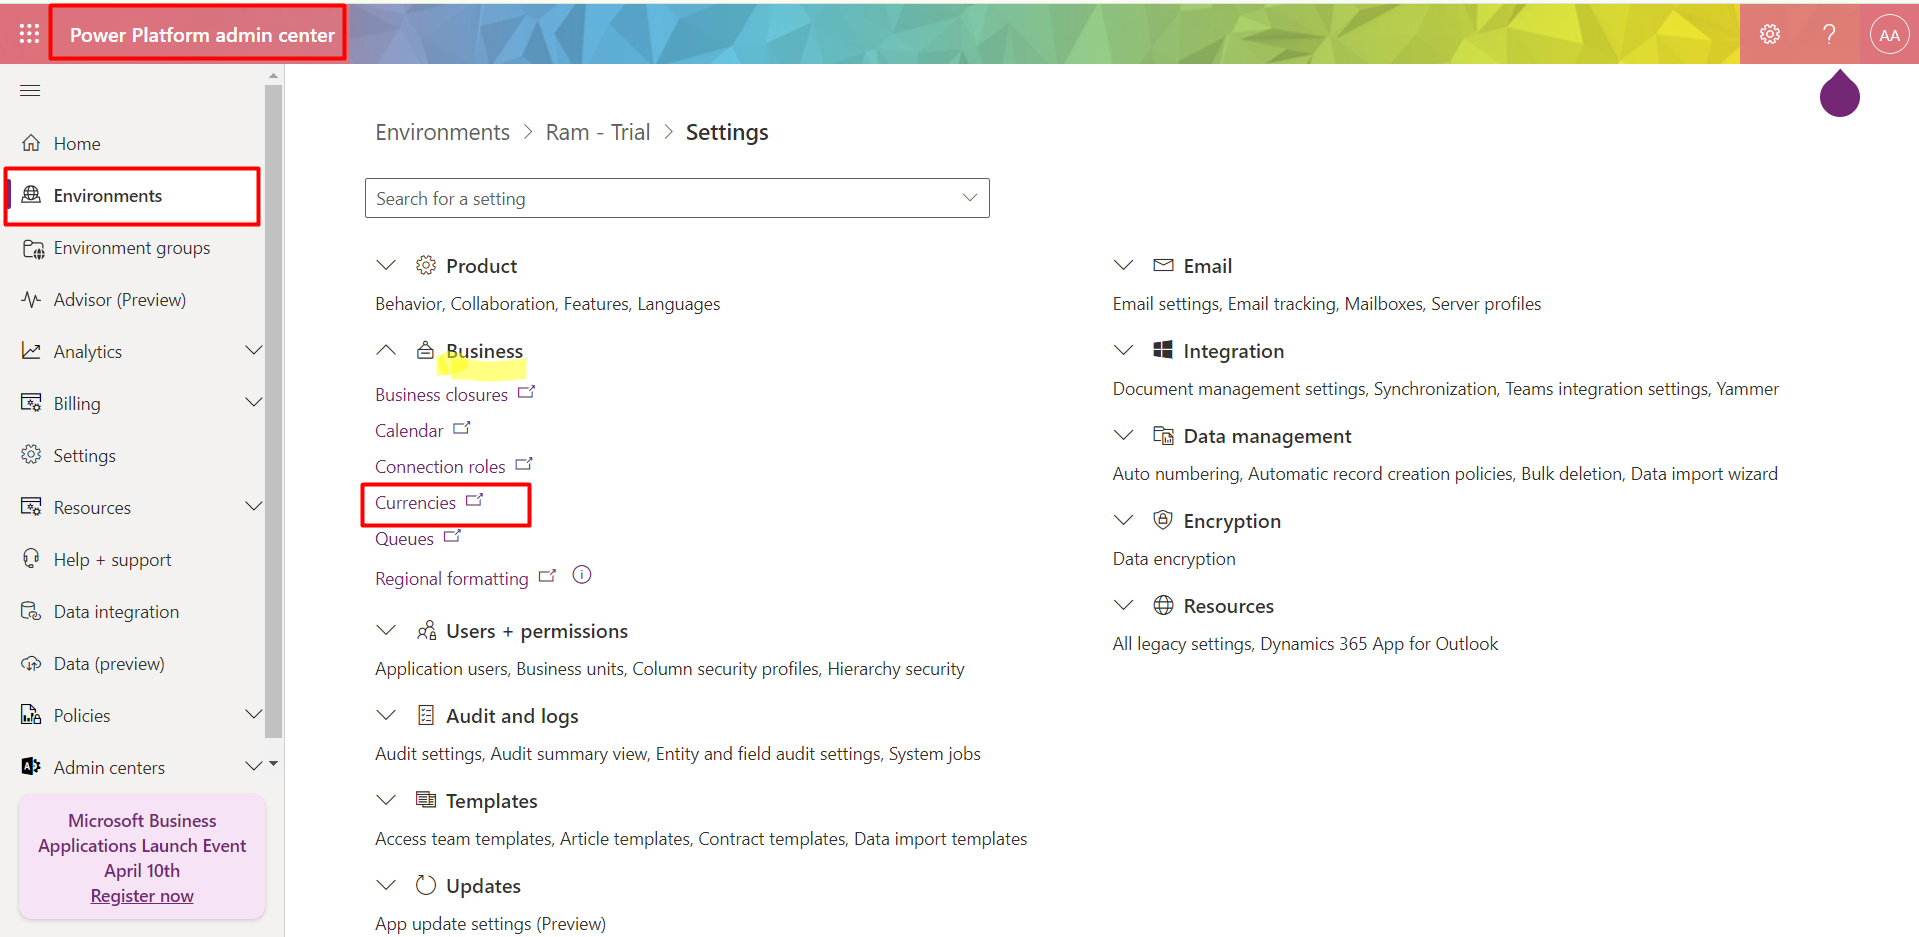
Step 2: Select Currencies under Business Settings.
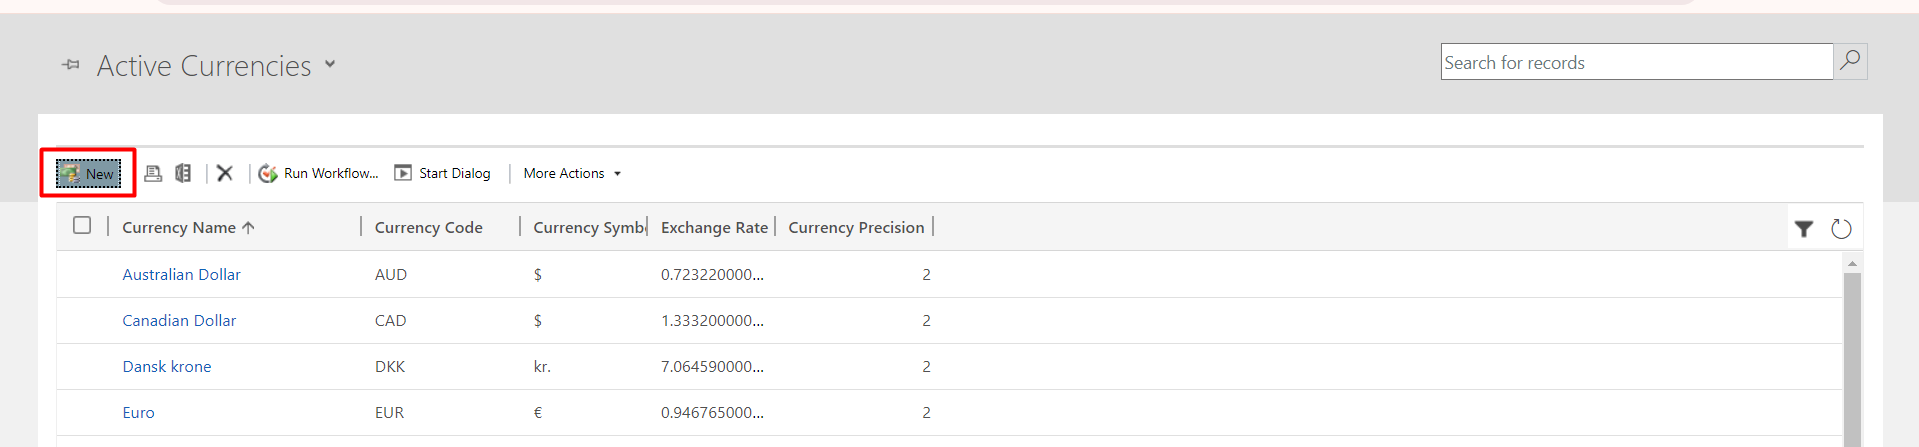
Step 3: It will redirect to the new tab. Click on '+New' to create a new currency.
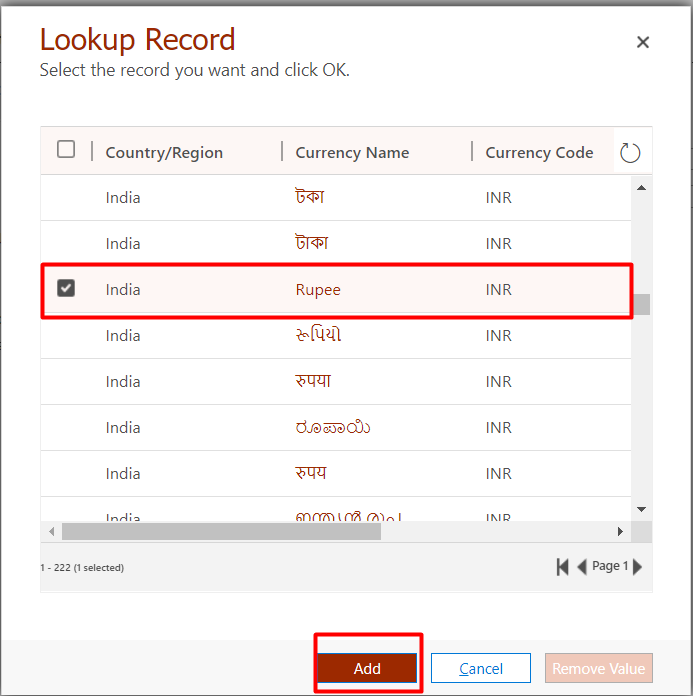
Step 4: Click on the Currency code lookup field.
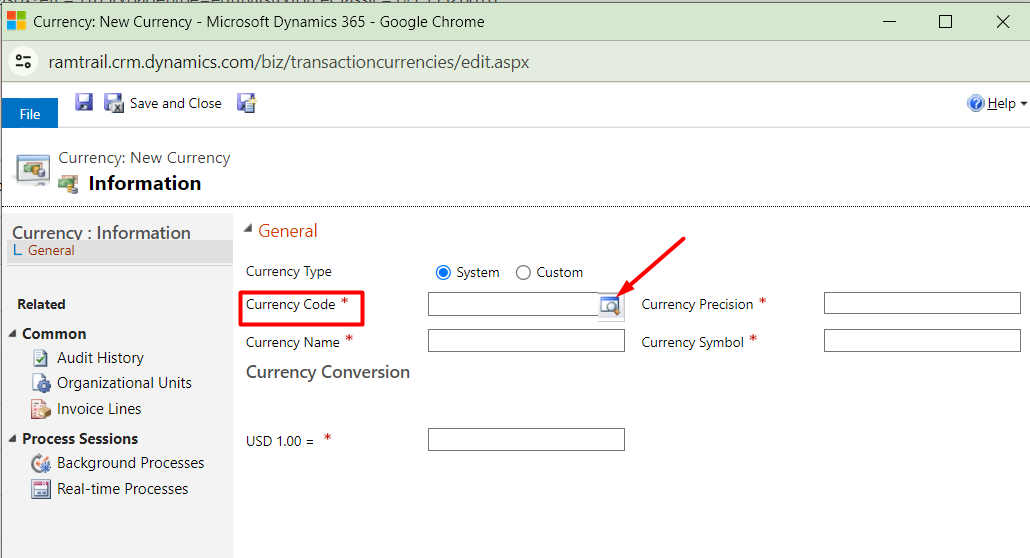
Step 5: Select the required currency --> Click on the Add button.
Step 6: All the fields will be populated automatically. Enter the Currency Conversion Rate --> Click on Save and Close. Our Currency is now added to the CRM.

Price list: The Price list contains the pricing details of our products. We can define pricelist items on units on which products are sold.
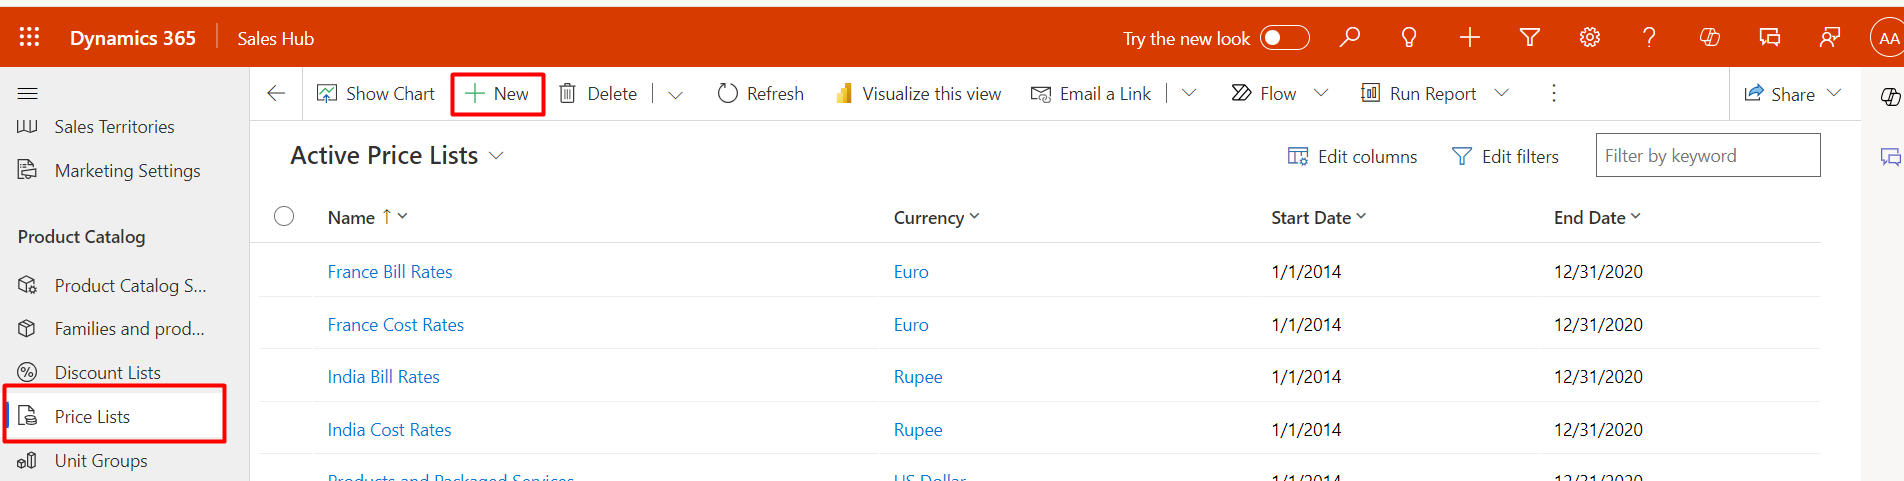
Step 1: Go to Product Catalog --> Select Price Lists from the sitemap ---> Click on the '+New' button.
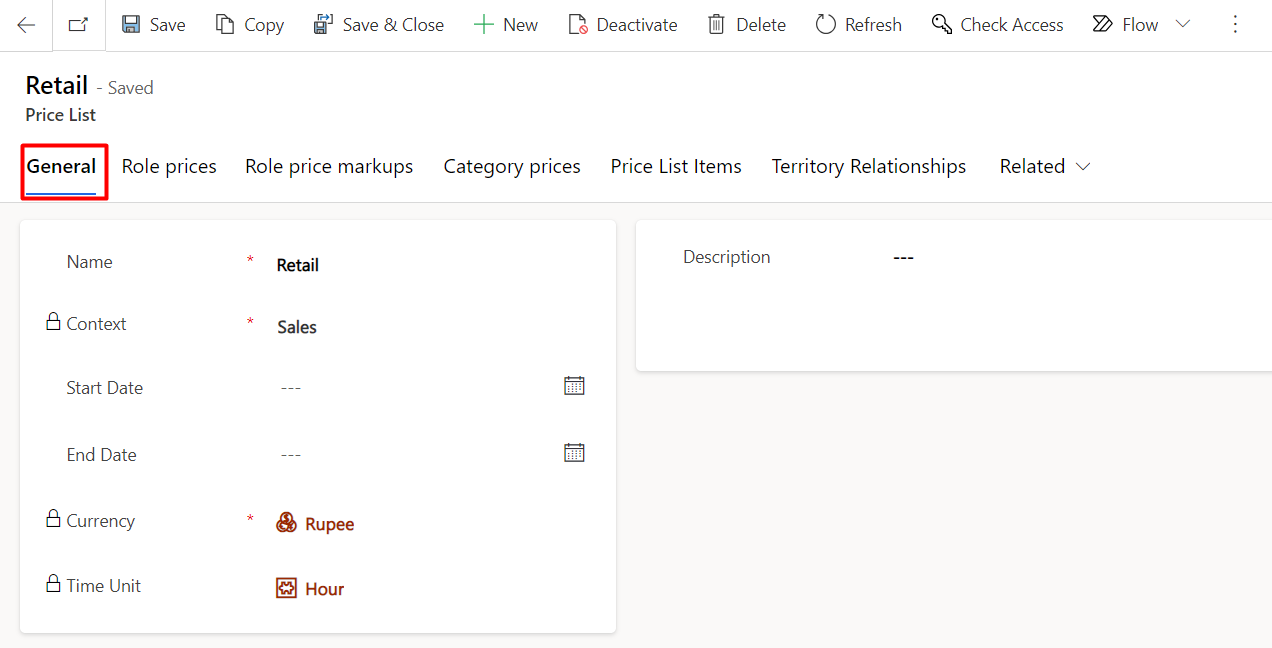
Step 2: Under the General tab --> Select the Currency that we have added or need --> Click on the Save button.
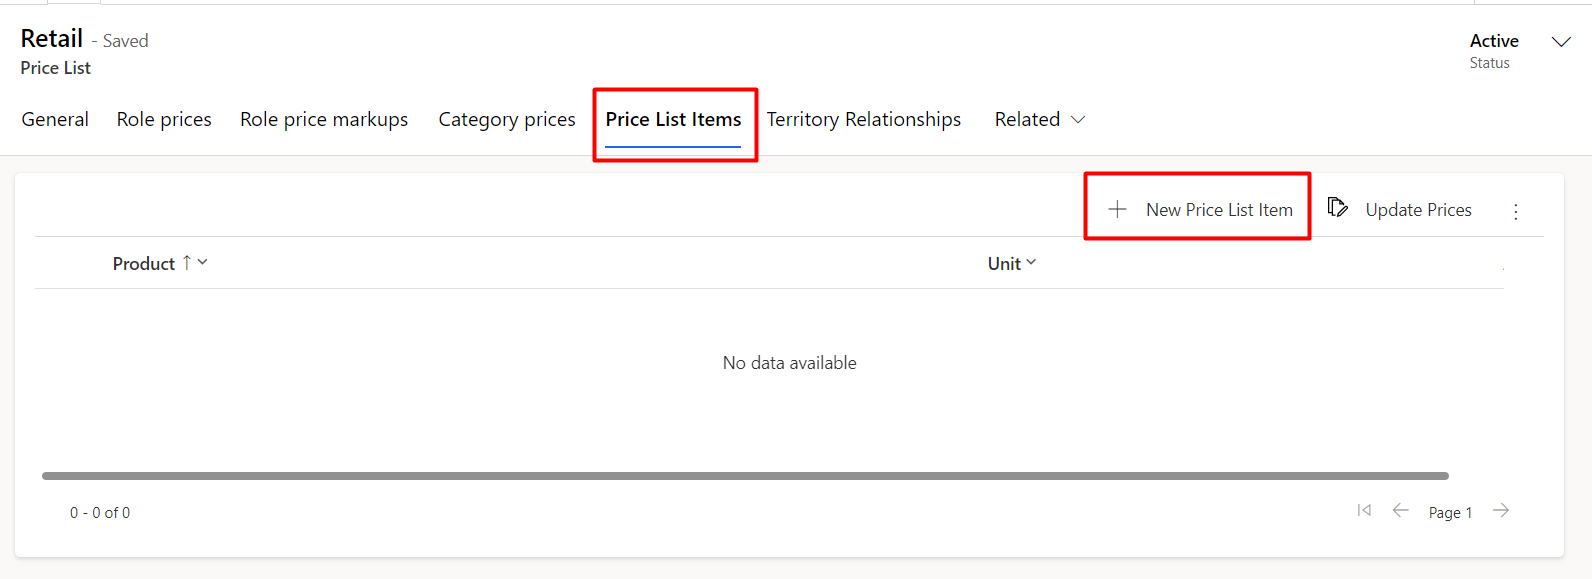
Step 3: Navigate to the Price List Items tab --> Click on the '+ New Price List Item' button.
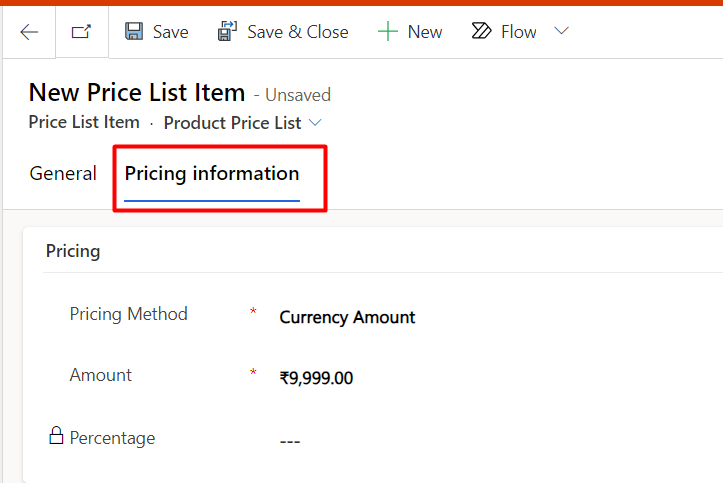
Step 4: Under the General tab --> Select the Product -->Navigate to the Pricing Information tab.
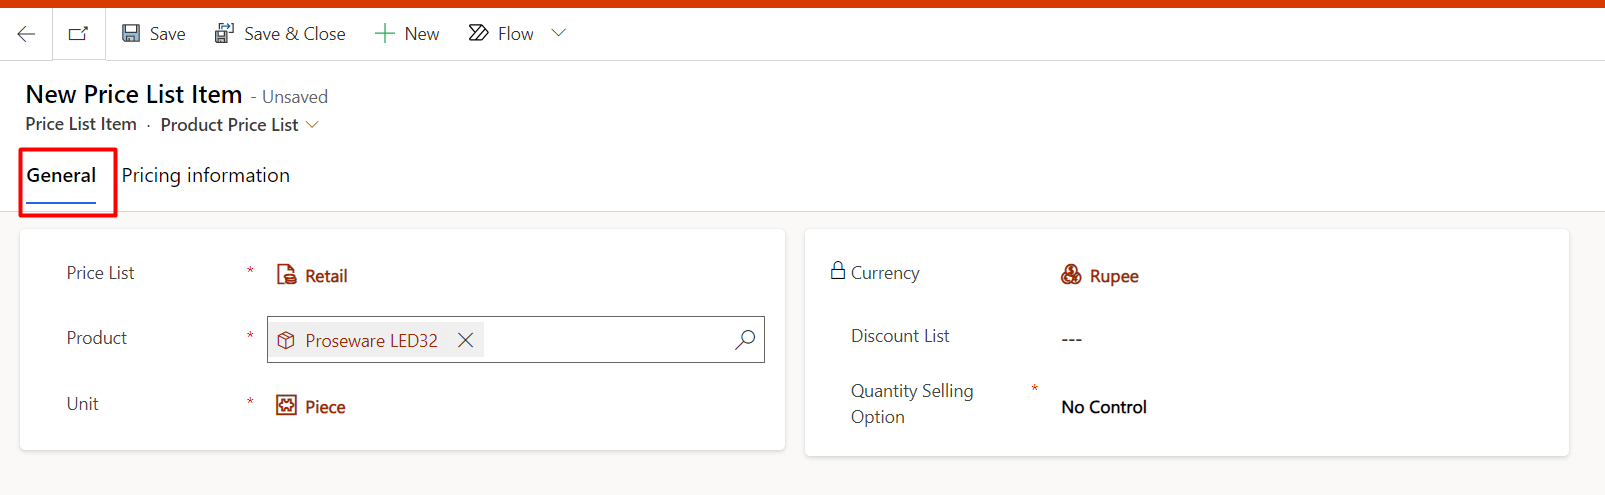
Step 5: Enter the amount under the Pricing information tab.
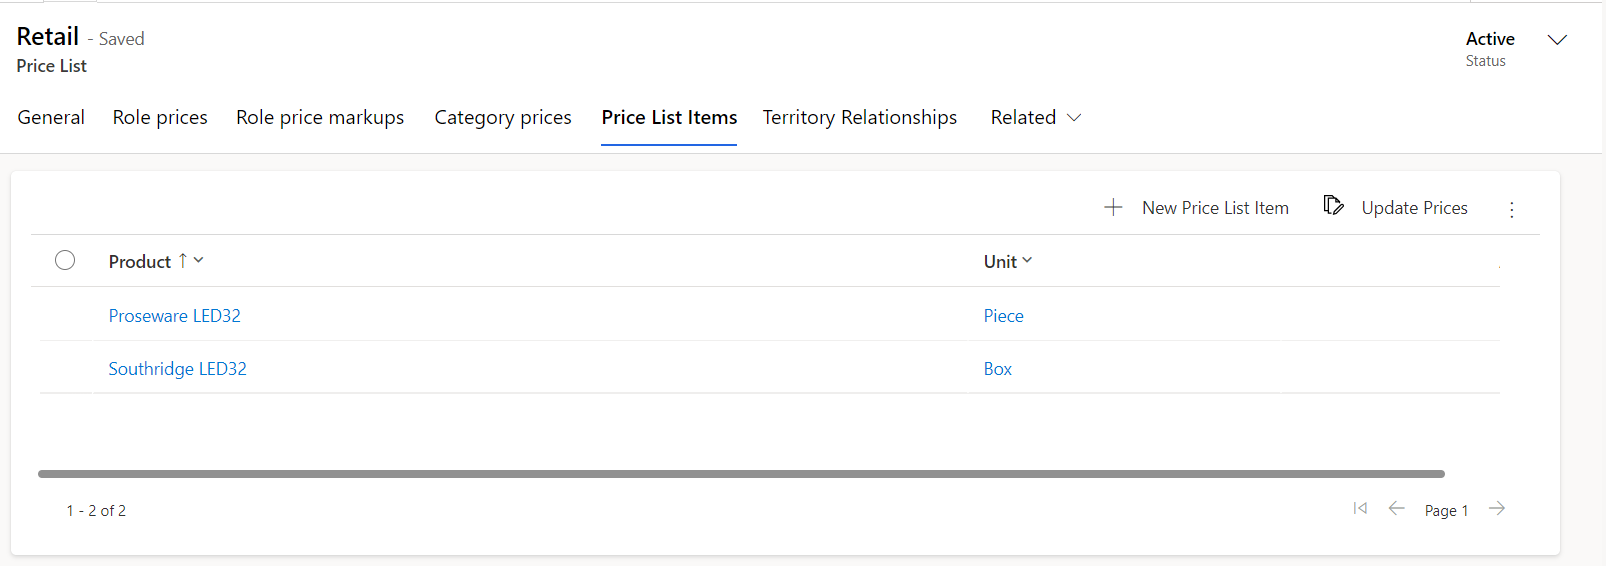
Below, we can find the Price List Items that have been added.
Discount List: Discount lists determine how you offer discounts to your customers based on the volume they purchase.
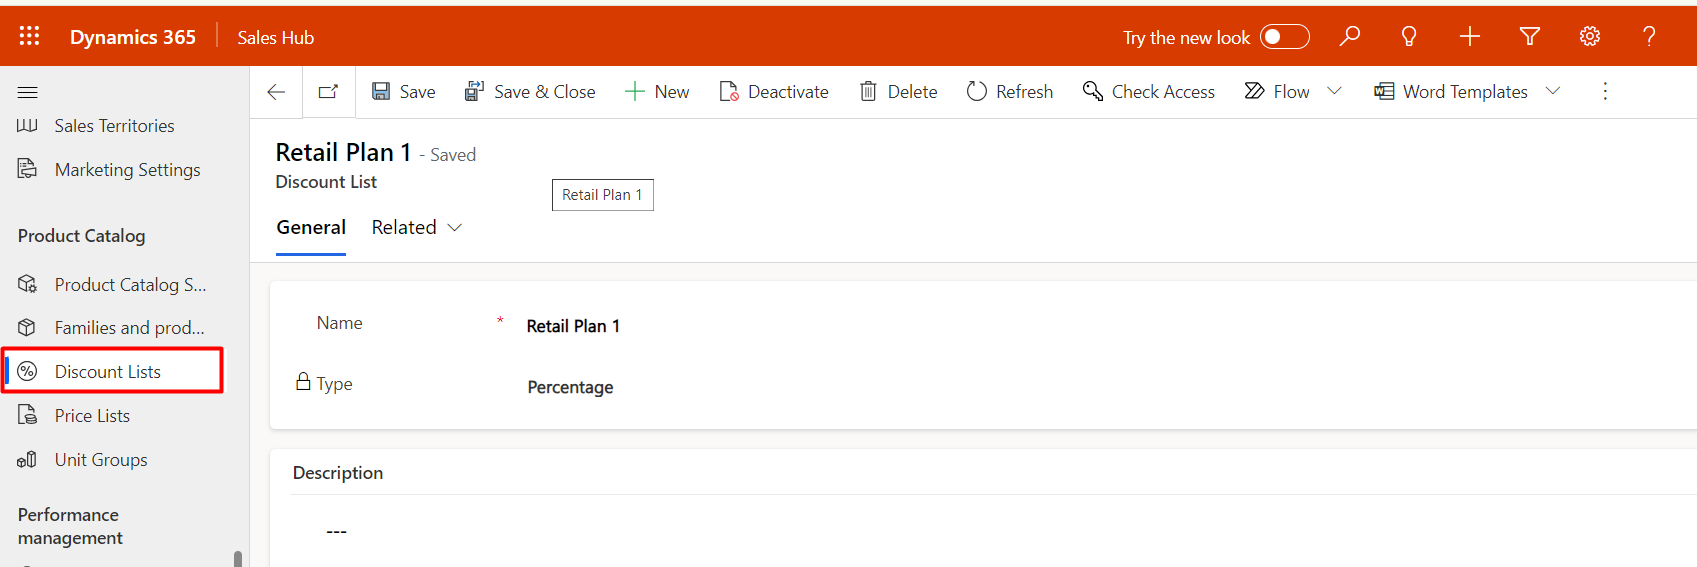
Step 1: Go to Product Catalog -->Select Discount Lists from the sitemap at the left corner --> Click on the '+ New' button --> Enter the name --> Click on the Save button.
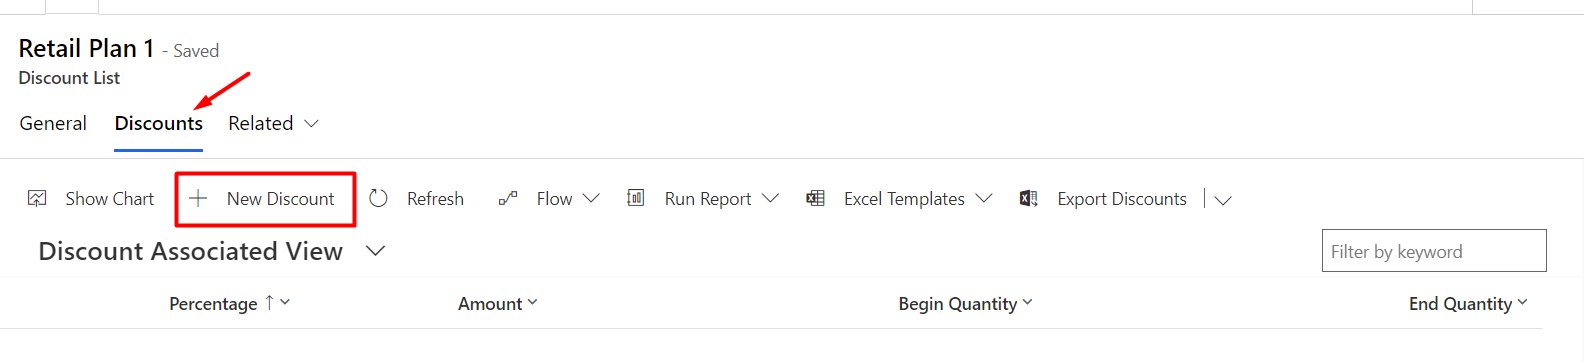
Step 2: Navigate to the Related tab --> Click on Discounts.

Step 3: Click on the '+ New Discount' button.
Step 4: A new Discount window will open. Enter the data in the fields --> Click on the Save and Close button.
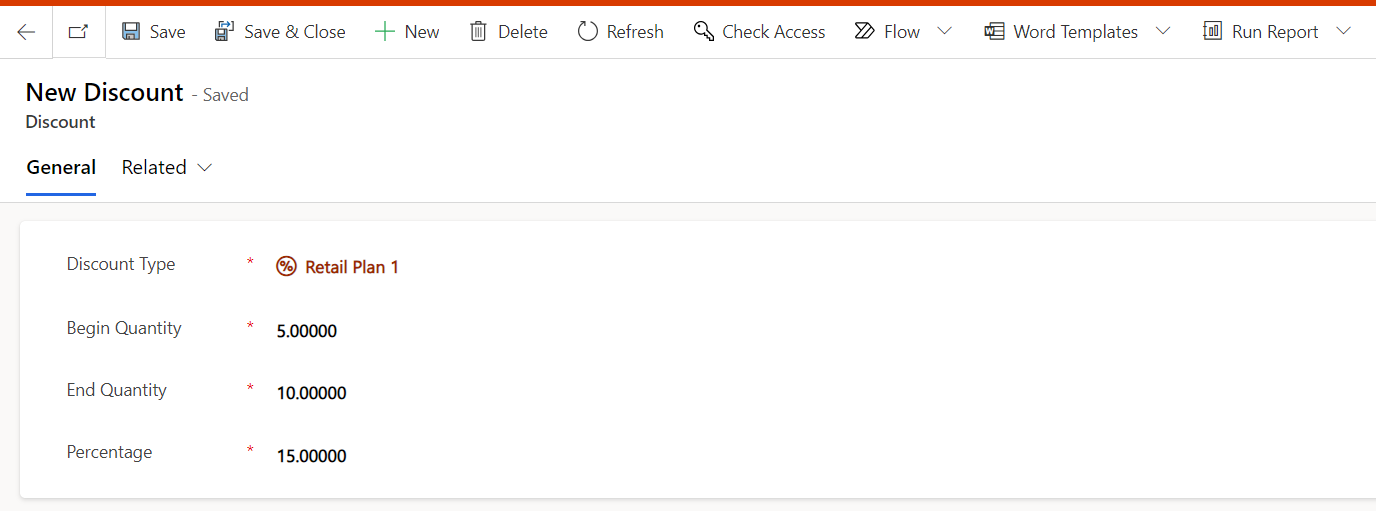
Below, we can find our added Discount.

I hope this series of blogs helps you understand the product catalog!!
Comment

Introduction: Organizations frequently generate documents like invoices, certificates, quotations, transcripts, inspection reports etc. While single-value fields such as Name, Email,…
READ MORE
The Problem Recently, we faced an interesting issue while working with the Status Reason (statuscode) field on the Contact table.…
READ MORE
There are certain things in a CRM project that a QA must validate or verify before any solutions gets deploy…
READ MORE